169
Ope
rat
ions f
o
r Spec
if
ic
App
lica
ti
ons
Tutorial 10-3: Embroidering With the Jumbo Frame
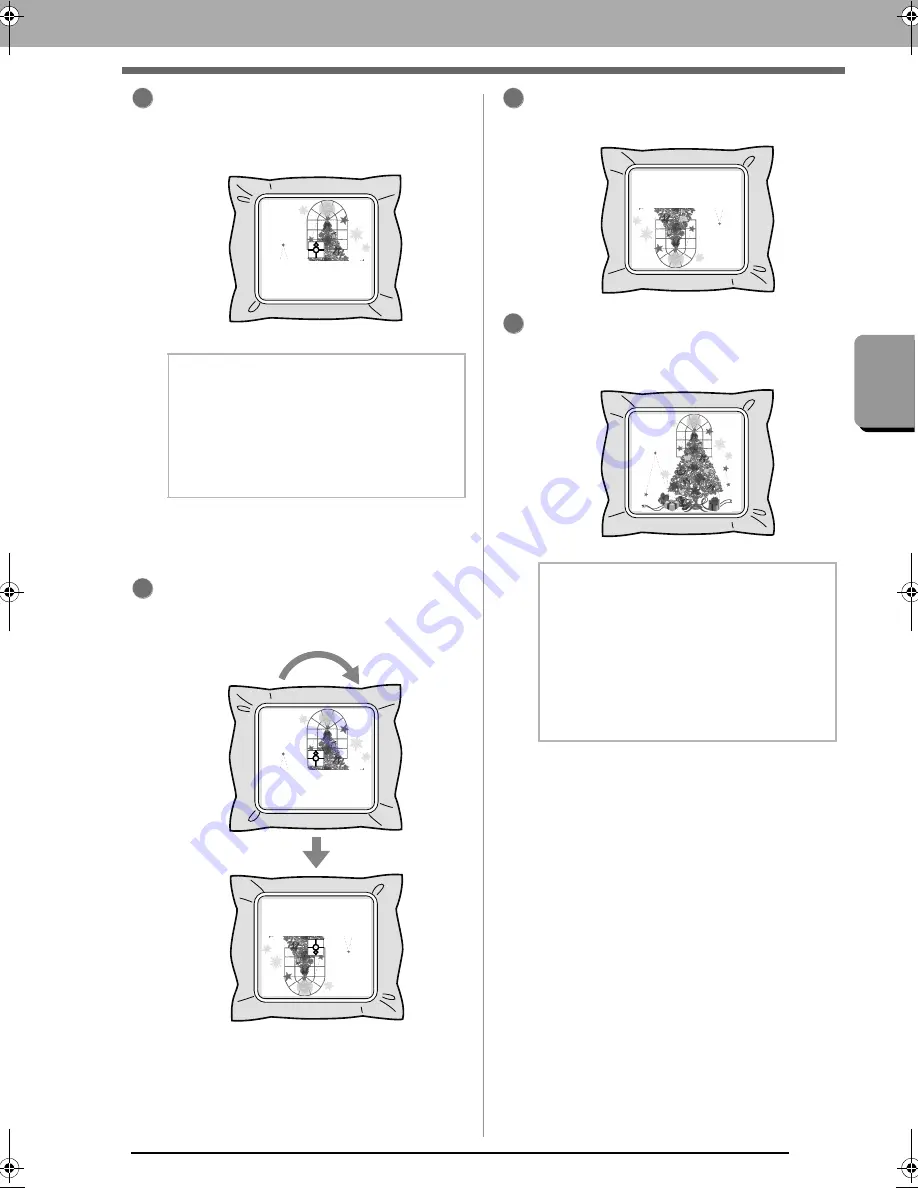
When embroidering is finished, follow the
instructions on the embroidery machine to
affix embroidery positioning sticker on the
embroidering area.
The embroidery machine’s built-in
camera detects the embroidery
positioning sticker.
After the sticker have been detected, remove
the embroidery frame, rotate it 180°, and then
re-attach it to the embroidery machine.
The embroidery machine’s built-in
camera detects the embroidery
positioning sticker again.
Follow the embroidery machine instructions to
remove the embroidery positioning stickers.
Select the pattern for side 2, and then start the
embroidery machine to embroider the side 2
embroidering area.
■
Embroidery data for the jumbo
frame
• When the embroidery design is being
saved in Layout & Editing, older file format
versions are not available.
In addition, the embroidery design is saved
as data specifically for our multi-needle
embroidery machines equipped with a
built-in camera. It cannot be sewn with any
other machine.
• An embroidery pattern created in a Design
Page set to the jumbo frame size in Design
Center cannot be transferred directly to the
machine. Import the embroidery pattern
into Layout & Editing, and then transfer it to
the embroidery machine.
b
Memo:
An image of the needle location appears in the
screen with the positioning detection area
framed by a line.
Affix an embroidery positioning sticker so that
it fits within the line. For details, refer to the
Operation Manual for the machine.
4
5
b
Memo:
• For details on using the embroidery
machine, refer to the Operation Manual
included with it.
• Carefully remove the embroidery frame and
reattach it correctly. If the embroidery frame
is not correctly attached or if there is slack
in the fabric, the embroidery pattern may
become misaligned.
6
7
XE8656-001.book Page 169 Monday, May 24, 2010 5:44 PM
Содержание PE-Design Next
Страница 1: ...Instruction Manual ...
Страница 32: ...30 Tutorial 1 Getting Started ...
Страница 175: ...Transferring Data This section describes operations for transferring embroidery designs to embroidery machines ...
Страница 184: ...182 Using the Link Function to Embroider From the Computer ...
Страница 230: ...228 Outputting a Catalog of Embroidery Designs ...
Страница 247: ...Font Creator Custom fonts can be created using Font Creator These fonts can be recalled to be used in Layout Editing ...
Страница 268: ...266 Changing the Settings ...
Страница 269: ...Supplement This section provides hints and detailed techniques for creating even more attractive embroidery ...
Страница 320: ...English XE8656 001 Printed in China ...


