Configuring Basic Features
323
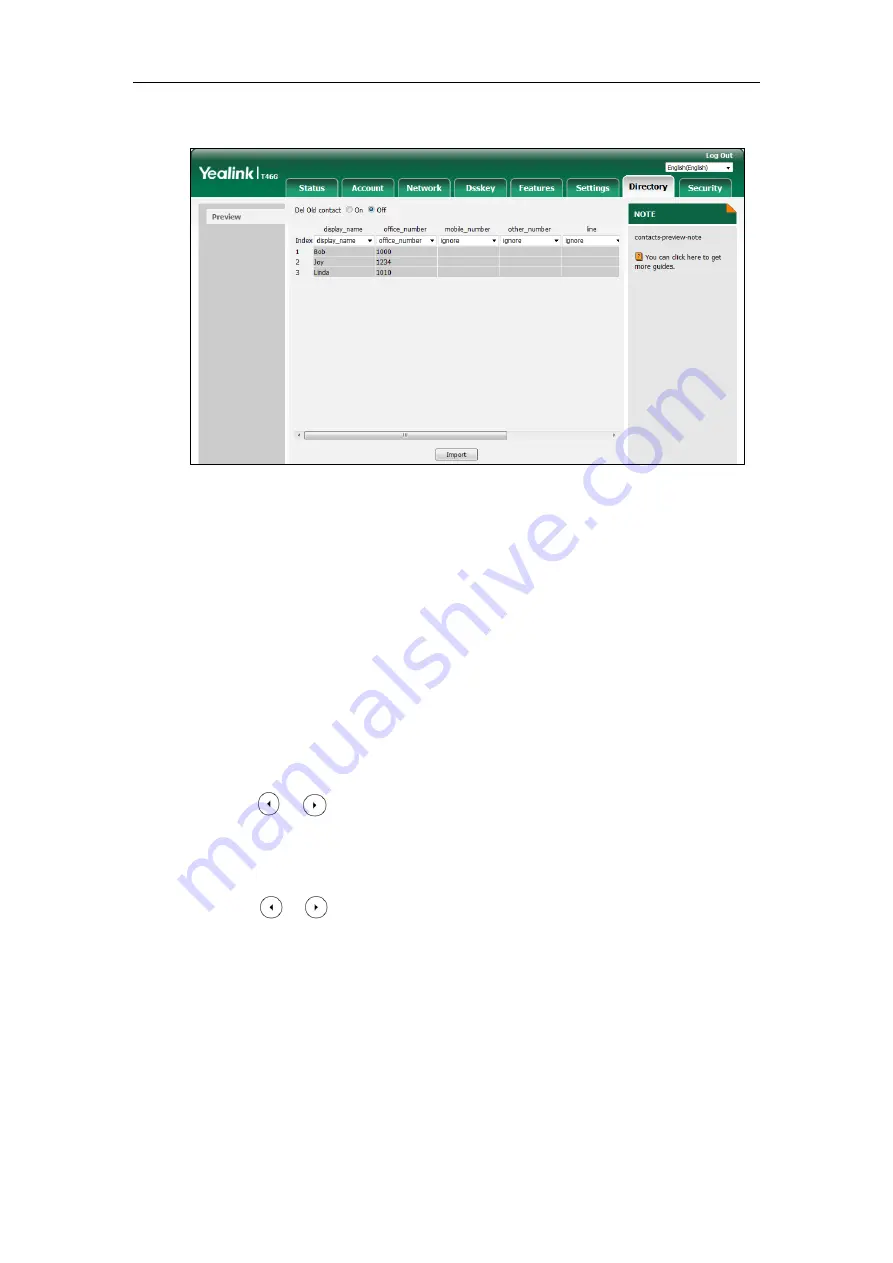
At least one item should be selected to be imported into the local directory.
7.
Click
Import
to complete importing the contact list.
To export a contact list via web user interface:
1.
Click on
Directory
->
Local Directory
.
2.
Click
Export XML
(or
Export CSV
).
3.
Click
Save
to save the contact list to your local system.
To add a contact to the local directory via phone user interface:
1.
Press
Menu
->
Directory
->
Local Directory
.
2.
Select the desired contact group and then press the
Enter
soft key.
3.
Press the
Add
soft key.
4.
Enter the name and the office, mobile or other numbers in the corresponding fields.
5.
Press or , or the
Switch
soft key to select the desired account from the
Account
field.
If
Auto
is selected, the IP phone will use the default account when placing calls to the
contact from the local directory.
6.
Press or , or the
Switch
soft key to select the desired ring tone from the
Ring
field.
7.
Press the
Save
soft key to accept the change.
Customizing a Local Contact File (Black-and-white Screen Phones)
The following shows the procedure of customizing a local contact file for
SIP-T42G/T42S/T41P/T41S/T40P/T40G/T27P/T27G/T23P/T23G/T21(P) E2/T19(P) E2 IP phones:
To customize a local contact file:
1.
Open the template file using an ASCII editor.
Summary of Contents for SIP-T19 E2 T4 Series
Page 1: ...63 ...
Page 532: ...Administrator s Guide for SIP T2 Series T19 P E2 T4 Series T5 Series IP Phones 510 ...
Page 734: ...Administrator s Guide for SIP T2 Series T19 P E2 T4 Series T5 Series IP Phones 712 ...
Page 814: ...Administrator s Guide for SIP T2 Series T19 P E2 T4 Series T5 Series IP Phones 792 ...
Page 850: ...Administrator s Guide for SIP T2 Series T19 P E2 T4 Series T5 Series IP Phones 828 ...
Page 887: ...Troubleshooting 865 The phone begins rebooting Any reboot of the phone may take a few minutes ...


