


Job Assembly
ColorQube 9301/9302/9303 Multifunction Printer
User Guide
28
Job Assembly
Use the Job Assembly options to program a job that requires individual selections for specific pages or
sections, produce Sample Set before printing the whole job or for storing and retrieving frequently run
programs.
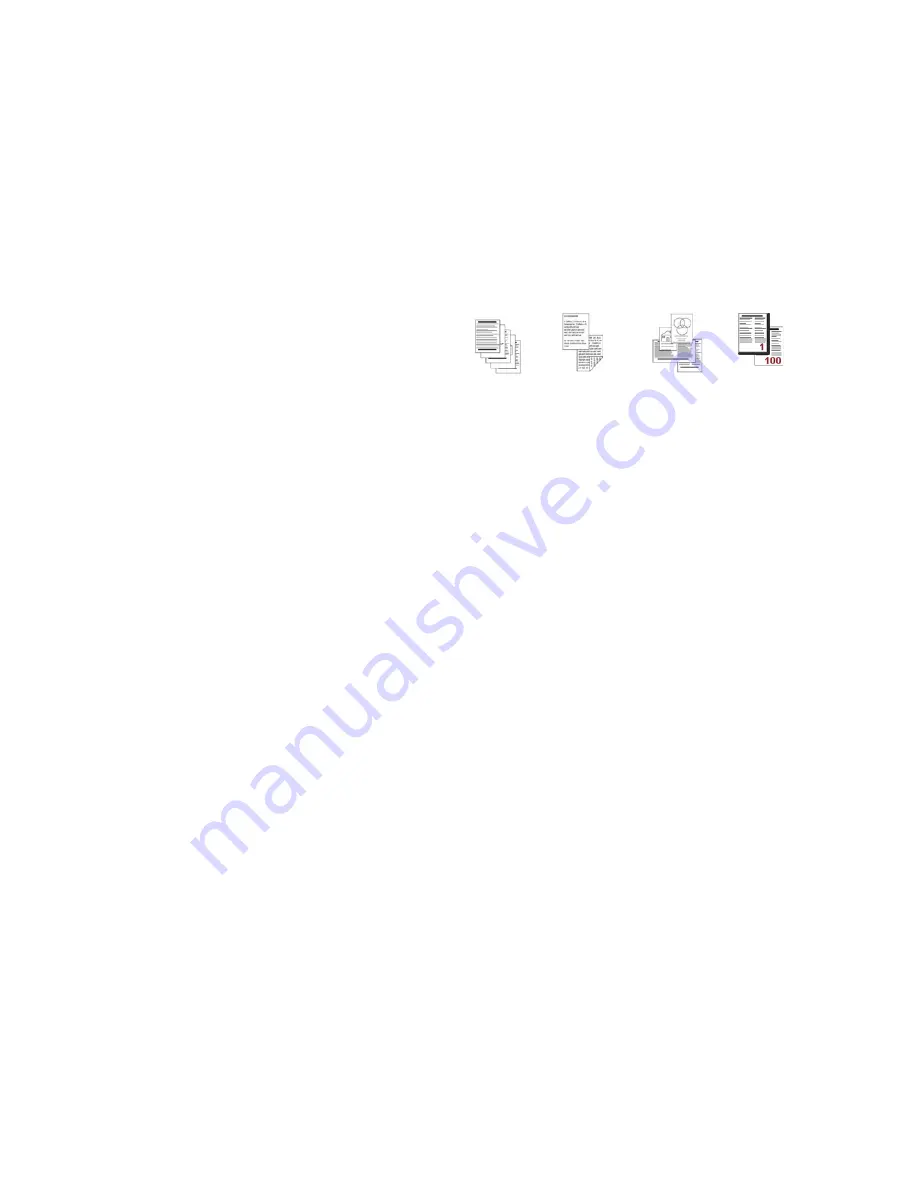
Build Job
Use this feature to build a job that requires
different settings for each page, or a segment of
pages.
Some pages
with text and
some with
photos
Some pages
2-sided and
some 1-sided
Various
sized
originals
More than
100 pages
You can select the appropriate settings to be
applied to individual pages or segments of a
completed job. First, split the originals into
sections for individual programing.
1. Select
Build Job
on the
Job Assembly
tab
and then select the
On
button.
2. Select
Options
, select
Display this window between segments
to view the Build Job screen
during scanning, and then select
OK
.
3. Select the options required for the first segment of the job.
4. Load the first segment originals and press
Start
.
5. Remove the first segment originals. The Build Job screen displays the first segment in the list. The
following options can be applied to any segment:
•
Sample Last Segment
produces a proof print of the last segment scanned. The proof is
delivered to the output module. If you are satisfied with the proof, you can continue
programing Build Job.
•
Delete Last Segment
deletes the last segment scanned. You can continue programing Build
Job.
•
Delete All Segments
deletes current Build Job and returns you to the main Build Job screen.
6. Using
Program Next Segment
, select the options required for the second segment.
7. Load the second segment originals and press
Start
.
8. Repeat these steps until all segments of the job have been programed and scanned.
9. After the last segment has been scanned, select
Print the Job
to indicate that you have finished
scanning and the job can be processed and completed.
Sample Job
When copying many sets, use the Sample Set feature to review a proof copy to ensure that all the print
settings are correct, before printing the remaining sets.
1. Select the
Sample Job
button on the
Job Assembly
tab.
2. Select the
On
button and then select
OK
.
3. Load the originals in the automatic document feeder and program the job requirements.
Summary of Contents for ColorQube 9301
Page 32: ...Log In Out ColorQube 9301 9302 9303 Multifunction Printer User Guide 32...
Page 126: ...Log In Out ColorQube 9301 9302 9303 Multifunction Printer User Guide 126...
Page 154: ...Advanced ColorQube 9301 9302 9303 Multifunction Printer User Guide 154...
Page 168: ...Help ColorQube 9301 9302 9303 Multifunction Printer User Guide 168...
Page 184: ...Storage and Handling ColorQube 9301 9302 9303 Multifunction Printer User Guide 184...
Page 194: ...Machine Status ColorQube 9301 9302 9303 Multifunction Printer User Guide 194...
Page 222: ...Troubleshooting ColorQube 9301 9302 9303 Multifunction Printer User Guide 222...
Page 260: ...Further Assistance ColorQube 9301 9302 9303 Multifunction Printer User Guide 260...


