


Output Format
ColorQube 9301/9302/9303 Multifunction Printer
User Guide
20
Output Format
The Output options allow you to manipulate the copied images and enhance the appearance and style
of the copy jobs. For example, you can add covers or annotations, create booklets, combine several
images onto one page, and interleave transparencies.
Booklet Creation
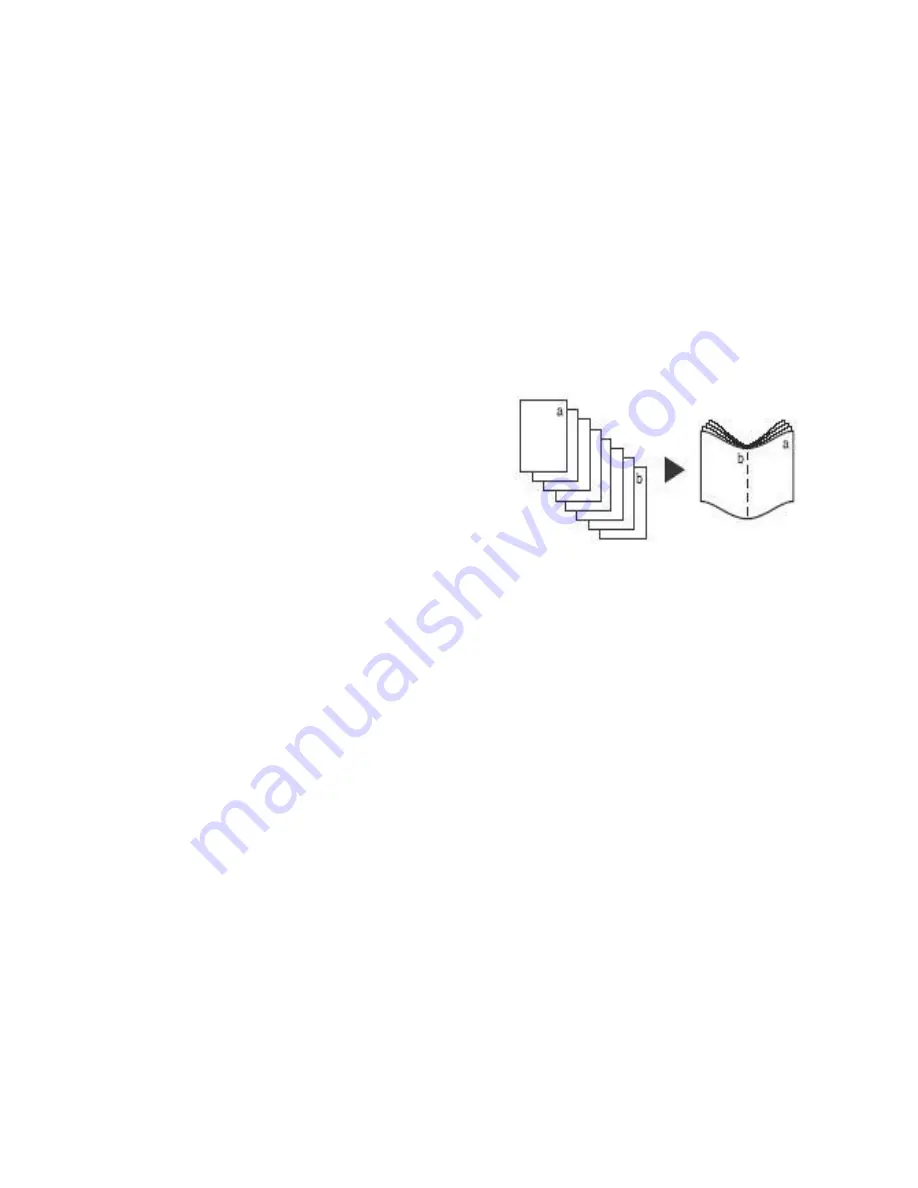
Booklet Creation enables the production of booklets from 1-sided or 2-sided originals. The printer scans
the originals and automatically reduces and arranges the images in the correct sequence on the
selected copy paper so that a booklet is created when the copy set is folded in half.
A cover can be inserted onto the booklet automatically
by selecting the
Special Pages
option through the
Output Format
tab.
If the printer is fitted with a High Volume Finisher with
Booklet Maker, you can use the Booklet Creation
feature to automatically produce folded and stapled
booklets. The following Booklet Maker specifications
apply:
•
Paper Sizes A3, 11 x 17 in., A4, 8.5 x 11 in.,
8.5 x 13 in. and 8.5 x 14 in.
•
All media must be SEF.
•
Booklet thickness:
•
For Folded and Stapled booklets, a maximum of 15 sheets of 80 g/m² (20 lb) or equivalent
thickness. For example, you can have 13 sheets of 80 g/m² (20 lb) and a cover sheet of
160 g/m² (43 lb).
•
For Folded Only booklets, a maximum of 5 sheets of 80 g/m² (20 lb) or equivalent thickness.
For example, you can have 3 sheets of 80 g/m² (20 lb) and a cover sheet of 200 g/m² (53 lb).
To create a booklet:
1. Select
Booklet Creation
and
On
.
Note:
Booklet Creation is not available if
Auto Paper
is selected. Select an alternative
Paper
Supply
option.
2. Select the
Paper Supply
button and select the tray that contains the paper you want to use.
If using High Volume Finisher with Booklet Maker to fold and staple the output, SEF Paper Supply
must be selected.
3. From the Original Input drop-down menu, select either
1-Sided Originals
or
2-Sided Originals
,
according to the originals you are using.
4. If available, select either
Fold Only
or
Fold and Staple
, as required, and select
OK
to confirm the
selections.
5. Load the originals into the automatic document feeder.
6. Use the
Original Orientation
option on the
Layout Adjustment
tab to select the correct feed and
image orientation for the originals. Refer to
Original Orientation
on page 17.
Summary of Contents for ColorQube 9301
Page 32: ...Log In Out ColorQube 9301 9302 9303 Multifunction Printer User Guide 32...
Page 126: ...Log In Out ColorQube 9301 9302 9303 Multifunction Printer User Guide 126...
Page 154: ...Advanced ColorQube 9301 9302 9303 Multifunction Printer User Guide 154...
Page 168: ...Help ColorQube 9301 9302 9303 Multifunction Printer User Guide 168...
Page 184: ...Storage and Handling ColorQube 9301 9302 9303 Multifunction Printer User Guide 184...
Page 194: ...Machine Status ColorQube 9301 9302 9303 Multifunction Printer User Guide 194...
Page 222: ...Troubleshooting ColorQube 9301 9302 9303 Multifunction Printer User Guide 222...
Page 260: ...Further Assistance ColorQube 9301 9302 9303 Multifunction Printer User Guide 260...


