


Output Format
ColorQube 9301/9302/9303 Multifunction Printer
User Guide
24
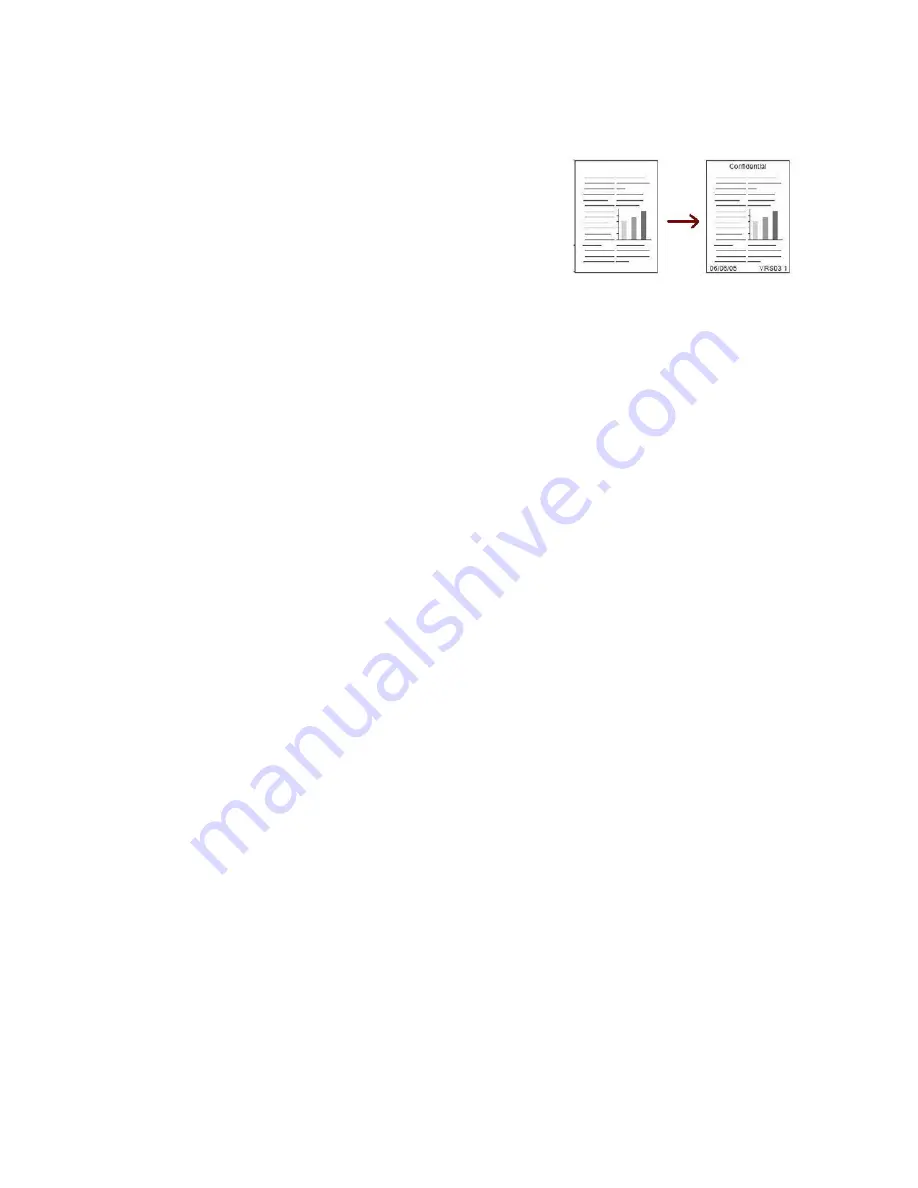
Annotations
The
Annotations
feature enables you to automatically add a
comment, page number, date, or Bates Stamp to the copy
output. You can select any or all of these annotation options and
specify where these should appear on the copy output. You can
also select the appearance of the annotations, such as the font
size and font color. The options are:
•
Page Numbers
to automatically print the page number at a
specified position on the page. Page numbers are
automatically increased by one. For 2-sided copy output, the page number is printed on both sides
and counts as two pages.
•
Comment
to add up to 50 alpha-numeric characters at a specified position on the page. An
existing comment can be added, or a new comment can be created or edited.
•
Date
to add today’s date in a specified format and position on the page. The date printed is the
date set on the printer.
•
Bates Stamp
to add a selected Bates Stamp at a specified position on the page. Bates Stamping
is used primarily in the legal and business fields and consists of a set prefix (such as a case number
or client reference) together with a page number applied to a document as it is being processed.
The prefix can contain up to eight alpha-numeric characters. You can add a new prefix or choose
an existing one from the list provided.
Page Numbers
Use the following instructions to program Page Numbers:
1. Select the
Output Format
tab, the
Annotations
button, and then
Page Numbers
.
2. Select the
On
button.
3. Specify the position of the page number by selecting one of the arrow buttons on the right.
4. Select the
Page Number
input box, and use the numeric keypad to type the starting page number
you want printed on the copy output.
5. From the drop-down menu on the left, select either
All Pages
or
All Pages Except First
to
determine pages the page number will apply to.
6. Select
OK
to store the selections and return to the Annotations screen. Program additional
annotations, as required.
7. Program the
Format & Style
options required for Annotations. Refer to
Format and Style
on
page 26 for instructions.
8. Select
OK
to confirm the selections and run the job.
Comment
Use the following instructions to add a Comment:
1. Select the
Output Format
tab, the
Annotations
button, and then
Comment
.
2. Select the
On
button.
3. Select one of the arrow buttons to determine the position of the comment on the page.
Summary of Contents for ColorQube 9301
Page 32: ...Log In Out ColorQube 9301 9302 9303 Multifunction Printer User Guide 32...
Page 126: ...Log In Out ColorQube 9301 9302 9303 Multifunction Printer User Guide 126...
Page 154: ...Advanced ColorQube 9301 9302 9303 Multifunction Printer User Guide 154...
Page 168: ...Help ColorQube 9301 9302 9303 Multifunction Printer User Guide 168...
Page 184: ...Storage and Handling ColorQube 9301 9302 9303 Multifunction Printer User Guide 184...
Page 194: ...Machine Status ColorQube 9301 9302 9303 Multifunction Printer User Guide 194...
Page 222: ...Troubleshooting ColorQube 9301 9302 9303 Multifunction Printer User Guide 222...
Page 260: ...Further Assistance ColorQube 9301 9302 9303 Multifunction Printer User Guide 260...


