2 COPY FUNCTIONS
76 Advanced Copy Functions
2
Make sure that the first “ADVANCED FUNCTION” is selected.
You can scroll through the menu with the or button.
3
Press the [SETTING/OK] button to enter the “ADVANCED FUNCTION” menu.
4
Press the or button to select “ID CARD”.
5
Press the [SETTING/OK] button.
6
Press the or button to select “ON” or “OFF”.
y
[ON] makes this function active.
y
[OFF] makes this function inactive.
7
Press the [SETTING/OK] button.
y
If you have selected “ON” at the previous step, the LCD screen shows “SET FRONT OF ID CARD” and
illustrates how to place the card on the original glass. Continue the following steps.
y
If you have selected “OFF” at the previous step, you return to the top layer of the menu. You are finished with
the setting operation here.
8
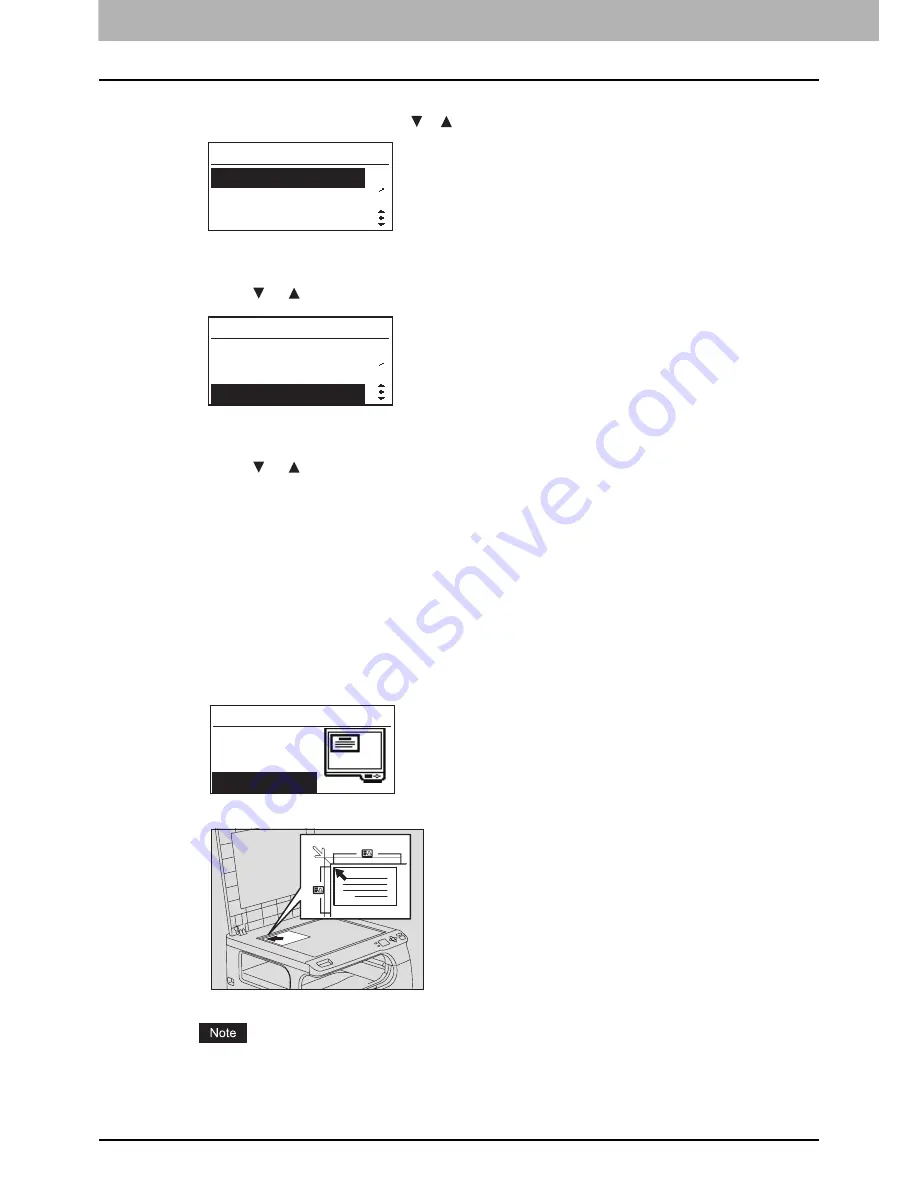
Place the front of a card face down on the original glass.
1) Open the platen cover.
2) Place the front surface of the card face down on the original glass.
3) Align the long edge of the card against the left rear corner of the original glass.
Be sure to place the card in the landscape orientation as illustrated below.
Be sure to place the card within the frame of the original scale.
MENU
1
3
PAPER SETTINGS
DEFAULT SETTINGS
ADVANCED FUNCTION
ADVANCED FUNCTION
2
4
2IN1/4IN1
ID CARD
ZOOM
SET FRONT OF ID CARD
OK
Summary of Contents for E-studio18
Page 1: ...MULTIFUNCTIONAL DIGITAL SYSTEMS User s Guide ...
Page 10: ......
Page 22: ......
Page 52: ......
Page 140: ......
Page 158: ......
Page 168: ......
Page 171: ...DP 1800 OME11004800 ...


