100
Bridge-IT Manual v4.0
© Tieline Research Pty. Ltd. 2019
Routing Type
Options:
Default
No
Dial Route
or
Answer Route
is configured. An incoming call will be
routed to an audio stream on a first-come, first-served basis in a multi-
stream program. Note: By default IP streams are routed using audio
ports.
Deterministic
Use of
Dial
and
Answer Routes
is not usually necessary over IP
because dedicated ports or
Line Hunt
mode call answering is
employed. However dial routes can be used over IP when a single
stream on an answering codec answers using POTS and/or ISDN
connections, as well as IP. This effectively creates an answering group
using different transports.
Line Hunt
Create line hunt groups for multiple incoming callers on a first come,
first served basis. This is ideal for separating groups of inputs and
outputs between different studios or stations. See
for more information.
Important Notes on G3 Profile Settings:
The G3 profile setting supports maintaining
specific G3 codec settings when answering a call from a G5 codec.
1.
Auto
: The codec will dial the G3 codec and connect in mono or stereo.
2.
Dual Program
: This allows the codec to dial a G3 codec with a Dual Program
profile loaded and support two simultaneous mono connections.
3.
Runtime
: The G3 codec will retain runtime settings when answering a call from a
G5 codec.
4.
Custom
: The G3 codec will load a specified profile, e.g. profile 6, which is the first
custom profile number.
Important Notes on G3 Channel Settings
:
This setting is for compatibility with the
Dual Mono
profile in Tieline Commander G3 and i-
Mix G3 codecs. It is designed to configure routing of the audio stream to a specific G3
codec channel consistently.
1.
Auto
(default): The answering codec will route incoming calls on a first come first
served basis.
2.
Channel 1
: The answering codec will always route incoming calls to codec
Channel 1
(left output).
3.
Channel 2
: The answering codec will always route incoming calls to codec
Channel 2
(right output).
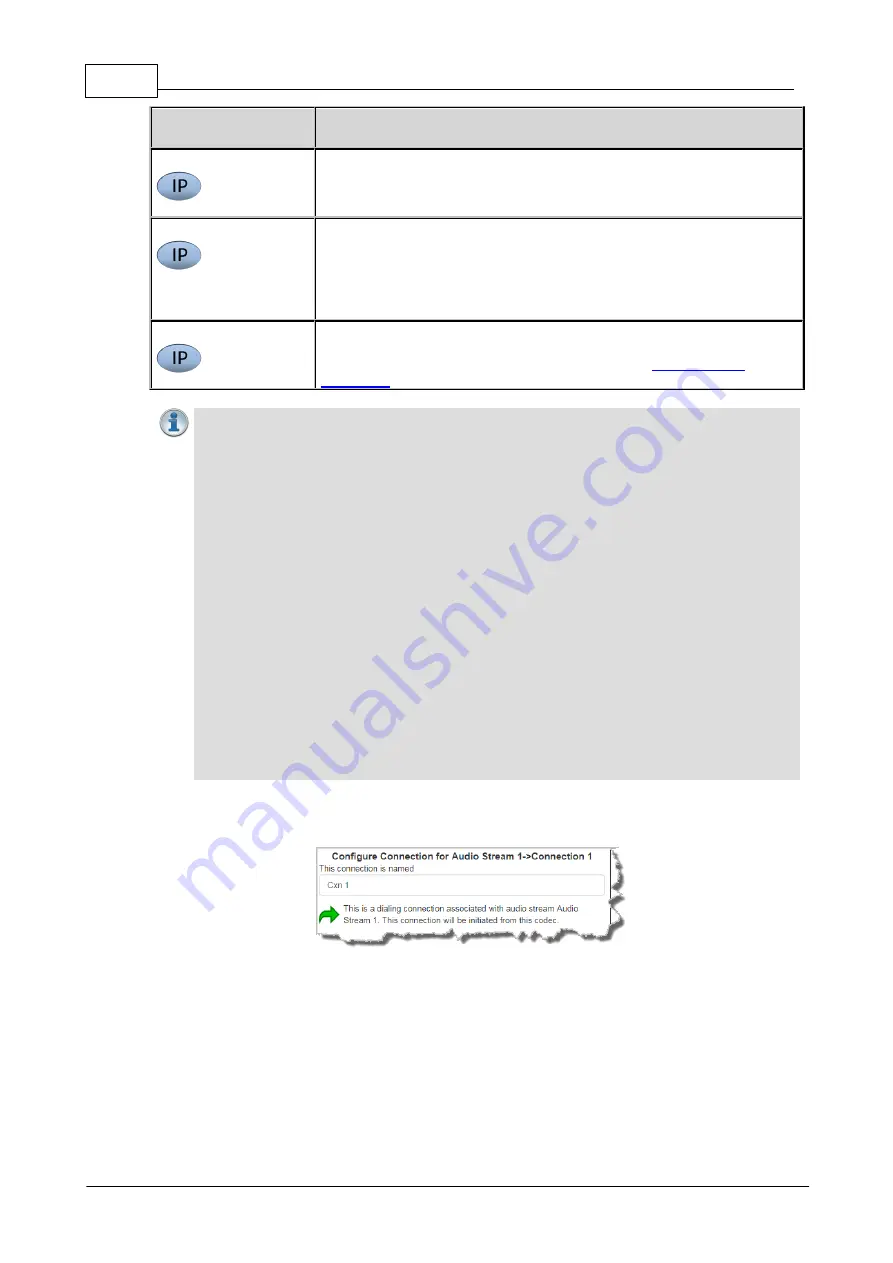
5. This audio stream connection in the wizard will allow the codec to dial. Enter the name of the
connection in the text box, then click
Next
.
6. Follow the instructions on the right-hand side of the panel to configure the transport settings for
the connection, then click
Next
.
Summary of Contents for Bridge-IT
Page 15: ...15 Tieline Research Pty Ltd 2019 Bridge IT Manual v4 0 Codec Menu Overview...
Page 16: ...16 Bridge IT Manual v4 0 Tieline Research Pty Ltd 2019 Connect Menu...
Page 17: ...17 Tieline Research Pty Ltd 2019 Bridge IT Manual v4 0 IP Setup Menu Navigation...
Page 18: ...18 Bridge IT Manual v4 0 Tieline Research Pty Ltd 2019 Settings Menu...
Page 158: ...158 Bridge IT Manual v4 0 Tieline Research Pty Ltd 2019 4 Click Yes in the confirmation dialog...
Page 217: ...217 Tieline Research Pty Ltd 2019 Bridge IT Manual v4 0...


