


305
SMA
Assigning IP addresses
•
A static IP address has to be assigned to the inverter. This is set to automatic by default. Please refer to the
inverter's user manual for more information.
•
Please select an IP address with the same subnet as the Solar-Log™.
For example: The Solar-Log™ has the IP address 192.168.178.49.
The inverter in this case has to have a free IP address in the same range (from 192.168.178.2 to
192.168.178.254).
•
Procedure: Start according to the inverter's instructions
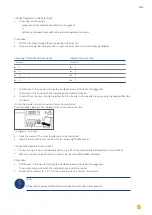
Detection via the Solar-Log™ WEB Interface
•
For detection on the Solar-Log™ , select the device class under the menu Configuration | Device | Definition |
Interface with the plus symbol and then select SMA as the manufacturer. Confirm your selection with OK.
•
Save your selections and then start the Device Detection under Configuration | Device | Detection.
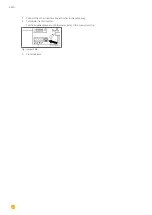
Detection from the Solar-Log 1200
•
When using the Solar-Log 1200, the detection can also be started from the display. Select the settings ►Start
►
Initial Configuration
►
Page 2 „Device“
►
Add and select the manufacturer SMA from there. Save and start
the Device Detection. .
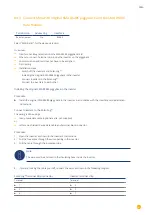
Note for feed-in management
The feed-in management functions are also available for the Bluetooth interface. Please note that the
necessary settings have to be configured with the manufacturer's software. Please refer to the inver-
ter's user manual for more information.
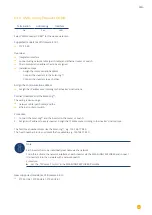
Note
Please refer to the instructions in the manufacturer's installation manual in regard to address types.
Note
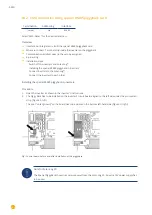
Wiring with the bus.
Only one network connection is available per inverter with the integrated Speedwire interface.
A router or switch is required when using several inverters or when using the Ethernet (RS45) interface
on the Solar-Log™.
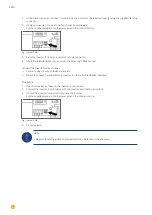
Note on the inverter detection.
For a successful inverter recognition requires the user password of the inverter in the
Solar-Log™ WEB menu, under Configuration | Feed-In Management | Plant passwords to enter.
►
Important:
To call the point Plant passwords must be at the interface previously SMA selected.
Summary of Contents for Solar-Log
Page 1: ...1 Components Connection Manual V 4 2 3 Solar Log EN ...
Page 20: ...20 01 Inverter ...
Page 398: ...398 Appendix 113Appendix 113 1 SMA mixed wiring Fig SMA mixed wiring ...
Page 402: ...402 02 Meter ...
Page 444: ...444 03 Battery Systems ...
Page 456: ...456 sonnen Note Only one battery system can be connected to a Solar Log device ...
Page 463: ...463 04 Heating rods ...
Page 470: ...470 05 Heating pumps ...
Page 478: ...478 06 Sensors ...
Page 488: ...488 07 Pyranometer ...
Page 495: ...495 08 Smart Plug components ...
Page 502: ...502 09 Power Charging Stations ...