


2-124
3
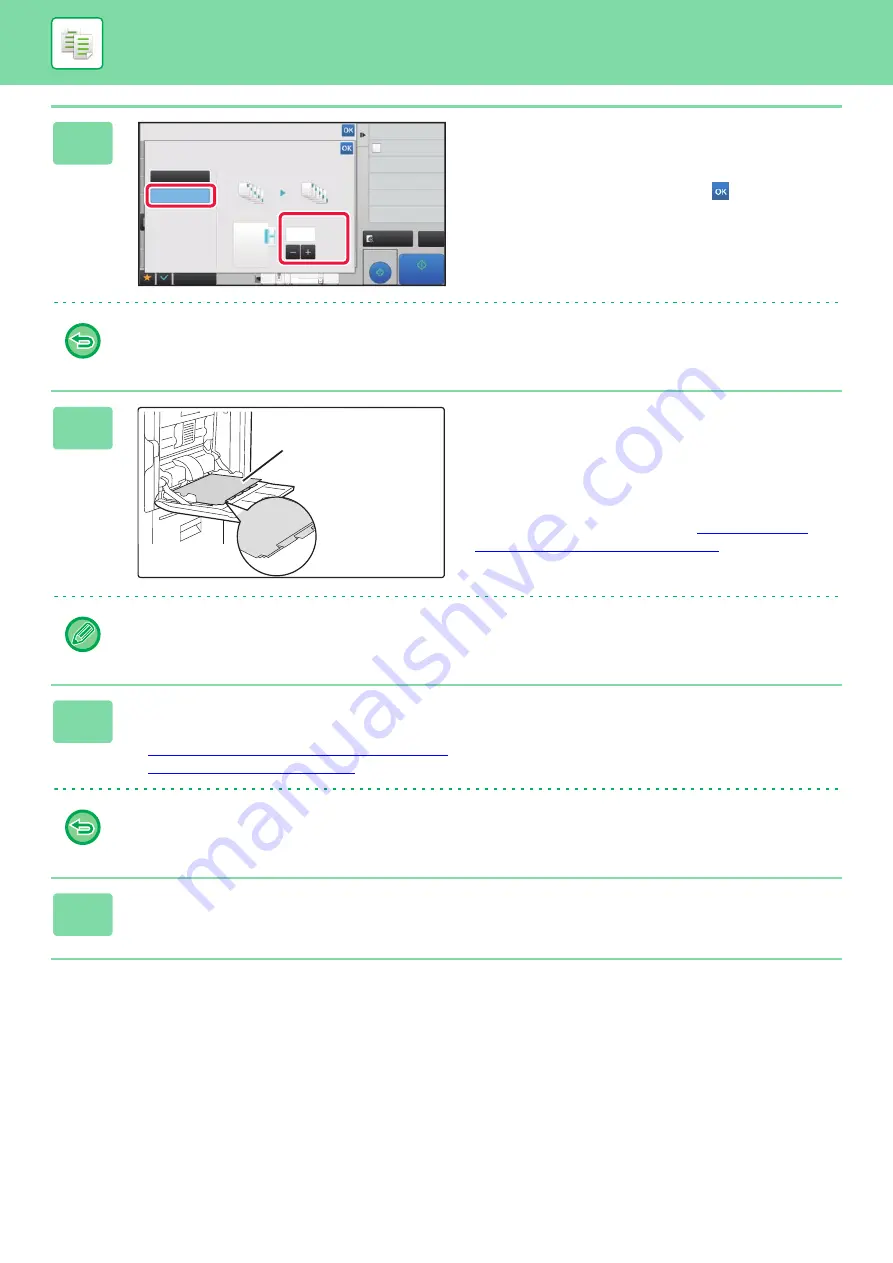
Sets an image shift width (tab width).
• Tap the numeric value display indicating the image shift
width, and enter a shift width using numeric keys.
• After the settings are completed, tap
and [Back] keys
in sequence.
To cancel the tab copy setting:
Tap the [Off] key.
4
Load the tab paper.
When using the bypass tray, place the paper with the print
side down.
Place the paper so that the sides with the tabs enter the
machine last.
After loading tab paper into the bypass tray, configure the
bypass tray settings as explained in "
USING THE BYPASS TRAY (page 2-33)
".
The width of the tab paper can be as wide as 8-1/2" x 11" paper (8-1/2") plus 5/8" (or A4 width (210 mm) plus 20 mm).
5
Place the original and tap the [Preview] key.
Place the original in the document feeder tray of the automatic document feeder, or on the document glass.
►
AUTOMATIC DOCUMENT FEEDER (page 1-131)
►
To cancel all settings:
Tap the [CA] key.
6
Tap the [Start] key to start copying.
Proof Copy
CA
Preview
Start
4
3
8½x11
8½x14
11x17
Others
Back
Off
On
Original
Copy
Tab Copy
Image Shift
Change Size/Direction.
Original
(0 ~ 5/8)
inch
10
Store Data in Folder
File
Copy 1 page to check
Proof Copy
Exposure
Select Type/Exposure
Side 2
Summary of Contents for MX-M6570
Page 179: ...1 176 BEFORE USING THE MACHINE PERIPHERAL DEVICES 4 Close the front cover ...
Page 195: ...1 192 BEFORE USING THE MACHINE PERIPHERAL DEVICES 4 Close the front cover ...
Page 199: ...1 196 BEFORE USING THE MACHINE PERIPHERAL DEVICES 4 Close the front cover ...
Page 770: ...6 31 DOCUMENT FILING USING STORED FILES 4 Tap the Move key ...
Page 935: ...2018D US1 ...


