


4-57
PRINTING RECEIVED DATA AT A SPECIFIED TIME
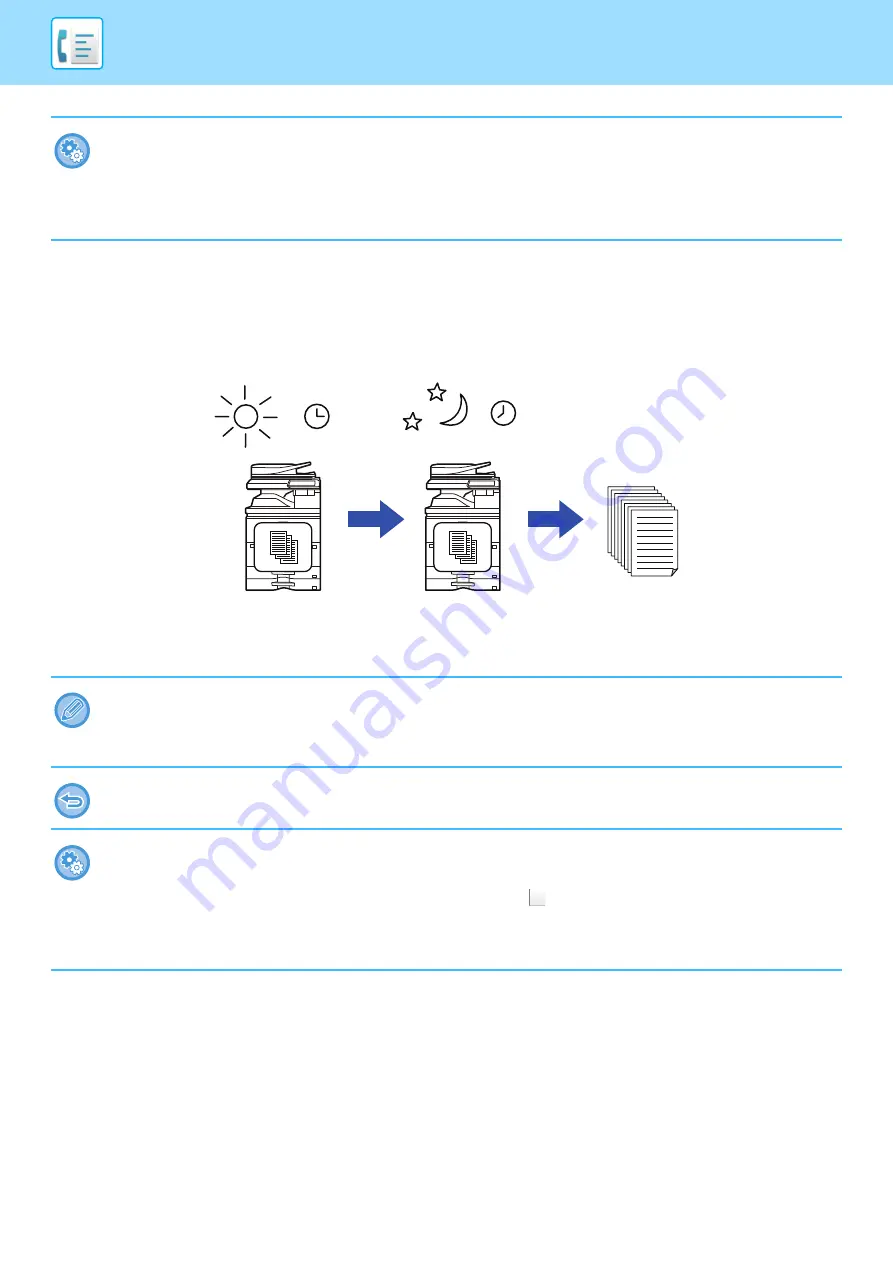
You can start printing the received data at a specified time.
For stress-free printing, you should avoid printing large numbers of pages at peak times during the day, and when you
do not urgently need to print.
•
To display the received data list screen after entering the PIN Code:
In "Settings (administrator)", select [System Settings]
→
[Image Send Settings]
→
[Common Settings]
→
[Condition
Settings]
→
[Preview Setting]
→
[Received Data Image Check Setting].
•
To transfer received data to another machine:
In "Settings (administrator)", select [System Settings]
→
[Image Send Settings]
→
[Inbound Routing (Forwarding/Storing)
Settings].
• The printed data is automatically deleted from memory.
• If the power is turned off at the specified time, printing will start at the timing when the power is turned on.
• This function can be used when "Settings (administrator)" - [System Settings]
→
[Image Send Settings]
→
[Common
Settings]
→
[Condition Settings]
→
[Preview Setting]
→
[Received Data Image Check Setting] is enabled.
If Hold Setting for Received Data Print is enabled, this function is not available.
•
To print received data at the specified time:
In "Settings", select [System Settings]
→
[Image Send Settings]
→
[Common Settings]
→
[Condition Settings]
→
[Time Specified Output of Received Data].
When “Change Password” or “Hold Setting for Received Data print” is
, the password entry field is grayed out.
•
To disable the hold setting for received data print:
In "Settings (administrator)", disable this function using [System Settings]
→
[Image Send Settings]
→
[Common Settings]
→
[Condition Settings]
→
[Hold Setting for Received Data Print].
Set to print data
received during the day
at 20:00
At 20:00, printing
begins automatically
Prints
Summary of Contents for MX-M6570
Page 179: ...1 176 BEFORE USING THE MACHINE PERIPHERAL DEVICES 4 Close the front cover ...
Page 195: ...1 192 BEFORE USING THE MACHINE PERIPHERAL DEVICES 4 Close the front cover ...
Page 199: ...1 196 BEFORE USING THE MACHINE PERIPHERAL DEVICES 4 Close the front cover ...
Page 770: ...6 31 DOCUMENT FILING USING STORED FILES 4 Tap the Move key ...
Page 935: ...2018D US1 ...


