Ethernet Configuration
Configure the machine for the network using the control panel.
• For details about the setting items and default values, see page 140 "Network Settings".
• You can also use Web Image Monitor to configure the IP address-related settings. For details, see
page 159 "Configuring the Machine Settings".
Specifying an IP Address (no DHCP)
If you want to use the machine on a network without using DHCP or want to use a static IP address, use
the following procedure to assign a specific IPv4 address to the machine. Before making any changes,
contact your network administrator to obtain the IP address, subnet mask, and gateway address to be
specified on the machine.
1.
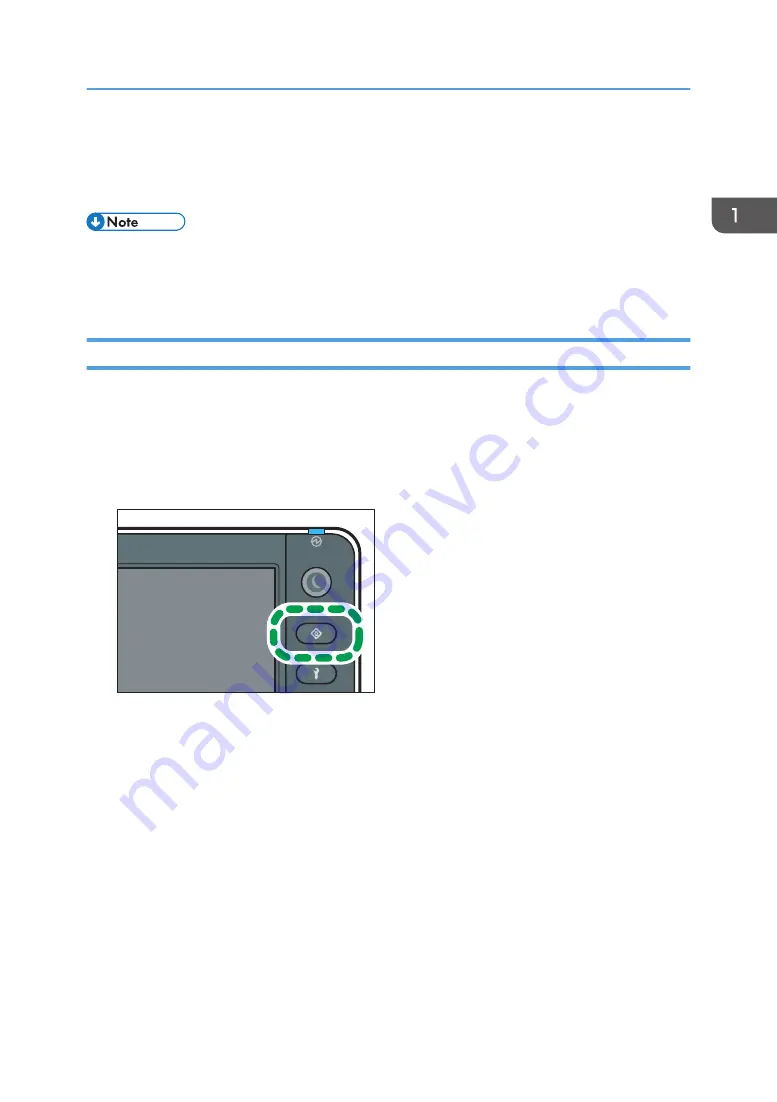
Press the [User Tools] key.
DWU101
2.
Press [Network Settings].
3.
Press [IPv4].
4.
Press [Specify].
5.
Press [Machine IPv4 Address].
6.
Enter the machine's IPv4 address using the number keys, and then press [Set].
7.
Press [Subnet Mask].
8.
Enter the machine's subnet mask using the number keys, and then press [Set].
9.
Press [IPv4 Gateway Address].
10.
Enter the IPv4 gateway address using the number keys, and then press [Set].
11.
Press [Close] twice.
12.
Press [End].
Ethernet Configuration
35
Summary of Contents for Pro L5130
Page 2: ......
Page 8: ...7 Appendix Trademarks 257 6 ...
Page 50: ...1 Getting Started 48 ...
Page 90: ...DWT216 2 Basic Operations 88 ...
Page 132: ...11 Press End 3 Convenient Usage 130 ...
Page 136: ...5 Press Close 6 Press End 3 Convenient Usage 134 ...
Page 154: ... Base line position on the media guide 4 Configuring and Managing the Machine 152 ...
Page 228: ...10 DWT208 11 DWT209 12 DWT210 5 Troubleshooting 226 ...
Page 234: ...5 Troubleshooting 232 ...
Page 261: ...MEMO 259 ...
Page 262: ...MEMO 260 EN GB EN US EN AU M0BY 7564A ...
Page 263: ......
Page 264: ...EN GB EN US EN AU M0BY 7564A 2018 2019 Ricoh Co Ltd ...


