2.
Press [Selected Setting for Head Alignment].
3.
Press [Media Feed Correction].
4.
Press [Media Feed Correction].
5.
Press [On].
6.
Press [Close] twice.
7.
Press [End].
The connection method for the print heads will be applied to the first printing job after these settings
are configured.
Configuring Print-Head Alignment for Media Feed Correction
If the print image quality problem persists even after [Media Feed Correction] is set to [On], change the
media feed correction level.
(If the ink combinations are 4C)
1.
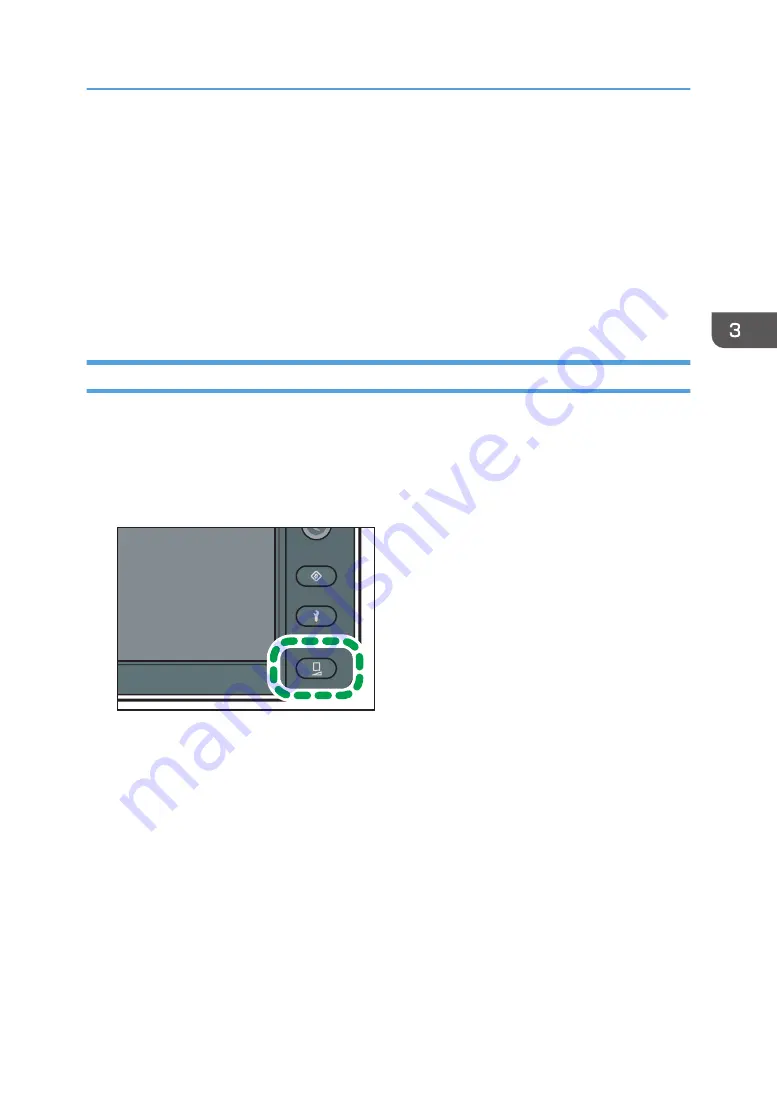
Press the [Standard Procedure] key.
DWU103
2.
Press [Selected Setting for Head Alignment].
3.
Press [Media Feed Correction].
4.
Press [Level Setting].
5.
Select the print mode to change the media feed correction level to [6 Pass], [8 Pass], [12
Pass], [16 Pass], or [32 Pass].
6.
Select the media feed correction level from [Level 0], [Level 1], [Level 2], and [Level 3].
7.
Press [Close] 3 times.
8.
Press [End].
The connection method for the print heads will be applied to the first printing job after these settings
are configured.
Performing the Connection Methods
111
Summary of Contents for Pro L5130
Page 2: ......
Page 8: ...7 Appendix Trademarks 257 6 ...
Page 50: ...1 Getting Started 48 ...
Page 90: ...DWT216 2 Basic Operations 88 ...
Page 132: ...11 Press End 3 Convenient Usage 130 ...
Page 136: ...5 Press Close 6 Press End 3 Convenient Usage 134 ...
Page 154: ... Base line position on the media guide 4 Configuring and Managing the Machine 152 ...
Page 228: ...10 DWT208 11 DWT209 12 DWT210 5 Troubleshooting 226 ...
Page 234: ...5 Troubleshooting 232 ...
Page 261: ...MEMO 259 ...
Page 262: ...MEMO 260 EN GB EN US EN AU M0BY 7564A ...
Page 263: ......
Page 264: ...EN GB EN US EN AU M0BY 7564A 2018 2019 Ricoh Co Ltd ...


