2.
Click [Device Settings Management].
3.
Click [Set as Synchronization Source for Device Settings].
4.
Click [Upload] in "Synchronization Destination Management".
5.
Select the list of destination whiteboards to be synchronized.
Import of the list begins. When the import is complete, a message is displayed.
• For details about how to create a list, see page 239 "Creating a List of Destination
6.
Click [OK].
• The source synchronizing whiteboard cannot be a destination whiteboard for other whiteboards.
Also, a synchronized destination whiteboard cannot synchronize its settings with other
whiteboards.
• If the synchronization setting is enabled, the results of the synchronization are displayed when you
open the Web page of the synchronized destination whiteboards.
Creating a List of Destination Whiteboards to Synchronize
Use a text editor, spreadsheet software, or other similar application to create a synchronization
destination list.
1.
In the first row, enter the label for the column. In the second and subsequent rows, enter
the corresponding information for each destination whiteboard that you want to
synchronize.
Up to 200 entries can be added from the second line.
XXX.XXX.XX.X
XXX.XXX.XX.XX
address
XXX.XXX.XX.XX
XXX.XXX.XX.XXX
DWJ016
2
1
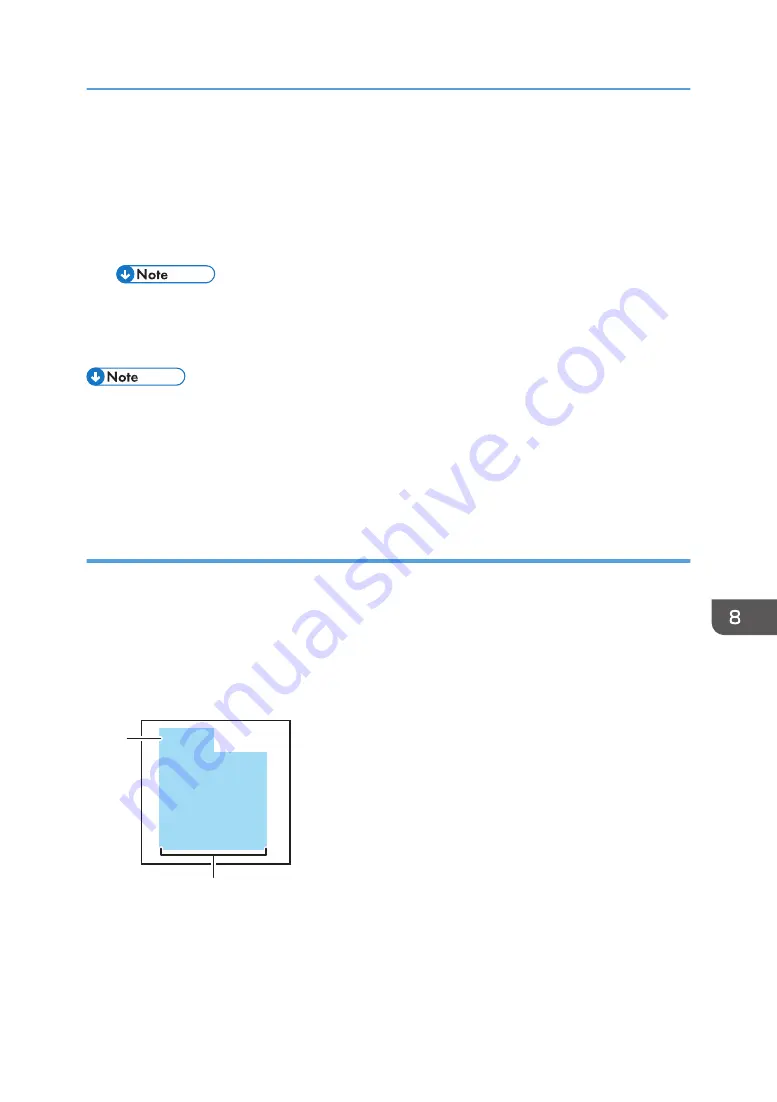
1. Label row
Enter "address".
2. address column
Enter the IP address or host name of the destination whiteboard.
Managing the Device Settings
239
Summary of Contents for Interactive Whiteboard Controller Type 2
Page 2: ......
Page 14: ...12...
Page 34: ...1 Overview 32...
Page 75: ...2 Touch Import File DTW475 3 Touch Temporary Save Folder DWJ056 Operating a File 73...
Page 88: ...2 Using a Whiteboard 86...
Page 110: ...3 Connecting Devices 108...
Page 122: ...4 Connecting to a Video Conference 120...
Page 246: ...8 Changing the Interactive Whiteboard Settings 244...
Page 342: ...MEMO 340 EN GB EN US EN AU Y420 7506D...
Page 343: ......
Page 344: ...EN GB EN US EN AU Y420 7506D 2018 2019 Ricoh Co Ltd...


