Uploading Files to the Gateway
8-3
Files of type
– Displays the types of files that can be uploaded: OnLAN files and flash files.
Upload
– Starts the uploading process.
Exit
– Quits the program.
#"
To upload a file to the Gateway
1. In
the
IP
field, type the IP address of the Gateway to which you want to upload the file.
2. Type your user name and password in their respective text boxes.
3. Locate and select the file you wish to upload. If the file you wish to upload is not
displayed, use the arrow next to the
Look in
drop-down list box or the
Up one level
button to browse to the desired file.
4. Click
Upload
.
A confirmation box is displayed.
5. Click
Yes
to confirm the upload process
or
No
to cancel.
6. The following connecting window appears showing the connection attempt. If the
connection attempt is not successful, an abort message is displayed.
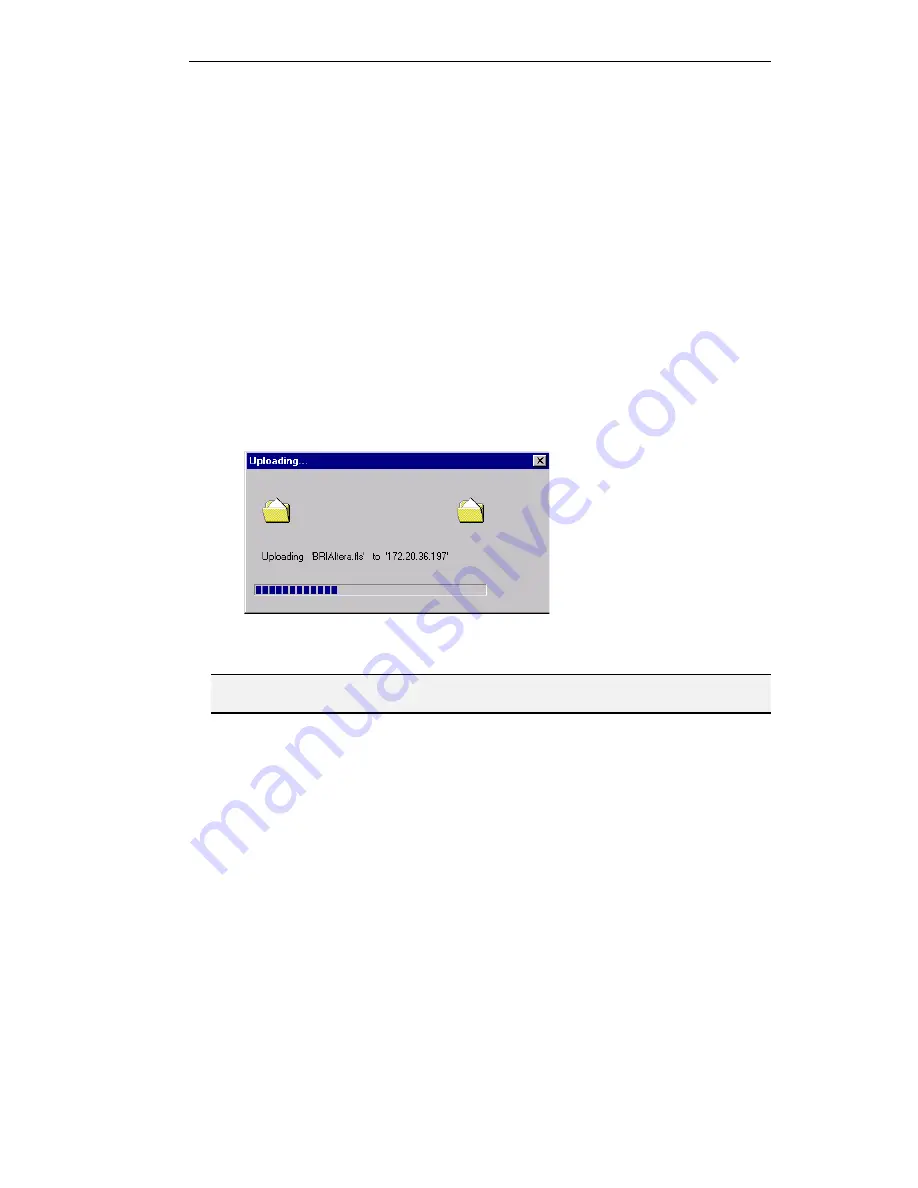
7. When the configuration terminal connects to the unit, the following status window
appears showing the progress of the uploading process and confirming the name of the
file being uploaded and the destination IP address.
Figure 55 - Upload Status Window for the OnLAN L2W-323
Note: The file name and /or IP address may differ from the ones displayed, depending on
the file you are uploading and the destination unit.
After the file is successfully uploaded to the Gateway, the message
“
Upload Process
Complete
”
appears.
Summary of Contents for L2W-323
Page 1: ...P N 61285 00001 Rev A L2W 323 GATEWAY User Guide ...
Page 2: ......
Page 4: ......
Page 16: ......
Page 24: ......
Page 48: ......
Page 50: ......
Page 64: ......
Page 76: ......
Page 118: ......
Page 120: ......
Page 156: ......
Page 174: ......
Page 202: ......
Page 215: ...Appendix A Cable Connectors and Pin outs ...
Page 216: ......
Page 222: ...Appendix B Safety Considerations ...
Page 223: ......
Page 225: ...Appendix C IP Addressing ...
Page 226: ......
Page 231: ...Appendix D Technical Specifications ...
Page 232: ......
Page 235: ...Appendix E FCC Part 68 Customer Instructions ...
Page 236: ......


