Make a copy and delete a specific area of an original
Introduction
You can make a copy without a specific area of an original with the [Delete area] setting. You can
use 2 settings to define the dimensions of the delete area and you can use 2 settings to define the
relative position of the delete area on the sheet.
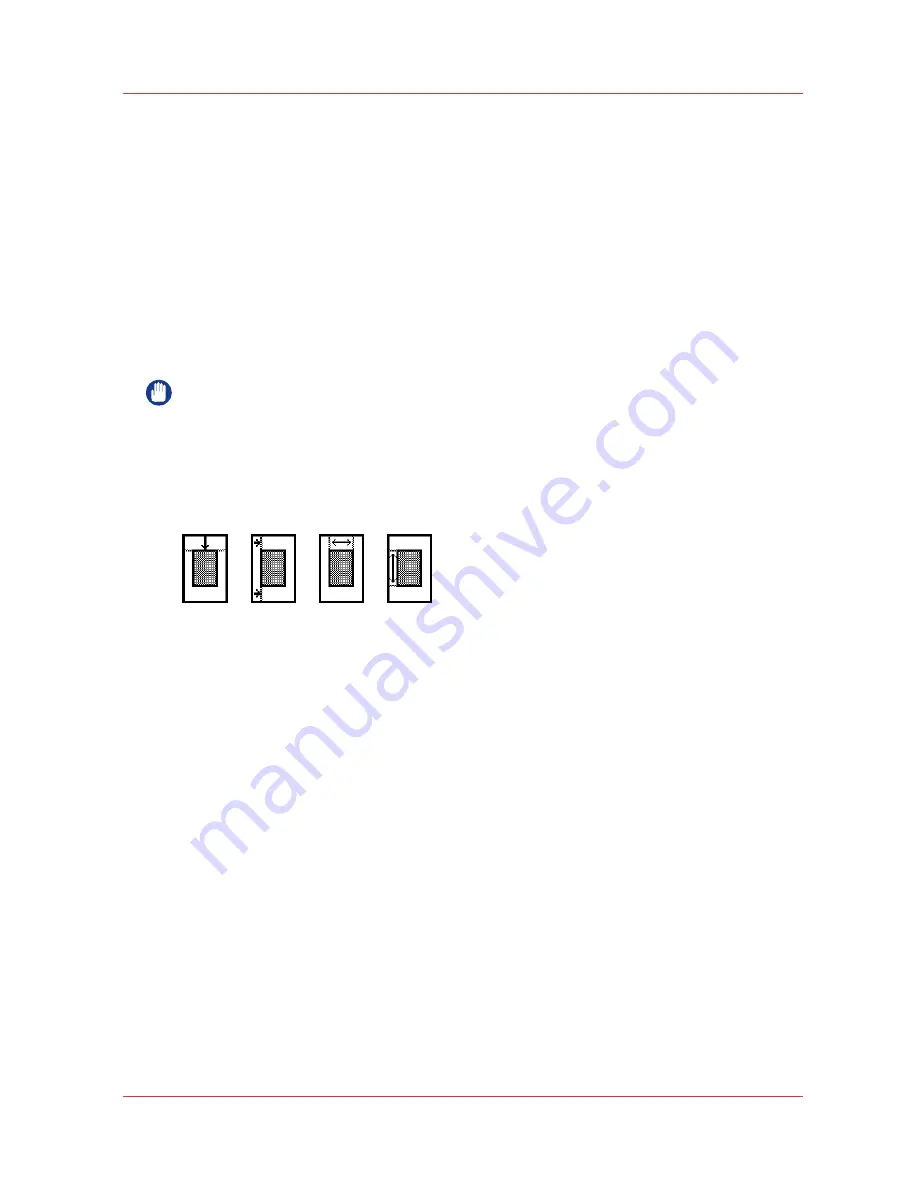
Define the relative position of the delete area with the following settings.
• [Y Offset]
• [X Offset]
Define the dimensions of the delete area
• [Width]
• [Length]
IMPORTANT
When you copy without a specific area, make sure that you copied all the required information.
Procedure
1.
Place the original face down and right aligned.
The scanner takes the original.
2.
Define the job settings.
[57] The icons of [Y Offset], [X Offset],[Width] and [Length] setting
• Select [Copy] with the upper left soft key.
The copy job templates appear.
• Open a copy job template with a left soft key.
The top 5 settings display.
• Scroll to [Delete area] and open this setting with the left soft key.
• Define the [X Offset] with the scroll wheel or numeric keys.
• Select [Y Offset] with the left softkey and define the value with the scroll wheel or numeric
keys.
• Select [Width] with the left softkey and define the value with the scroll wheel or numeric keys.
• Select [Length] with the left softkey and define the value with the scroll wheel or numeric keys
and close the setting.
3.
Define the number of copies if necessary and press the green Start key.
Result
The Océ PlotWave 750 copies an original without the specified area.
Make a copy and delete a specific area of an original
Chapter 5 - Use the Océ TC4 scanner for copy and scan-to-file jobs
193
Summary of Contents for PlotWave 750
Page 1: ...Oc PlotWave 750 Operation guide...
Page 8: ...Contents 8...
Page 9: ...Chapter 1 Preface...
Page 14: ...Online support for your product 14 Chapter 1 Preface...
Page 15: ...Chapter 2 Introduction...
Page 44: ...Select a language 44 Chapter 2 Introduction...
Page 45: ...Chapter 3 Define your workflow with Oc Express WebTools...
Page 137: ...Chapter 4 Use the Oc PlotWave 750 to print...
Page 165: ...Chapter 5 Use the Oc TC4 scanner for copy and scan to file jobs...
Page 209: ...Chapter 6 The finishing options...
Page 227: ...Chapter 7 Maintain and troubleshoot the Oc PlotWave 750 system...
Page 283: ...Chapter 8 Support...
Page 298: ...Audit log 298 Chapter 8 Support...
Page 299: ...Chapter 9 Account management...
Page 307: ...Appendix A Overview and tables...


