Configure the Océ Express WebTools settings for a mobile
connection
Introduction
If you want to give users easy access to Océ Mobile WebTools, the settings must first be
configured. With the information, you can develop a [Quick Response Card] to create easy access.
Before you begin
Make sure you configure your Wi-Fi network and connect the printer to the network.
NOTE
Log in as [Key operator] or [Power user] to be able to configure the mobile connection
information.
Illustration
Procedure
1.
Open Océ Express WebTools on your workstation.
2.
Go to the [Configuration] - [Connectivity] tab.
3.
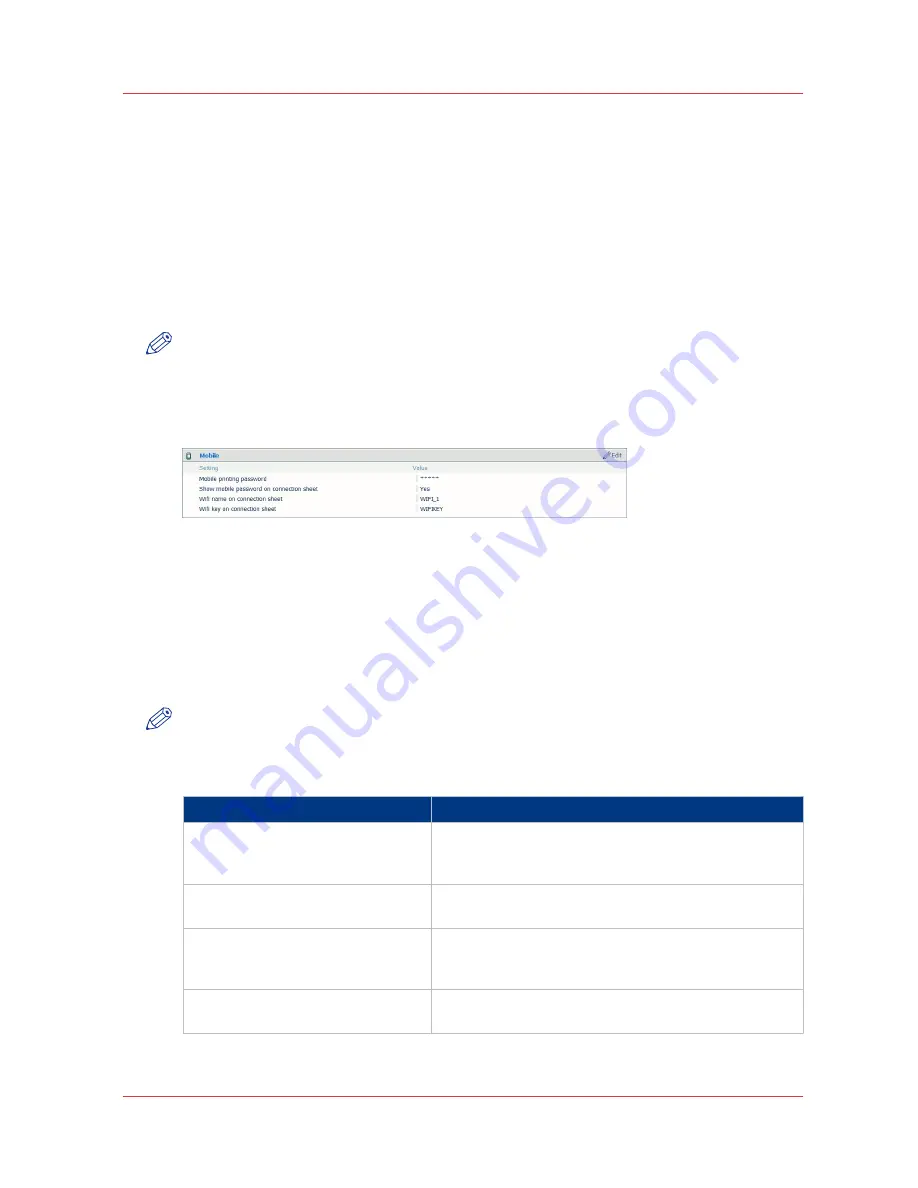
Go down to the [Mobile] section.
4.
Click [Edit] in the right-hand corner.
5.
Enter the settings for the mobile connection. This information will also be printed on the [Quick
Response Card]:
NOTE
Enter information according to your IT policy. Contact your [System administrator] for more
information.
[Mobile] section in Océ Express WebTools
Setting
Action
[Mobile printing password]
Optional: Only define a key if you want users to enter a
password before connecting to the printer.
Use it when you need to control access to the printer.
[Show mobile password on Quick
Response Card]
Enter “Yes” if you want to display the password on the
[Quick Response Card].
[Wifi name on connection sheet] (al-
so known as SSID)
Enter the name of your Wi-Fi network.
The name will be displayed on the [Quick Response
Card].
[Wifi key on connection sheet] (also
known as security key)
If required, enter the password for your Wi-Fi network.
The key will be displayed on the [Quick Response Card].
6.
Click [Ok] to confirm the determined settings.
Configure the Océ Express WebTools settings for a mobile connection
Chapter 4 - Use the Océ PlotWave 750 to print
155
Summary of Contents for PlotWave 750
Page 1: ...Oc PlotWave 750 Operation guide...
Page 8: ...Contents 8...
Page 9: ...Chapter 1 Preface...
Page 14: ...Online support for your product 14 Chapter 1 Preface...
Page 15: ...Chapter 2 Introduction...
Page 44: ...Select a language 44 Chapter 2 Introduction...
Page 45: ...Chapter 3 Define your workflow with Oc Express WebTools...
Page 137: ...Chapter 4 Use the Oc PlotWave 750 to print...
Page 165: ...Chapter 5 Use the Oc TC4 scanner for copy and scan to file jobs...
Page 209: ...Chapter 6 The finishing options...
Page 227: ...Chapter 7 Maintain and troubleshoot the Oc PlotWave 750 system...
Page 283: ...Chapter 8 Support...
Page 298: ...Audit log 298 Chapter 8 Support...
Page 299: ...Chapter 9 Account management...
Page 307: ...Appendix A Overview and tables...


