


Falcon II Outdoor series printers – Maintenance Manual
234
AP-74065, Rev. 1.0, 21/11/03
Step 4 :
Send new firmware data by MS-DOS copy command etc. (e.g. "COPY /B rh2.04.jfl LPT1")
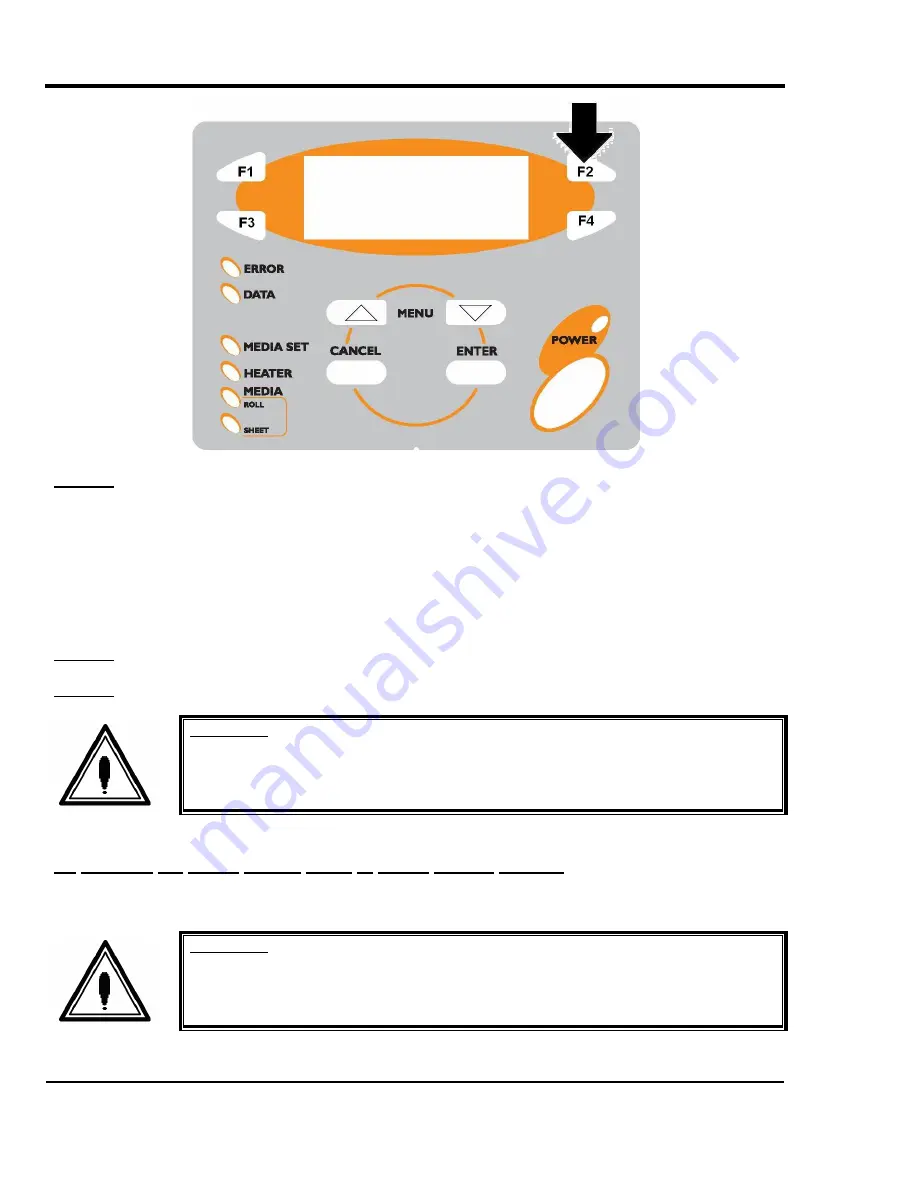
Firmware installation will take about 60 seconds. The following messages will appear in order on the LED
display on the operation panel during installation.
¾
“Loading"
¾
"Erasing"
¾
"Copying"
¾
"Comparing"
¾
"End"
Step 5 :
Check if the buzzer sounded and whether the firmware was installed correctly.
Step 6 :
Power the unit OFF.
Important :
After installation of the firmware onto the Falcon II Outdoor 4 heater, you must
upgrade the heater system board.
(3) Updating the heater system board (4 heater printers ONLY!).
To update the heater system board of a Falcon II Outdoor 4 heater printer, please follow the instructions mentioned below.
Important :
¾
Before updating the heater system board, make sure you already installed the
firmware into the Falcon II Outdoor 4 heater printer.
Step 1 :
Make sure the printer is OFF.


