232
Chapter 28: Delay Compensation (Latency)
PRO6 Live Audio System
Owner’s Manual
To avoid the comb filtering effect, the PRO6 insert compensation works by delaying all
channels except the ones that have inserts assigned. In practice, the actual delay used
for compensation depends on the type of insert (internal/external) and its location
(stage/FOH). Each channel type or layer within the control centre, such as, input, aux,
master or matrix, has its own parameter controlling the delay compensation for that
layer. This provides the user with the maximum flexibility and allows the control centre
to be configured for the lowest latency for a given application.
GEQ compensation
Output bus channels have the ability to have a GEQ inserted into them, which incurs an
additional delay in their signal path. With GEQ compensation active, a delay is inserted
into the output buses, which is removed when a GEQ becomes active. This ensures
that all bus outputs of the same type are aligned, regardless of whether they use a GEQ
or not.
GUI Delay Compensation options
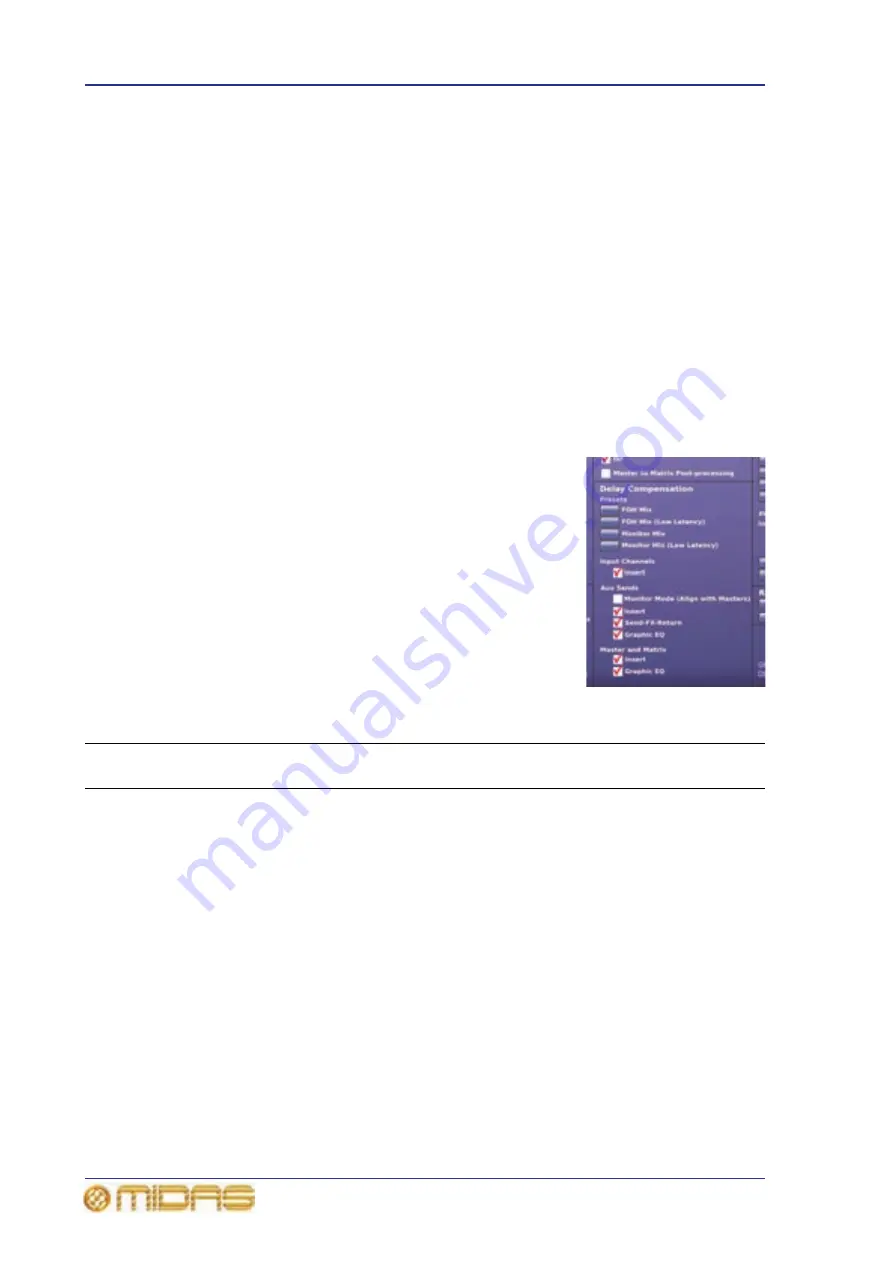
PRO6 delay compensation (latency) is configured in the
Delay Compensation section (shown right) of GUI menu’s
Preferences screen.
For a description of the delay compensation options and
details of when best to use them, see Table 14 (below). In
this table the Description column explains what happens
when the delay compensation option is selected (switched
on) and the Latency (ms) column shows the value that the
overall system latency is increased by.
>> To access the delay compensation options
At the GUI, choose home
Preferences
General.
Table 14: Delay compensation options
Section
Option
Description
Recommendations
Latency
(ms)
Input
Channels
Insert
Time-aligns the output of all
input channels, regardless of
whether or not they have an
active insert. When this
option is switched off, any
input channels with inserts
will be delayed relative to
those input channels that do
not have inserts.
If no inserts are used in the
input channel layer, switch
this option off to reduce the
overall system latency.
If there is an insert on any
input channel, switch this
option on.
1.11
Aux
Sends
Monitor
Mode
(Align
with
Masters)
See “Monitor Mode (Align
with Masters)” on page 234.
Not applicable.
Not
applic-
able
Summary of Contents for PRO6
Page 2: ......
Page 4: ......
Page 6: ......
Page 10: ......
Page 14: ...xvi Precautions PRO6 Live Audio System Owner s Manual...
Page 24: ...xxvi Contents PRO6 Live Audio System Owner s Manual...
Page 25: ...PRO6 Live Audio System Owner s Manual Volume 1 Overview...
Page 26: ......
Page 30: ...4 Chapter 1 Introduction PRO6 Live Audio System Owner s Manual...
Page 42: ...16 Chapter 2 PRO6 Live Audio System PRO6 Live Audio System Owner s Manual...
Page 50: ...24 Chapter 3 About The PRO6 Control Centre PRO6 Live Audio System Owner s Manual...
Page 51: ...PRO6 Live Audio System Owner s Manual Volume 1 Getting Started...
Page 52: ......
Page 59: ...PRO6 Live Audio System Owner s Manual Volume 2 Basic Operation Of The PRO6...
Page 60: ......
Page 64: ...38 Chapter 5 Before You Start PRO6 Live Audio System Owner s Manual...
Page 104: ...78 Chapter 8 Patching PRO6 Live Audio System Owner s Manual...
Page 131: ...PRO6 Live Audio System Owner s Manual Volume 3 Advanced Operation And Features...
Page 132: ......
Page 136: ...110 Chapter 10 Stereo Linking PRO6 Live Audio System Owner s Manual...
Page 144: ...118 Chapter 11 Panning PRO6 Live Audio System Owner s Manual...
Page 148: ...122 Chapter 12 Soloing PRO6 Live Audio System Owner s Manual...
Page 150: ...124 Chapter 13 Muting PRO6 Live Audio System Owner s Manual...
Page 192: ...166 Chapter 18 Copy And Paste PRO6 Live Audio System Owner s Manual...
Page 242: ...216 Chapter 24 User Libraries Presets PRO6 Live Audio System Owner s Manual...
Page 246: ...220 Chapter 25 File Management PRO6 Live Audio System Owner s Manual...
Page 250: ...224 Chapter 26 Using Other Devices With The PRO6 PRO6 Live Audio System Owner s Manual...
Page 267: ...PRO6 Live Audio System Owner s Manual Volume 4 Description...
Page 268: ......
Page 335: ...PRO6 Live Audio System Owner s Manual Volume 5 Appendices...
Page 336: ......
Page 365: ...Audio signal path 339 PRO6 Live Audio System Owner s Manual Audio signal path...
Page 366: ...340 Appendix C Klark Teknik DN370 GEQ PRO6 Live Audio System Owner s Manual...
Page 372: ...346 Appendix D Klark Teknik DN780 Reverb PRO6 Live Audio System Owner s Manual...
Page 376: ...350 Appendix E I O Modules PRO6 Live Audio System Owner s Manual...
Page 400: ...374 Appendix I Documentation PRO6 Live Audio System Owner s Manual...
Page 511: ...Return 485 XL8 Live Performance System Owner s Manual Gate Not applicable EQ Not applicable...
Page 612: ...586 Glossary PRO6 Live Audio System Owner s Manual...


