222
Chapter 26: Using Other Devices With The PRO6
PRO6 Live Audio System
Owner’s Manual
Sharing DL431 Mic Splitter A and B inputs
If you are using two Midas digital consoles with a DL431 Mic Splitter, you must
configure the consoles to use either the A or B inputs of the mic splitter. Although it
doesn’t matter which inputs each console uses, they can’t use the same ones. Also,
both consoles must be synchronised.
>> To configure two PRO6s for use with DL431 Mic Splitters
In a dual FOH and MON system it may be easier and more convenient to always set the
FOH control centre to master, and to use the mic splitter A inputs for FOH and the B
inputs for MON. Also, although the sync method doesn’t matter in this case, it is easier
to sync the two consoles using the DL431 Mic Splitter, as described below.
1
Mute the PA at the amplifier/speaker. Refer to the
WARNING
at the beginning
of this section.
2
Configure the AES50 Sync option of the DL431 Mic Splitter’s main menu to
Cable Sync A.
3
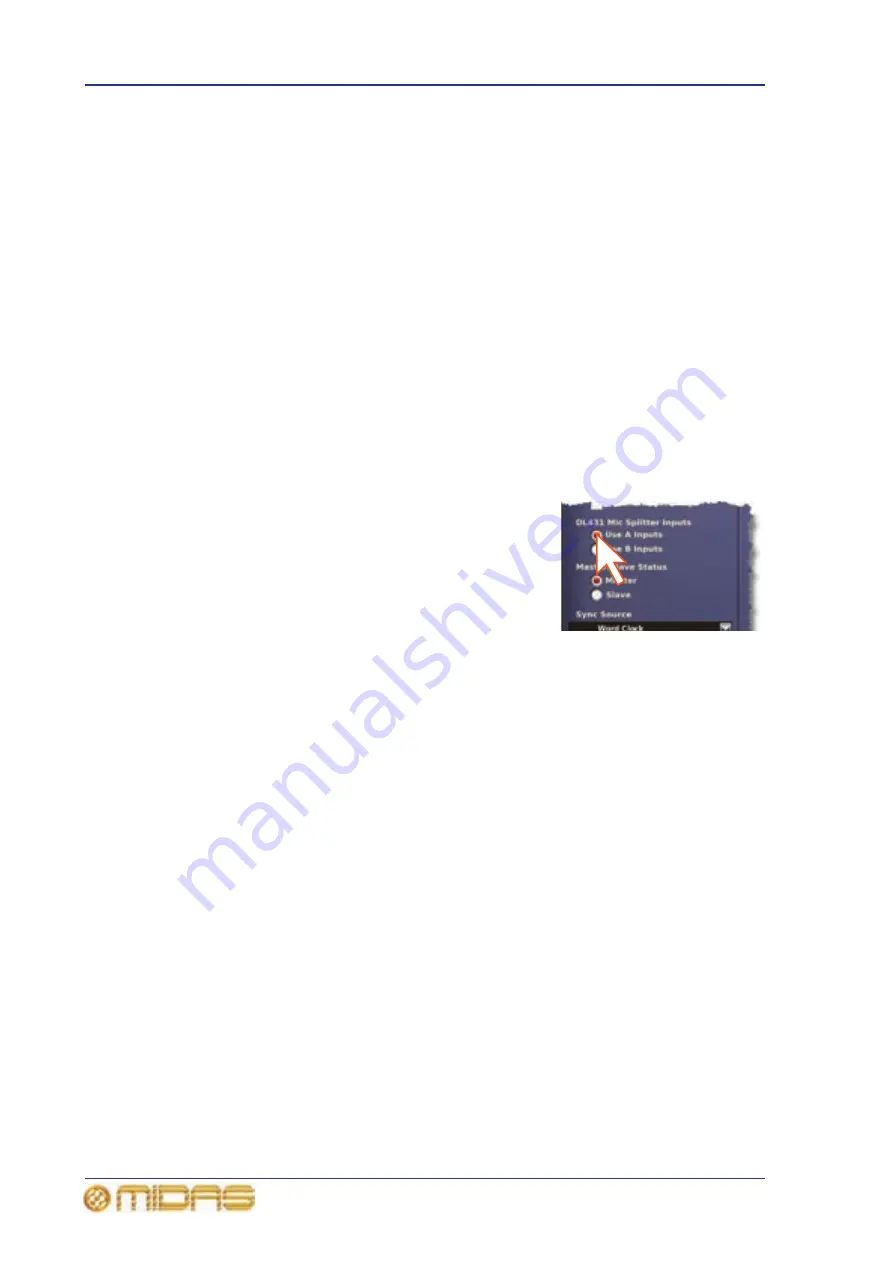
On the FOH control centre, configure it by choosing
home
Preferences
General at the GUI and then selecting the following
options:
• Under the DL431 Mic Splitter Inputs
heading, click the “Use A Inputs” option
(shown right).
• Under the Master/Slave Status heading,
click the “Master” option.
4
On the MON control centre, configure the port for
the DL431 Mic Splitter (see “Device set-up
procedure” on page 72).
5
Configure the MON control centre by choosing home
Preferences
General
at the GUI and then selecting the following options:
• Under the DL431 Mic Splitter Inputs heading, click the “Use B Inputs”
option.
• Under the Master/Slave Status heading, click the “Slave” option.
• Open the Sync Source drop-down list and select the port that you configured
for the DL431 Mic Splitter in the previous step.
Using an external USB mouse
You can operate a GUI screen using an external USB mouse instead of its trackball (in
the primary navigation zone). To use the USB mouse, plug it into one of the USB
connectors (left of GUI screens, see “Saving your show files to a USB memory stick” on
page 103). The top USB socket is for the left GUI screen and bottom one is for the GUI
screen on the right. You can rest/operate the mouse in the primary navigation zone.
Using an external USB keyboard
You can use a USB keyboard with either GUI screen. Use one of the USB keyboard
sockets at the front of the PRO6 (see “Front panel connections” on page 243) as
necessary.
Summary of Contents for PRO6
Page 2: ......
Page 4: ......
Page 6: ......
Page 10: ......
Page 14: ...xvi Precautions PRO6 Live Audio System Owner s Manual...
Page 24: ...xxvi Contents PRO6 Live Audio System Owner s Manual...
Page 25: ...PRO6 Live Audio System Owner s Manual Volume 1 Overview...
Page 26: ......
Page 30: ...4 Chapter 1 Introduction PRO6 Live Audio System Owner s Manual...
Page 42: ...16 Chapter 2 PRO6 Live Audio System PRO6 Live Audio System Owner s Manual...
Page 50: ...24 Chapter 3 About The PRO6 Control Centre PRO6 Live Audio System Owner s Manual...
Page 51: ...PRO6 Live Audio System Owner s Manual Volume 1 Getting Started...
Page 52: ......
Page 59: ...PRO6 Live Audio System Owner s Manual Volume 2 Basic Operation Of The PRO6...
Page 60: ......
Page 64: ...38 Chapter 5 Before You Start PRO6 Live Audio System Owner s Manual...
Page 104: ...78 Chapter 8 Patching PRO6 Live Audio System Owner s Manual...
Page 131: ...PRO6 Live Audio System Owner s Manual Volume 3 Advanced Operation And Features...
Page 132: ......
Page 136: ...110 Chapter 10 Stereo Linking PRO6 Live Audio System Owner s Manual...
Page 144: ...118 Chapter 11 Panning PRO6 Live Audio System Owner s Manual...
Page 148: ...122 Chapter 12 Soloing PRO6 Live Audio System Owner s Manual...
Page 150: ...124 Chapter 13 Muting PRO6 Live Audio System Owner s Manual...
Page 192: ...166 Chapter 18 Copy And Paste PRO6 Live Audio System Owner s Manual...
Page 242: ...216 Chapter 24 User Libraries Presets PRO6 Live Audio System Owner s Manual...
Page 246: ...220 Chapter 25 File Management PRO6 Live Audio System Owner s Manual...
Page 250: ...224 Chapter 26 Using Other Devices With The PRO6 PRO6 Live Audio System Owner s Manual...
Page 267: ...PRO6 Live Audio System Owner s Manual Volume 4 Description...
Page 268: ......
Page 335: ...PRO6 Live Audio System Owner s Manual Volume 5 Appendices...
Page 336: ......
Page 365: ...Audio signal path 339 PRO6 Live Audio System Owner s Manual Audio signal path...
Page 366: ...340 Appendix C Klark Teknik DN370 GEQ PRO6 Live Audio System Owner s Manual...
Page 372: ...346 Appendix D Klark Teknik DN780 Reverb PRO6 Live Audio System Owner s Manual...
Page 376: ...350 Appendix E I O Modules PRO6 Live Audio System Owner s Manual...
Page 400: ...374 Appendix I Documentation PRO6 Live Audio System Owner s Manual...
Page 511: ...Return 485 XL8 Live Performance System Owner s Manual Gate Not applicable EQ Not applicable...
Page 612: ...586 Glossary PRO6 Live Audio System Owner s Manual...


