


94
Chapter 9: Basic Operation
PRO6 Live Audio System
Owner’s Manual
Managing the scenes
An automation section in the master bay (see item H in Figure 2 “Main areas of the
control surface” on page 19) supports the Automation screen by providing a number
of controls for scene navigation and management. A jogwheel and a next LCD button
are unique automation controls, while the store, ok, cancel, last and now buttons are
replicated on the Automation screen.
The four coloured, backlit buttons are context-sensitive and illuminate only when they
are available. Typically, three scenes in the cue list (Automation screen) will be
highlighted to match the button colours (red, yellow or green) to show which scene
each button will act upon.
The jogwheel quickly scrolls through the individual scenes in either direction. You can
even go to the empty scenes towards the end of the cue list and then wrap to the
beginning. Operation of the jogwheel does not change scene selection.
The next LCD button displays information on the scene you have just scrolled to.
Additional function buttons on the Automation screen allow you to copy scenes and
also to choose what is stored within each scene (store and recall scope buttons).
The eye icon
in the Automation screen (just under the ADD MIDI button)
opens a Show window, which contains a list of filter options.
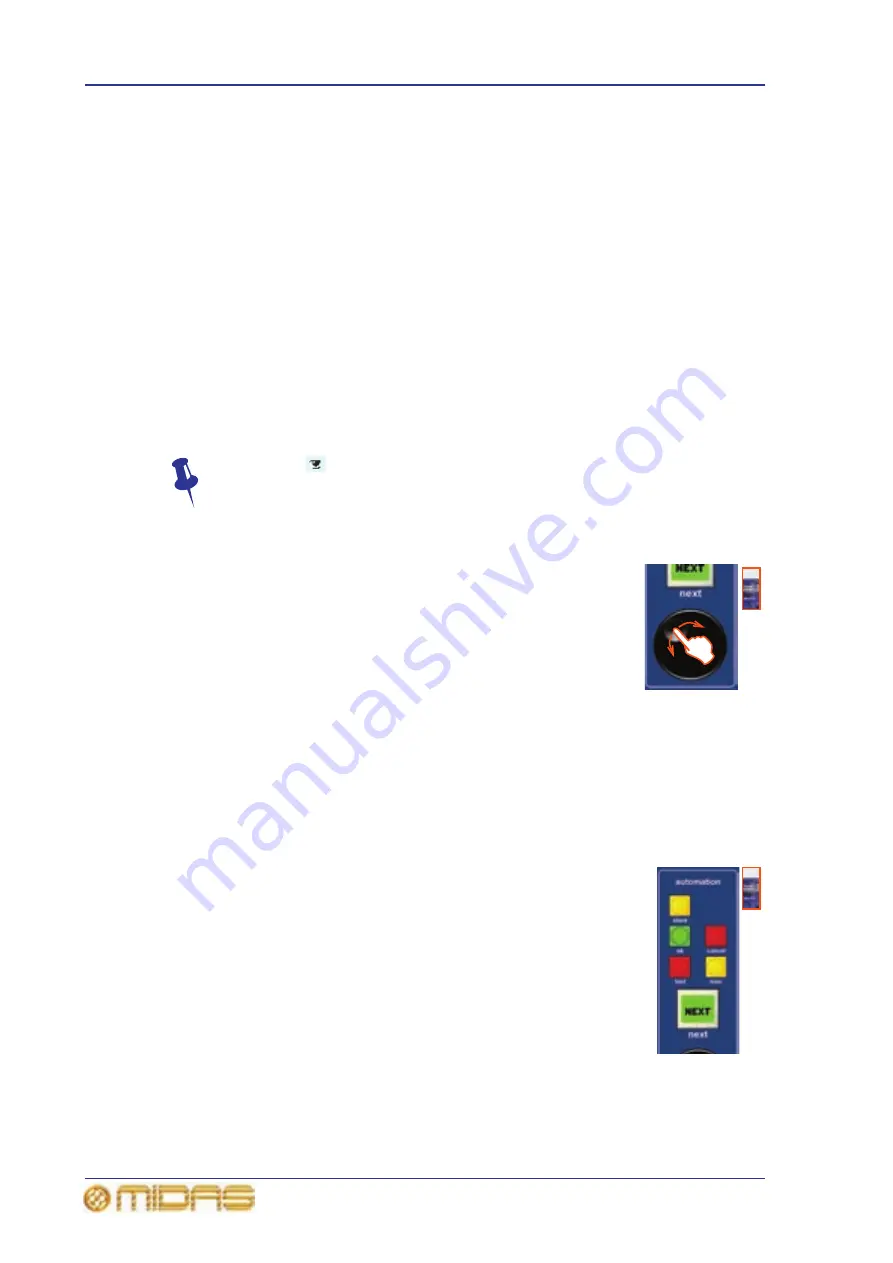
>> To navigate the scenes using the jogwheel
Place a finger in the indent in the jogwheel and move it in a
clockwise or anti-clockwise direction, as required (shown right). The
scenes will be scrolled, one by one.
When using the jogwheel the next LCD button will illuminate yellow
and will track the scene currently highlighted in yellow in the cue
list. In this case, pressing this button will only have an affect if a
non-empty scene is currently highlighted.
>> To recall a scene
Important:
When recalling a new scene, make sure monitor output levels are low, as the
new scene’s settings may produce higher audio output levels than the one it is
replacing. Also, recalling a scene clears any unsaved adjustments made to the
previous scene.
Do one of the following:
• Press last to change scene selection to the one currently
highlighted in red in the cue list, which was the last selected
scene.
• Press now to change scene selection to the one currently
highlighted in yellow in the cue list.
• Press next (LCD button) to change scene selection to the one
currently highlighted in green in the cue list, which is the scene
immediately following the ‘now’ scene. However, if you have used
the jogwheel the affect will be different (see “To navigate the
scenes using the jogwheel” on page 94).
Summary of Contents for PRO6
Page 2: ......
Page 4: ......
Page 6: ......
Page 10: ......
Page 14: ...xvi Precautions PRO6 Live Audio System Owner s Manual...
Page 24: ...xxvi Contents PRO6 Live Audio System Owner s Manual...
Page 25: ...PRO6 Live Audio System Owner s Manual Volume 1 Overview...
Page 26: ......
Page 30: ...4 Chapter 1 Introduction PRO6 Live Audio System Owner s Manual...
Page 42: ...16 Chapter 2 PRO6 Live Audio System PRO6 Live Audio System Owner s Manual...
Page 50: ...24 Chapter 3 About The PRO6 Control Centre PRO6 Live Audio System Owner s Manual...
Page 51: ...PRO6 Live Audio System Owner s Manual Volume 1 Getting Started...
Page 52: ......
Page 59: ...PRO6 Live Audio System Owner s Manual Volume 2 Basic Operation Of The PRO6...
Page 60: ......
Page 64: ...38 Chapter 5 Before You Start PRO6 Live Audio System Owner s Manual...
Page 104: ...78 Chapter 8 Patching PRO6 Live Audio System Owner s Manual...
Page 131: ...PRO6 Live Audio System Owner s Manual Volume 3 Advanced Operation And Features...
Page 132: ......
Page 136: ...110 Chapter 10 Stereo Linking PRO6 Live Audio System Owner s Manual...
Page 144: ...118 Chapter 11 Panning PRO6 Live Audio System Owner s Manual...
Page 148: ...122 Chapter 12 Soloing PRO6 Live Audio System Owner s Manual...
Page 150: ...124 Chapter 13 Muting PRO6 Live Audio System Owner s Manual...
Page 192: ...166 Chapter 18 Copy And Paste PRO6 Live Audio System Owner s Manual...
Page 242: ...216 Chapter 24 User Libraries Presets PRO6 Live Audio System Owner s Manual...
Page 246: ...220 Chapter 25 File Management PRO6 Live Audio System Owner s Manual...
Page 250: ...224 Chapter 26 Using Other Devices With The PRO6 PRO6 Live Audio System Owner s Manual...
Page 267: ...PRO6 Live Audio System Owner s Manual Volume 4 Description...
Page 268: ......
Page 335: ...PRO6 Live Audio System Owner s Manual Volume 5 Appendices...
Page 336: ......
Page 365: ...Audio signal path 339 PRO6 Live Audio System Owner s Manual Audio signal path...
Page 366: ...340 Appendix C Klark Teknik DN370 GEQ PRO6 Live Audio System Owner s Manual...
Page 372: ...346 Appendix D Klark Teknik DN780 Reverb PRO6 Live Audio System Owner s Manual...
Page 376: ...350 Appendix E I O Modules PRO6 Live Audio System Owner s Manual...
Page 400: ...374 Appendix I Documentation PRO6 Live Audio System Owner s Manual...
Page 511: ...Return 485 XL8 Live Performance System Owner s Manual Gate Not applicable EQ Not applicable...
Page 612: ...586 Glossary PRO6 Live Audio System Owner s Manual...


