Report Designer Basics
CentreVu Report Designer Version 8 User Guide
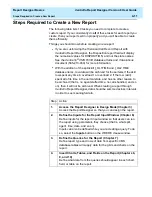
Steps Required to Create a New Report
4-12
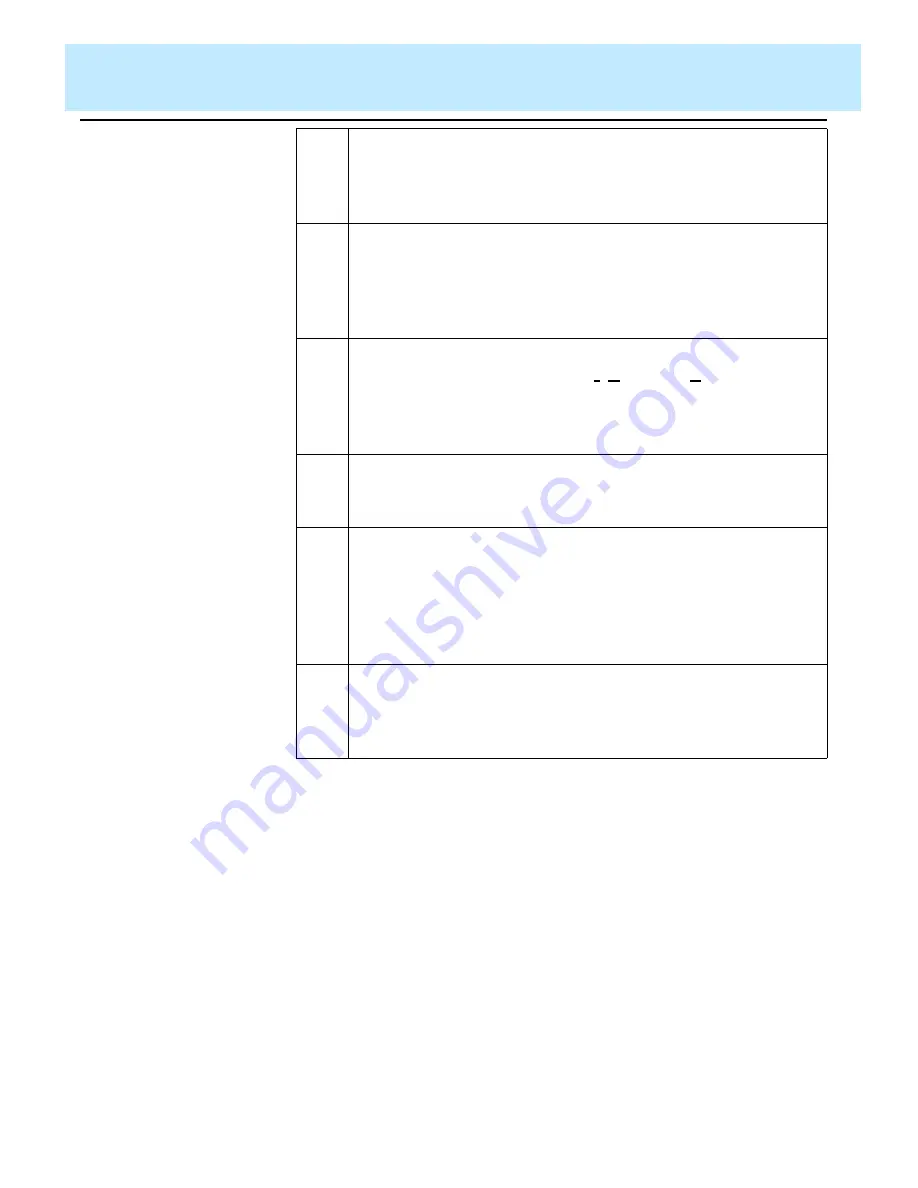
5.
Enter Report Text (Chapter 15) (optional)
Enter text to provide headings for the grids and charts on the
report, and to provide additional information, such as the report
name.
6.
Define Fields to Show Run Time/Date and User Inputs
(Chapter 9) (optional)
Define fields on the report to show when the report was run and
what items the report covers (as defined in the report input
window).
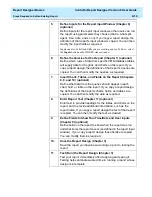
7.
Edit the Appearance of the Report (Chapter 5)
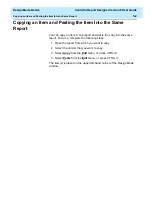
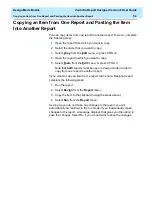
Edit a report design using the Cut, Copy, and Paste Edit menu
options and standard
Windows drag-and-drop conventions.
Editing an existing report design lets you rearrange and delete
sections of the report quickly and easily.
8.
Save the Report Design (Chapter 3)
Save the report you have been working on prior to testing the
report.
9.
Define a Report’s Properties (Chapter 4)
Define the
name that you use both to run the report and to
access the report design if you want to change the design.
Define access to determine whether other users can run the
report and copy the report’s design to create their own custom
reports. Define the
type as real-time, historical, or integrated.
10.
Test (Run) the Report Design (Chapter 3)
Test your report immediately after designing and saving it.
Testing helps eliminate wasted time in running a report whose
design is incomplete.
Summary of Contents for CentreVu Report Designer
Page 4: ......
Page 18: ...Introduction CentreVu Report Designer Version 8 User Guide Related Documents 1 8...
Page 102: ...Edit Inputs CentreVu Report Designer Version 8 User Guide Viewing the Input Window 6 16...
Page 198: ...Format Text CentreVu Report Designer Version 8 User Guide Formatting Text on the Report 15 4...
Page 264: ...Index CentreVu CMS R3V8 Upgrades and Migration IN 10...
Page 266: ......

