SQL Query and CMS Database Table Basics
CentreVu Report Designer Version 8 User Guide
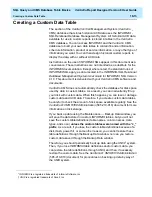
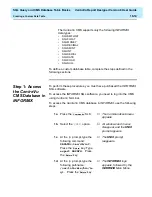
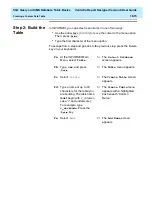
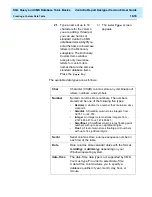
Creating a Custom Data Table
18-20
3d.
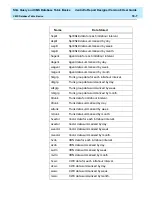
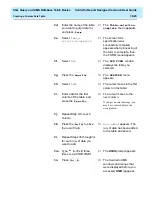
Enter the name of the table
you want to enter data for,
and press
.
→
The
Table-selection-
complete
menu appears.
3e.
Select
Table-
selection-complete
.
→
The screen form
specification was
successfully compiled
appears when processing of
the form is complete, then
the FORM menu appears.
3f.
Select
Run
.
→
The
RUN FORM
window
displays the table you
selected.
3g.
Press the
key.
→
The
PERFORM
menu
appears.
3h.
Select
Add
.
→
The cursor moves to the first
column in the table.
3i.
Enter data for the first
column of the table, and
press the
key.
→
The cursor moves to the
next column.
If you get an error message, you
may have entered data in the
wrong format.
3j.
Repeat Step 3i for each
column.
3k.
Press the
key to save
the row of data.
→
Row added
appears. The
row of data has been added
to the table and saved.
3l.
Repeat Steps 3h through 3k
for each row of data you
want to add.
3m.
Type
e
(for Exit) three
times to exit
INFORMIX.
→
The
UNIX prompt appears.
3n.
Press .
→
The CentreVu CMS
windows and menus that
were displayed before you
accessed
UNIX reappear.
Return
Return
Return
Esc
Ctrl
B
Summary of Contents for CentreVu Report Designer
Page 4: ......
Page 18: ...Introduction CentreVu Report Designer Version 8 User Guide Related Documents 1 8...
Page 102: ...Edit Inputs CentreVu Report Designer Version 8 User Guide Viewing the Input Window 6 16...
Page 198: ...Format Text CentreVu Report Designer Version 8 User Guide Formatting Text on the Report 15 4...
Page 264: ...Index CentreVu CMS R3V8 Upgrades and Migration IN 10...
Page 266: ......


