SQL Query and CMS Database Table Basics
CentreVu Report Designer Version 8 User Guide
Creating a Custom Data Table
18-19
Step 3: Add Data
to the Table
18
To help you add data to the table, you must first create a data entry form
associated with your table. For more information about forms, see
“Creating Your Own Forms” in the
INFORMIX-SQL Relational Database
Management System User Guide. For more information about adding
data, see “Entering Data,” in the same document.
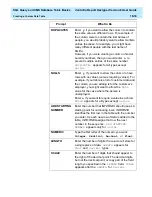
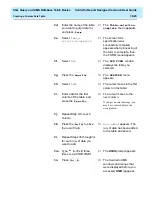
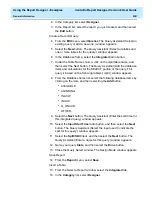
2j.
When you have added all
columns, press the
key until the Create Table
screen appears.
→
The
Create Table
menu
appears.
2k.
Select
Exit
.
→
The
Build-new-table
menu appears.
2l.
Select
Build-new-
table
.
→
The
Table
menu
reappears. If no errors are
found, then your table has
been added. If errors are
found, then you must go
back to the
Alter Table
screen and correct these
errors. You must then repeat
steps 2k and 2l until the
Table
menu reappears.
2m.
Select
Exit
to return to
the
INFORMIX Main Menu.
→
The
INFORMIX Main Menu
appears.
Return
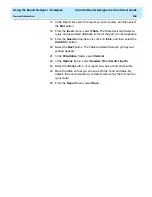
3a.
On the Main Menu, select
FORM
.
→
The
FORM
menu appears.
3b.
Select
GENERATE
.
→
The
GENERATE FORM
screen appears.
3c.
Enter a name (up to ten
characters) for the form
associated with your table.
(If possible, use the same
name as the table you
created.) Press
.
→
The
CHOOSE TABLE
screen appears.
Return
Summary of Contents for CentreVu Report Designer
Page 4: ......
Page 18: ...Introduction CentreVu Report Designer Version 8 User Guide Related Documents 1 8...
Page 102: ...Edit Inputs CentreVu Report Designer Version 8 User Guide Viewing the Input Window 6 16...
Page 198: ...Format Text CentreVu Report Designer Version 8 User Guide Formatting Text on the Report 15 4...
Page 264: ...Index CentreVu CMS R3V8 Upgrades and Migration IN 10...
Page 266: ......


