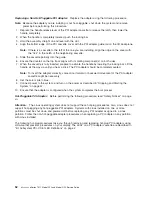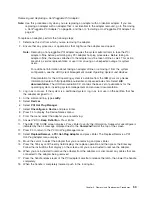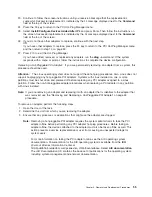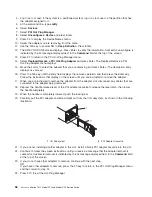
3.
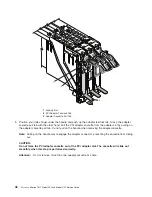
Examine
the
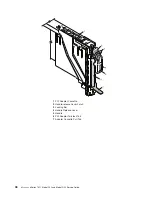
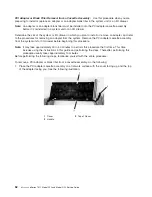
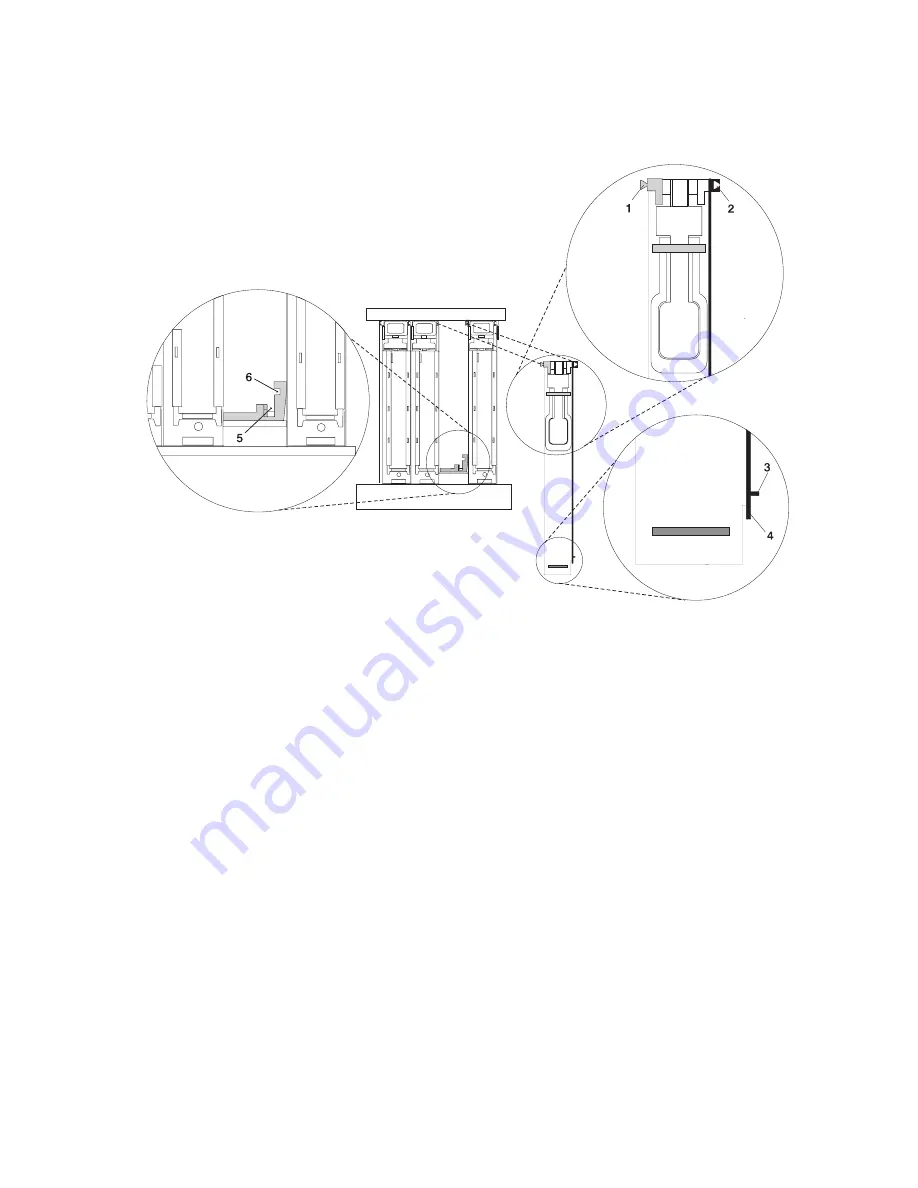
PCI
adapter
slot
opening
carefully,
and
note
the
location
of
the
dovetail
rails
and
the
cassette
guide
rails.
A
flashlight
can
be
used
to
enable
you
to
see
the
dovetail
rails
and
the
cassette
guide
rail
slots,
as
shown
in
the
following
illustration.
1
Cassette
Left
Dovetail
Rail
4
Cassette
Bottom
Guide
Rail
2
Cassette
Right
Dovetail
Rail
5
Side
Guide
Rail
Slot
on
System
Board
3
Cassette
Side
Guide
Rail
6
Bottom
Guide
Rail
Slot
on
System
Board
4.
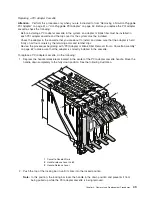
Hold
the
PCI
adapter
cassette
at
the
PCI
adapter
slot
so
that
the
PCI
adapter
cassette
is
perpendicular
to
the
slot
and
level
with
the
slot
opening.
5.
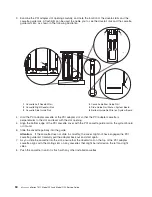
Align
the
bottom
edge
of
the
PCI
cassette
cover
with
the
PCI
cassette
guide
rail
on
the
system
board
or
I/O
unit.
6.
Slide
the
cassette
partially
into
the
guide.
Attention:
If
the
cassette
does
not
slide
in
smoothly,
the
cover
might
not
have
engaged
the
PCI
cassette
guide
rail.
Carefully
pull
the
adapter
back
out
and
start
again.
7.
As
you
slide
the
cassette
into
the
slot,
ensure
that
the
dovetail
rail
on
the
top
of
the
PCI
adapter
cassette
aligns
with
the
mating
slots
on
any
cassettes
that
might
be
installed
on
the
left
and
right
sides.
8.
Push
the
cassette
in
until
it
is
flush
with
any
other
installed
cassettes.
50
Eserver
pSeries
7311
Model
D10
and
Model
D20
Service
Guide
Summary of Contents for eserver pSeries 7311 D10
Page 1: ...pSeries 7311 Model D10 and Model D20 Service Guide SA38 0627 01 ERserver...
Page 2: ......
Page 3: ...pSeries 7311 Model D10 and Model D20 Service Guide SA38 0627 01 ERserver...
Page 8: ...vi Eserver pSeries 7311 Model D10 and Model D20 Service Guide...
Page 12: ...x Eserver pSeries 7311 Model D10 and Model D20 Service Guide...
Page 14: ...xii Eserver pSeries 7311 Model D10 and Model D20 Service Guide...
Page 25: ...1 Processor Subsystem 2 I O Subsystem Chapter 1 Reference Information 9...
Page 89: ...Chapter 3 Removal and Replacement Procedures 73...
Page 99: ...2 1 1 Top of Cassette 2 Handle Chapter 3 Removal and Replacement Procedures 83...
Page 179: ...D10 I O Subsystem Parts continued 1 2 3 4 5 6 7 Chapter 4 Parts Information 163...
Page 207: ......


