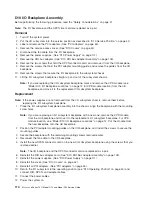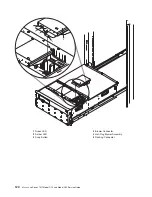
D20
RIO
Bus
Adapter
Assembly
Before
performing
this
procedure,
read
“Safety
Considerations”
on
page
41.
In
the
following
RIO
bus
adapter
removal
and
replacement
procedures,
the
RIO
bus
adapter
assembly
is
referred
to
as
the
RIO
adapter
.
RIO
Bus
Adapter
Removal
To
remove
the
RIO
adapter
from
the
subsystem,
do
the
following:
1.
Open
the
rack
front
door.
2.
Shut
down
the
system
as
described
in
“Stopping
and
Starting
the
System”
on
page
42.
3.
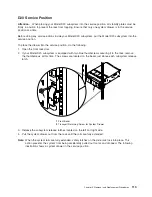
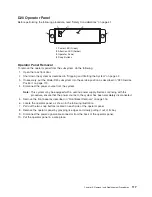
Put
the
Model
D20
subsystem
into
the
service
position
as
described
in“D20
Service
Position”
on
page
113.
4.
Disconnect
the
power
source
from
the
system.
Note:
This
system
may
be
equipped
with
a
second
power
supply.
Before
continuing
with
this
procedure,
ensure
that
the
power
source
to
the
system
has
been
completely
disconnected.
5.
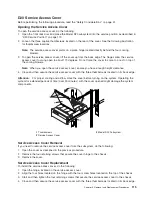
Open
the
service
access
cover
as
described
in
“Opening
the
Service
Access
Cover”
on
page
115.
6.
Disconnect
the
RIO-2
cables
from
the
RIO
connectors
located
on
the
rear
of
the
subsystem.
7.
Identify,
and
then
disconnect
and
label
all
cables
that
cross
over
the
top
of
the
RIO
adapter.
These
cables
might
interfere
with
the
removal
and
installation
of
the
RIO
adapter.
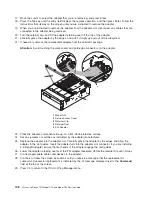
8.
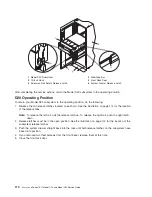
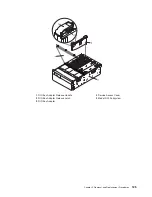
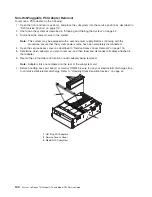
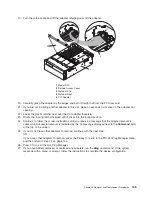
Release
the
release
latches
located
on
top
of
the
RIO
adapter.
9.
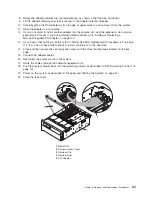
Simultaneously
lift
both
retention
handles.
10.
Pivot
the
release
handles
up
until
they
are
perpendicular
(90
degrees)
to
the
top
of
the
RIO
adapter.
Note:
By
placing
the
handles
perpendicular
to
the
top
of
the
RIO
adapter,
the
base
or
hinged
portion
of
each
handle
acts
as
a
cam
and
will
gently
pry
the
RIO
adapter
up,
disconnecting
it
from
its
docking
connector.
11.
Remove
the
RIO
adapter
from
the
subsystem
chassis,
and
put
it
in
a
safe
place.
124
Eserver
pSeries
7311
Model
D10
and
Model
D20
Service
Guide
Summary of Contents for eserver pSeries 7311 D10
Page 1: ...pSeries 7311 Model D10 and Model D20 Service Guide SA38 0627 01 ERserver...
Page 2: ......
Page 3: ...pSeries 7311 Model D10 and Model D20 Service Guide SA38 0627 01 ERserver...
Page 8: ...vi Eserver pSeries 7311 Model D10 and Model D20 Service Guide...
Page 12: ...x Eserver pSeries 7311 Model D10 and Model D20 Service Guide...
Page 14: ...xii Eserver pSeries 7311 Model D10 and Model D20 Service Guide...
Page 25: ...1 Processor Subsystem 2 I O Subsystem Chapter 1 Reference Information 9...
Page 89: ...Chapter 3 Removal and Replacement Procedures 73...
Page 99: ...2 1 1 Top of Cassette 2 Handle Chapter 3 Removal and Replacement Procedures 83...
Page 179: ...D10 I O Subsystem Parts continued 1 2 3 4 5 6 7 Chapter 4 Parts Information 163...
Page 207: ......

