The face images are modeled automatically after added to face database. You can also model
face images manually.
On the Database Config page, select a database, and then click Modeling to model all the
face images in the database.
On the Details page, select one or more face images, and then click Modeling to model the
selected images.
●
Export face images.
Select one or more face images, and then click Export.
●
Delete face images.
Select one or more face images, and then click Delete.
5.9.5.4 Configuring Face Recognition
Background Information
Configure alarm rules for face recognition.
5.9.5.4.1 Configuring AI by Recorder
Prerequisites
Make sure the face detection function is enabled at corresponding channel.
Procedure
Step 1
Select Main Menu > AI > Parameters > Face Recognition.
Step 2
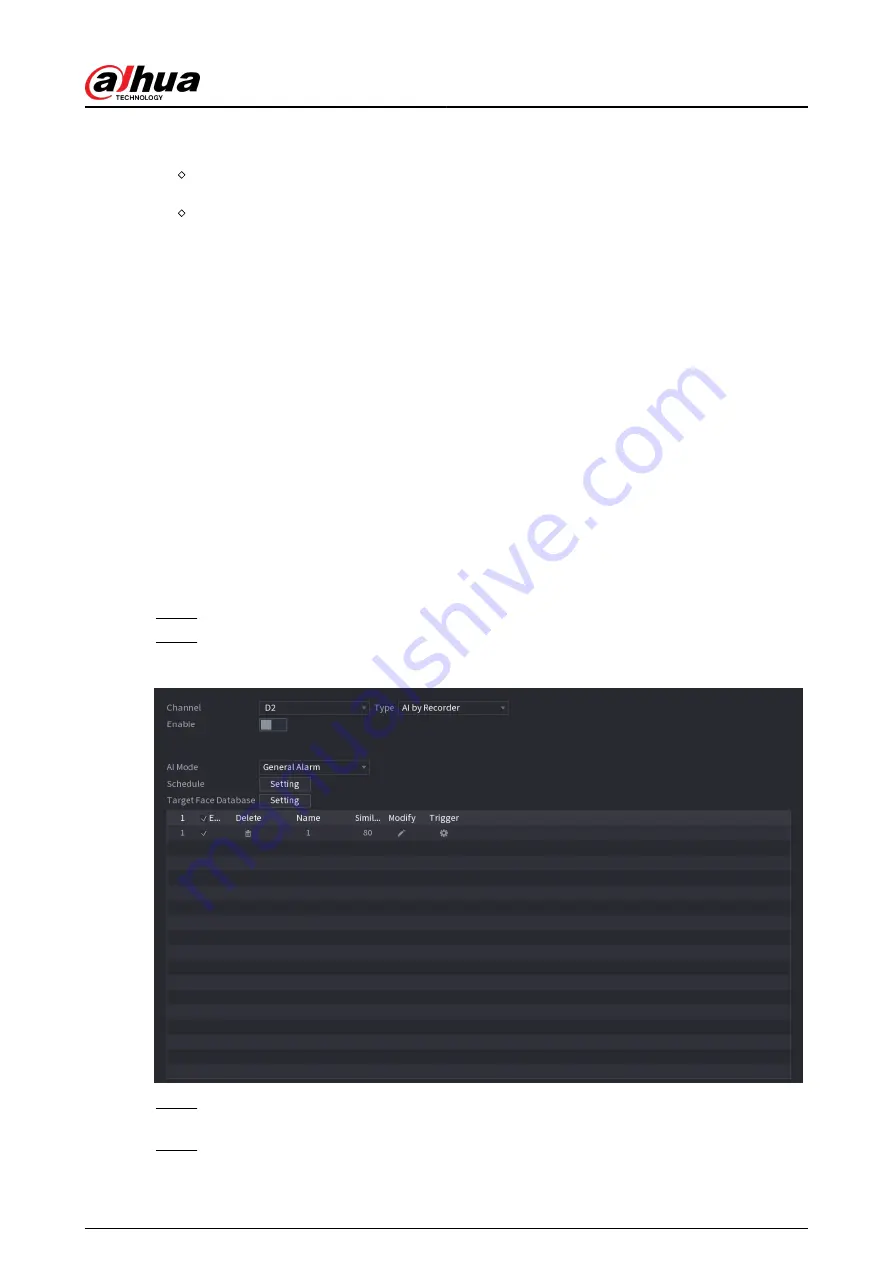
Select the channel, enable the function, and select AI by Recorder in the Type list.
Figure 5-115 AI by recorder
Step 3
Click Setting next to Schedule to configure arming periods. The corresponding alarm
actions are linked by the alarm events triggered during armed period.
Step 4
Arm target face database.
User's Manual
225
Summary of Contents for NVR2104-I2
Page 1: ...ZHEJIANG DAHUA VISION TECHNOLOGY CO LTD V2 3 3 Network Video Recorder User s Manual...
Page 84: ...Figure 2 98 Alarm input port 1 User s Manual 71...
Page 132: ...Figure 5 8 Unlock pattern login User s Manual 119...
Page 147: ...Figure 5 23 AcuPick human detection User s Manual 134...
Page 151: ...Figure 5 27 Shortcut menu 1 User s Manual 138...
Page 217: ...Figure 5 93 Custom search 2 Step 8 Configure the search conditions as needed User s Manual 204...
Page 326: ...Figure 5 197 TCP IP Step 2 Click to configure the NIC card and then click OK User s Manual 313...
Page 376: ...Figure 5 247 Pattern login User s Manual 363...
Page 412: ...Figure 5 285 File management Step 2 Click Add User s Manual 399...


