Chapter 19: Performing Data Communication
292
u
ClassPad Operation
1. Use the procedure under “Connecting to Another ClassPad Unit” above to connect the two units.
2. Use the procedure under “To configure communication parameters” (page 285) to configure the parameters of
the two units as shown below.
• Cable Type: 3pin cable
• Speed (3Pin): 115200 bps
• Wakeup Enable: On
On the sending ClassPad:
3. On the Communication application window, tap [Link] - [Transmit], or tap
E
.
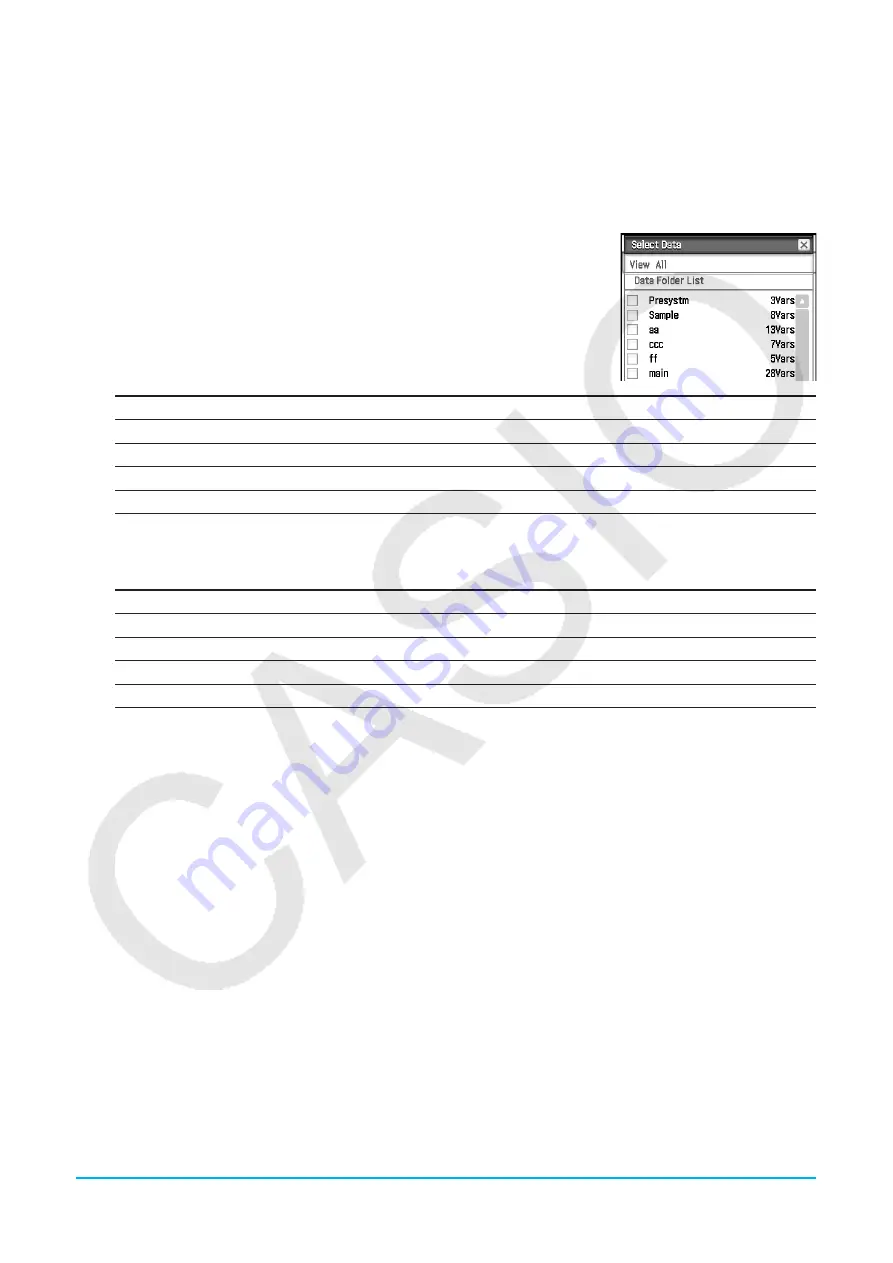
• This displays the Select Data dialog box. A list that shows user folders and
the “main” folder appears first.
4. Select the data you want to send.
(1) Tap the [View] menu and then select the data type from the list that
appears.
To list this on the Select Data dialog box:
Select this [View] menu command:
User folders and the “main” folder
Data Folder List
Library variables
Library
System variable groups
Application Status
eActivity folders
eActivity Folder List
(2) Select the data you want to send.
• On the Select Data dialog box, select the check box next to the data you want to send. You can also tap
the [All] menu and select one of the following commands to select or deselect data.
To do this:
Select this [All] menu command:
Select all currently displayed items
Select List
Deselect all currently displayed items
Deselect List
Select all items in all lists
Select All Lists
Deselect all items in all lists
Deselect All Lists
• Opening a folder in [Data Folder List] or [eActivity Folder List] displays the variables and data contained
inside it, which can be individually selected for transfer. To select a variable or data contained in a
particular folder, tap its folder name to open it. To return to the folder list from a list of folder contents,
tap
I
in the lower left corner of the window.
• You can transfer all of the variables or data in a folder by selecting the check box next to the folder
name on the data folder list or eActivity folder list.
5. Tap [OK].
6. In response to the confirmation message that appears, tap [OK] to send the data.
• This sends the data you selected in step 4, and the receiving ClassPad automatically starts receiving the
data.
• The message “Complete!” appears to let you know when the send operation is finished.
7. Tap [OK] to return to the Select Data dialog box.
8. On the Select Data dialog box, tap [Cancel].
• This returns to the Communication application window.
On the receiving ClassPad:
9. The message “Complete!” appears to let you know when the receive operation is finished. Tap [OK].


