Chapter 15: Picture Plot Application
259
15-1
Using the Plot Function
You can plot points on the screen, overlay them with a graph of an expression in the form
y
=
f
(
x
), and draw a
regression graph that approximates the plots.
Starting a Picture Plot Operation
The Picture Plot application lets you use a still image (c2p file) or animation (c2b file) that contains a
mathematical meaningful object or scene as a background, and plot points on the background image. Because
of this, a Picture Plot operation always starts with opening of a background file.
Tip:
c2p and c2b are special ClassPad file formats. You can use files that come preloaded on your ClassPad, or you can
obtain files from the CASIO support site (edu.casio.com).
u
To open a c2p or c2b file for use as the Picture Plot window background
1. On the application menu, tap
to start the Picture Plot application.
• This will display a full-screen view of the Picture Plot window.
2. Tap [File] - [Open].
• This displays the file list screen.
3. Select the c2p or c2b file you want to open and then tap [Open].
• The file will open and its content will appear as the Picture Plot window background image.
What you should do next depends on the file type.
- c2p file: “Plotting Points on a c2p File Image” (page 259)
- c2b file: “Plotting Points on a c2b File Image” (page 260)
u
To adjust the lightness (Fade I/O) of an image
1. While the Picture Plot screen is displayed, tap [File] and then [Fade I/O].
• This causes a slider for adjusting image lightness to appear on the toolbar.
2. Tap
t
or
u
on the toolbar to adjust the lightness value.
3. After the setting is the way you want, tap the [OK] button on the toolbar.
Plotting Points on a c2p File Image
This section explains how to plot points on a c2p file (still image) background.
u
To plot points on a c2p file image
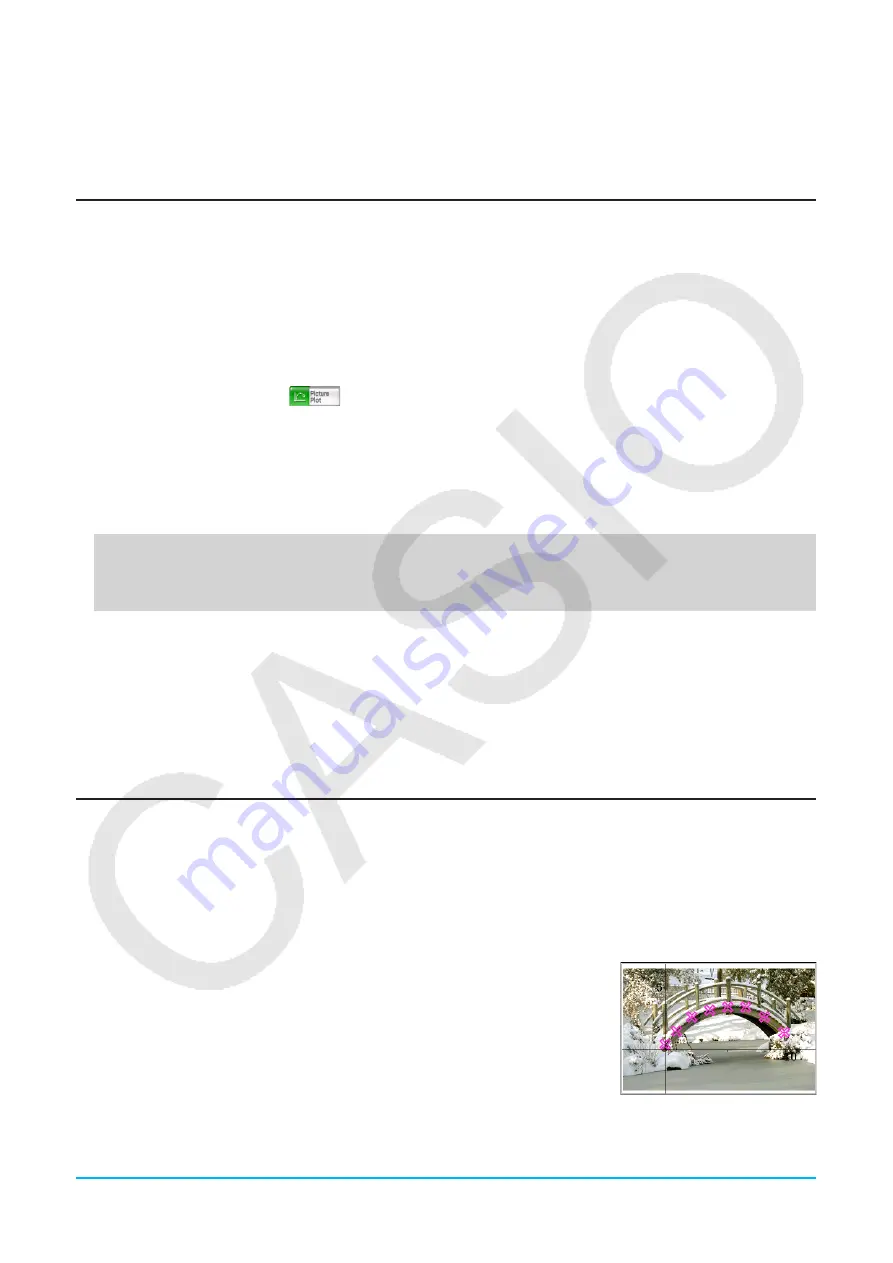
1. Open the c2p file whose image you want to use as the Picture Plot window background.
2. Tap
[
to enter the Plot mode.
3. Use the stylus to tap the points you want to plot.
• A plot point appears at each location you tap.
• To undo the last point you plotted, tap [Edit] - [Undo/Redo].
4. Repeat step 3 as many times as required to plot all of the points you want.
• You can plot up to 50 points per background image.
5. To exit the Plot mode, tap
G
.
6. To save the plot data to the c2p file, tap [File] - [Save].


