9-4 Upgrading Your Server
PREPARING FOR INSTALLATION AND REMOVAL
Follow the procedure below to prepare before installing or removing components.
1.
Shutdown the OS.
Shutdown process is not required if the hard disk drives and the additional power supply units are hot-swappable.
2.
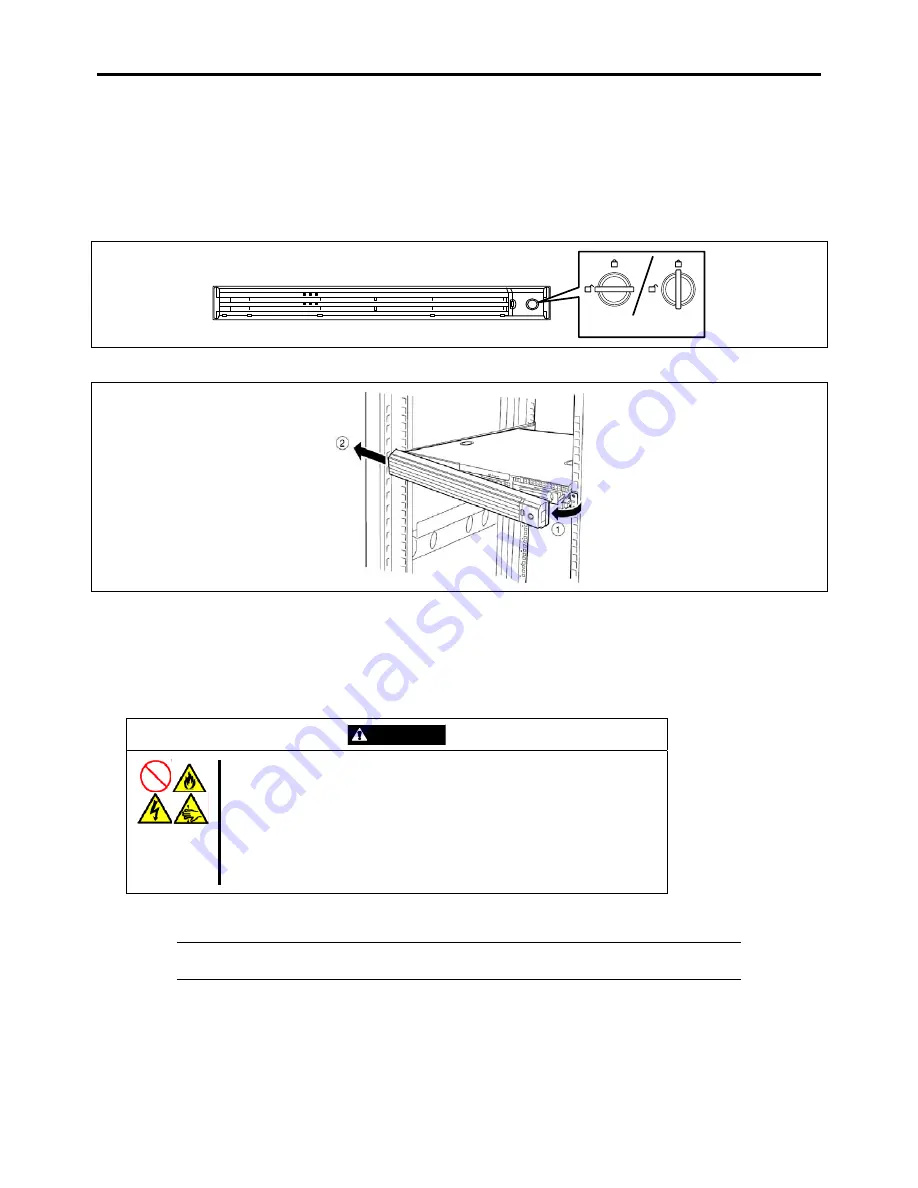
Unlock the front bezel with the security key.
Unlocked
Locked
3.
Remove the front bezel from the chassis.
4.
Press the POWER switch to power off the server (the POWER LED goes off).
5.
Remove all cables and power cords from the server.
Prepare a Phillips screwdriver to install or remove the component.
The server needs to be pulled out from the rack for installing/removing any internal components other than the hard disk drives
and power supply units.
CAUTION
Observe the following instructions to use the server safely. Failure to follow
these instructions may cause a fire, personal injury, or property damage.
See pages 1-3 to 1-12 for details.
Do not install the server on a rack with leaving covers removed.
Do not pinch your finger with mechanical components.
Note high temperature.
Do not pull out a device from the rack if the rack is unstable.
Do not leave more than one device being pulled out from the rack.
1.
See the section "Preparing for Installation and Removal" described earlier to prepare.
NOTE:
To confirm the device you are going to maintain, use the UID switch and the UID LED
that goes on when the switch is pressed.
2.
Loosen the unlock buttons at the right and left sides of the front panel, and slowly pull out the server from the rack.
The server is locked while you are pulling it. Stop pulling when it is locked.
Summary of Contents for NovaScale R440 E2
Page 1: ...NovaScale R440 E2 User s Guide NOVASCALE REFERENCE 86 A1 46FB 00...
Page 2: ......
Page 32: ...1 16 Notes on Using Your Server...
Page 70: ...2 38 General Description...
Page 94: ...3 24 Setting Up Your Server This page is intentionally left blank...
Page 147: ...Configuring Your Server 4 53 Property of Physical Device in the Universal RAID Utility...
Page 272: ...5 74 Installing the Operating System with Express Setup This page is intentionally left blank...
Page 308: ...7 12 Maintenance This page is intentionally left blank...
Page 408: ...9 54 Upgrading Your Server Screws...
Page 446: ...9 92 Upgrading Your Server This page is intentionally left blank...
Page 456: ......
Page 458: ...C 2 IRQ This page is intentionally left blank...
Page 490: ...D 32 Installing Windows Server 2008 4 Activate Windows The Windows activation is complete...
Page 494: ......
Page 544: ...G 2 Using a Client Computer with a CD Drive This page is intentionally left blank...
Page 548: ...H 4 Product Configuration Record Table This page is intentionally left blank...
Page 551: ......
Page 552: ...BULL CEDOC 357 AVENUE PATTON B P 20845 49008 ANGERS CEDEX 01 FRANCE REFERENCE 86 A1 46FB 00...


