176
Maintenance & Troubleshooting
Upgrading the Multiviewer Using a USB Key
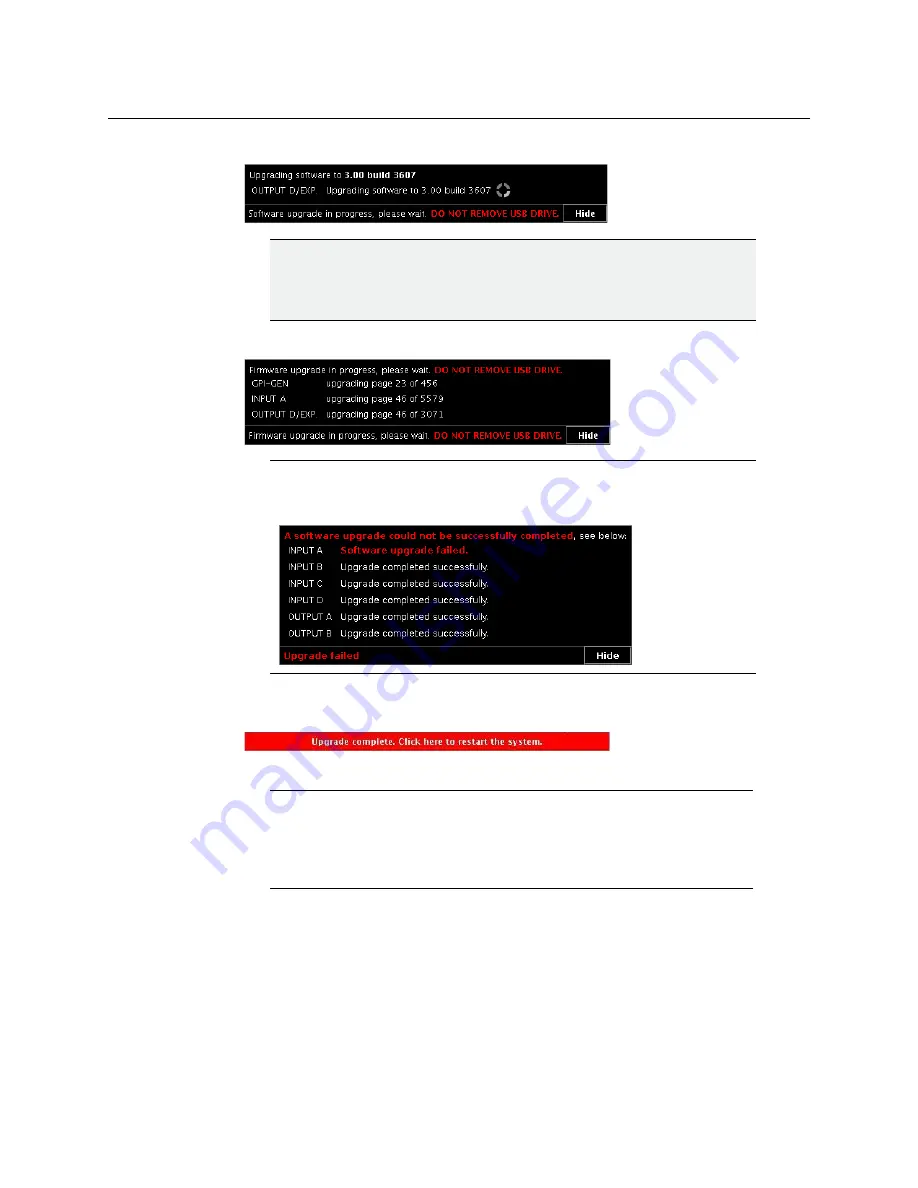
3 The upgrade process begins automatically, starting with the Kaleido Software upgrade.
4 Once the Kaleido Software upgrade is complete, the firmware upgrade begins.
When the entire upgrade process has successfully completed, a red button appears at
the bottom of the dashboard on all displays that are connected to the system.
5 Click any of the
Upgrade complete
buttons to restart the system.
IMPORTANT
All cards are updated in parallel, during which time their status LEDs will be
flashing red. Do not interrupt this process. Do not insert or remove cards
while an upgrade is in progress.
Note:
Should the upgrade dashboard report that some cards’ software
upgrade could not be completed, then proceed with
Note:
When the firmware upgrade (or downgrade) process involves several
cards (for example, a fully populated expansion system), the dashboard may
still be displaying firmware upgrade progress messages while the
Upgrade
complete
button has already appeared. You can safely click the button to
restart the system at this point.
Summary of Contents for Grass Valley Kaleido-X
Page 22: ...22 Overview Functional Block Diagrams Simplified Signal Flow Diagram KX0 24Router...
Page 40: ...40 Installation Ventilation...
Page 100: ...100 IP Network Setup Network Considerations for a Multiviewer Cluster...
Page 123: ...123 Kaleido X 7RU Installation Service Manual 9 Click Finish A security warning appears...
Page 152: ...152 System Configuration Enabling Options...
Page 190: ...190 Maintenance Troubleshooting Disposal and Recycling Information...
Page 215: ...215 Kaleido X 7RU Installation Service Manual...


