T
echnical
B
ulletin
PAGE: 15/58
Model:
Taurus-C1 / P1
Date:
21-Oct-11
No.:
RD074026
Test Pattern
1. Turn on the main power switch.
2. Open SP5070-1 (Switching Print Application), and
then select "6" (Printer) (D074/D075).
3. Do SP2109-3 and select Pattern 14 (Trimming
Area), and then touch [OK].
4. Touch "COPY Window" (D074/D075) or "APL
Window" (M044) at the top of the display.
5. Select a tray and the duplex mode.
6. Touch [Print] to print the Trimming Area test
pattern.
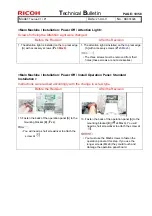
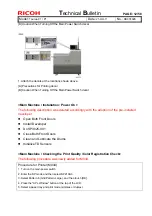
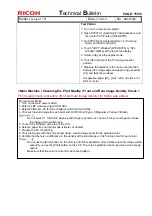
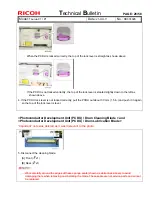
7. Measure the distance in the main scan direction
between the image edge and paper edge at points
[A1] and [A2] shown above.
Acceptable range: [A1] - [A2] < ±0.5 mm (A4 or LT
SEF or more)
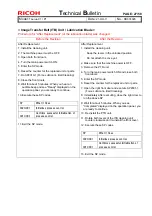
<Main Machine \ Checking the Print Quality \ Front and Rear Image Density Check >
Print quality check procedure (front and rear image density) for M044 was added.
Procedure for M044
1. Turn on the main power switch.
2. Enter the SP mode and open SP2109-3.
3. Select Pattern No. 26 (Full Dot Pattern), and then touch [OK].
4. Print out the solid image for each color with SP2109-5 (2:Cyan, 3:Magenta, 4:Yellow, 5:Black).
•
Do not select "1: full Color" when a solid image is printed out. Too much toner coverage can cause
the fusing unit to malfunction.
5. Touch "APL Window" at the top of the LCD.
6. Select a paper tray and print mode (simplex or duplex),
7. Prepare the PC for printing.
8. Print a test page with the Fiery printer driver. A solid image prints for the selected color.
9. Confirm that there is no difference in the density of the solid image on the front and rear for each color.
•
Do not use the [Print] button on the LCD to print the test pattern. Only a black and white image will be
output if you use the [Print] button on the LCD. The color registration check requires a color image
output.
•
Make sure that the color is correct for each test pattern.

