Chapter 4
Creative Cutter Tutorials
66
Creative Cutter MINI
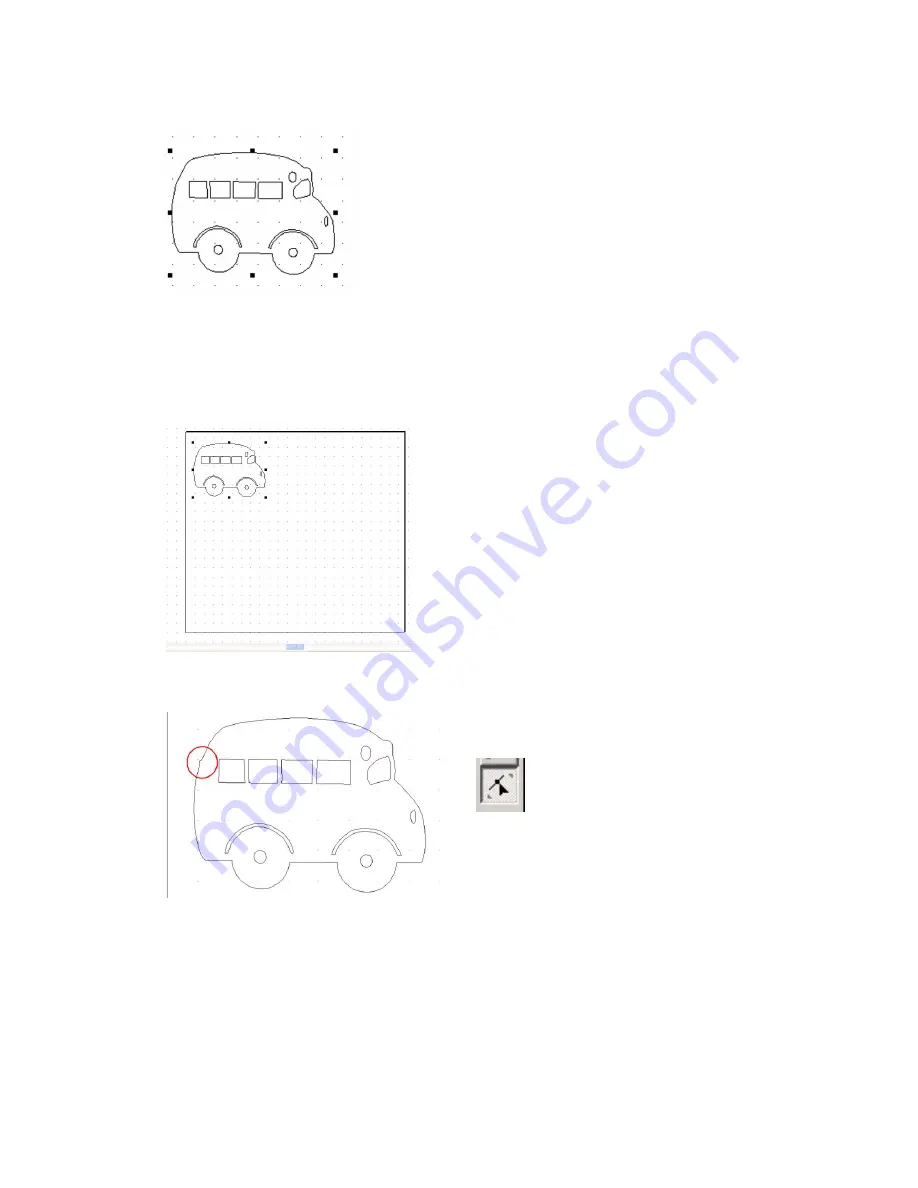
Figure 103
With the image selected, move the mouse over the image until the arrow turns into a cross
symbol (the
Move
symbol). Click and hold down the mouse button as you drag the image into
place on the page. Place it about one inch down and one inch in from the left side of the page, as
shown in figure 104.
Figure 104
5
Use the
Move Point
tool to fix small bumps and flaws like the one shown in figure 105.
Figure 105
Содержание Mini Creative Cutter
Страница 1: ...Pazzles Creative Cutter Mini User Guide www pazzles com...
Страница 11: ...Chapter 1 Introduction Creative Cutter MINI 3 If the problem is with cutting check the blade and the mat...
Страница 24: ...Chapter 2 Installation and Setup 16 Creative Cutter MINI Blade Positioning Guide Figure 15...
Страница 38: ...Chapter 3 Basic Procedures for Using the Mini Creative Cutter 30 Creative Cutter MINI...
Страница 88: ...Chapter 4 Creative Cutter Tutorials 80 Creative Cutter MINI...
Страница 111: ...Chapter 5 Manipulating Letters and Shapes Creative Cutter MINI 103 Figure 149...
Страница 112: ...Chapter 5 Manipulating Letters and Shapes 104 Creative Cutter MINI...
Страница 124: ...Chapter 6 Working With Graphics 116 Creative Cutter MINI...
Страница 133: ...Chapter 7 Specialized Cutting and Finishing Techniques Creative Cutter MINI 125...
Страница 134: ...Chapter 7 Specialized Cutting and Finishing Techniques 126 Creative Cutter MINI...
Страница 140: ...Chapter 8 Troubleshooting Guide 132 Creative Cutter MINI...


