Chapter 3
Basic Procedures for Using the Mini Creative Cutter
Creative Cutter MINI
23
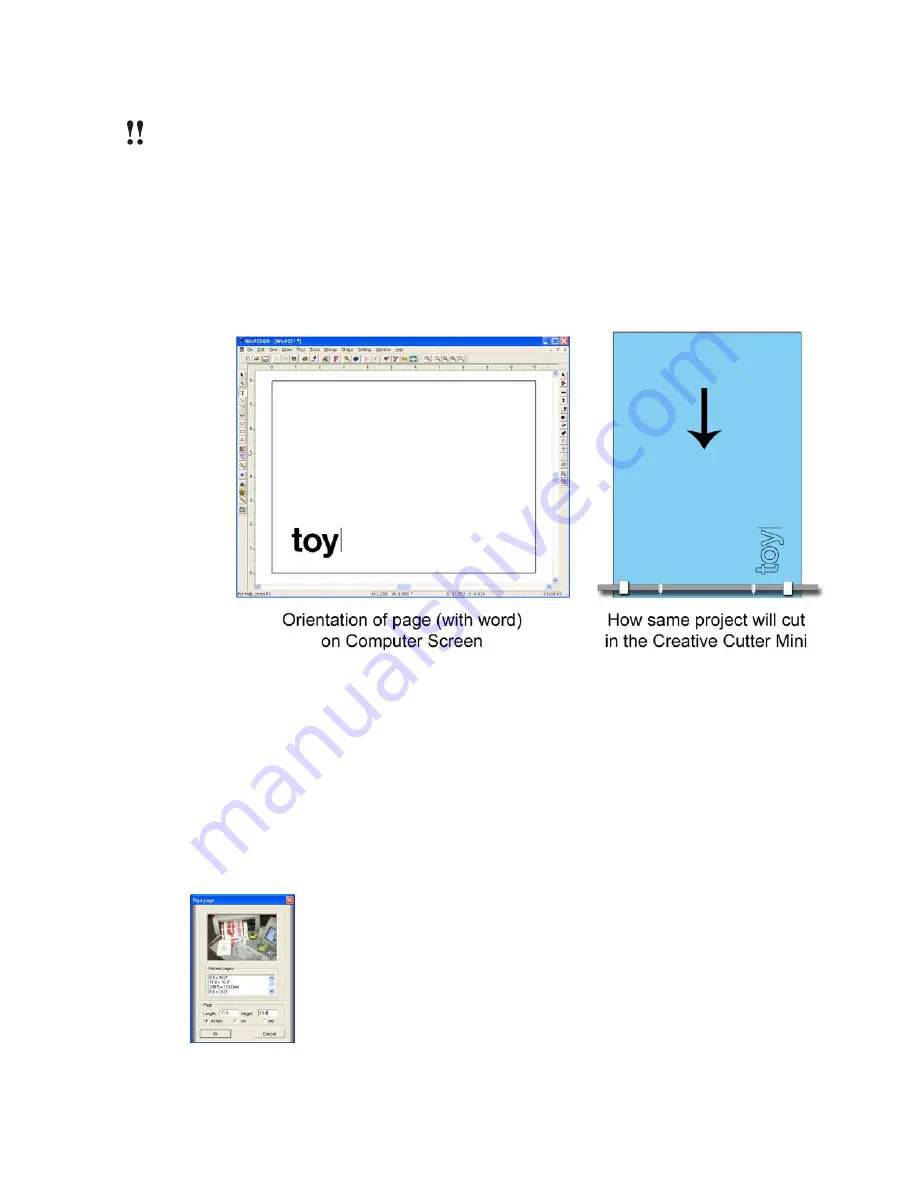
IMPORTANT:
Before you begin, verify all software and hardware is installed and configured
correctly. See chapter 2 and the previous section for details.
Step 1: Start the Cutter
1
Turn on cutter by pressing the switch on the right side of the machine. The green light on
top of the machine on the right end-cap will turn from red then green when it is ready to cut.
2
Apply the paper to the mat as shown in “Insert the Mat Into the Cutter” on page 18.
.
Figure 23
3
Insert the mat into the cutter from the back. See figure 23 .
4
Use the paper feed knob on the left side of the cutter towards you ( See “Insert the Mat Into
the Cutter” on page 18.).
Step 2: Start the Software
1
Open the Cutting Software (see “Installing and Starting the Software” on page 6).
2
Click the left-most image on the Welcome screen to open the
Sign page
box.
Figure 24
Содержание Mini Creative Cutter
Страница 1: ...Pazzles Creative Cutter Mini User Guide www pazzles com...
Страница 11: ...Chapter 1 Introduction Creative Cutter MINI 3 If the problem is with cutting check the blade and the mat...
Страница 24: ...Chapter 2 Installation and Setup 16 Creative Cutter MINI Blade Positioning Guide Figure 15...
Страница 38: ...Chapter 3 Basic Procedures for Using the Mini Creative Cutter 30 Creative Cutter MINI...
Страница 88: ...Chapter 4 Creative Cutter Tutorials 80 Creative Cutter MINI...
Страница 111: ...Chapter 5 Manipulating Letters and Shapes Creative Cutter MINI 103 Figure 149...
Страница 112: ...Chapter 5 Manipulating Letters and Shapes 104 Creative Cutter MINI...
Страница 124: ...Chapter 6 Working With Graphics 116 Creative Cutter MINI...
Страница 133: ...Chapter 7 Specialized Cutting and Finishing Techniques Creative Cutter MINI 125...
Страница 134: ...Chapter 7 Specialized Cutting and Finishing Techniques 126 Creative Cutter MINI...
Страница 140: ...Chapter 8 Troubleshooting Guide 132 Creative Cutter MINI...


