Chapter 4
Creative Cutter Tutorials
42
Creative Cutter MINI
Tutorial 2: Create a Title With Connected Letters, Add a
Graphic, and Create a Shadow
Create your title
Step 1: Prepare the software
1
Open Pazzles Creative Cutter. See “Step 2: Open the Pazzles Creative Cutter Program” on
page 32.
2
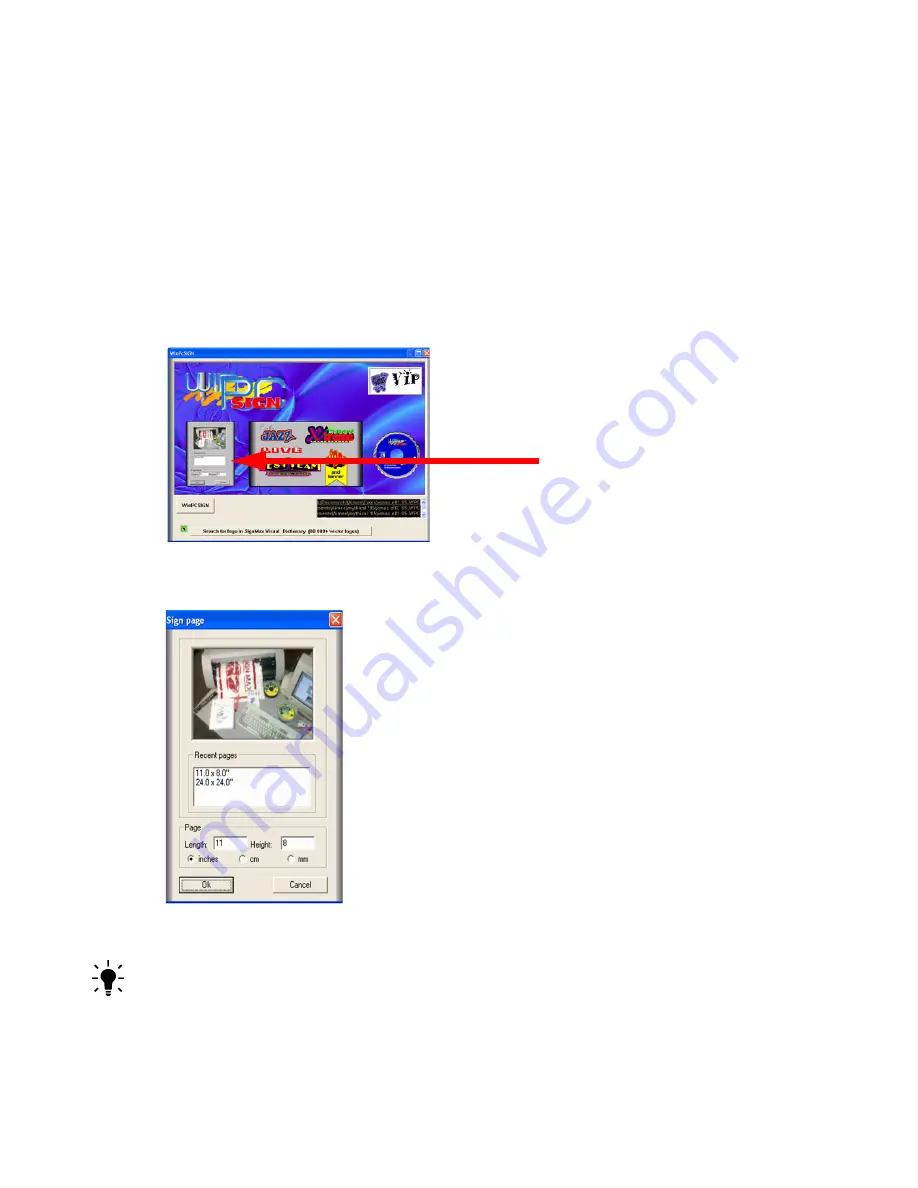
Click the
Create New Document
image. See figure 52.
Figure 52
3
Set up to cut on a 11” length by 8” height paper.
Figure 53
TIP:
These measurements will be saved in the
Recent pages
window so that next time you can
easily select this size.
Содержание Mini Creative Cutter
Страница 1: ...Pazzles Creative Cutter Mini User Guide www pazzles com...
Страница 11: ...Chapter 1 Introduction Creative Cutter MINI 3 If the problem is with cutting check the blade and the mat...
Страница 24: ...Chapter 2 Installation and Setup 16 Creative Cutter MINI Blade Positioning Guide Figure 15...
Страница 38: ...Chapter 3 Basic Procedures for Using the Mini Creative Cutter 30 Creative Cutter MINI...
Страница 88: ...Chapter 4 Creative Cutter Tutorials 80 Creative Cutter MINI...
Страница 111: ...Chapter 5 Manipulating Letters and Shapes Creative Cutter MINI 103 Figure 149...
Страница 112: ...Chapter 5 Manipulating Letters and Shapes 104 Creative Cutter MINI...
Страница 124: ...Chapter 6 Working With Graphics 116 Creative Cutter MINI...
Страница 133: ...Chapter 7 Specialized Cutting and Finishing Techniques Creative Cutter MINI 125...
Страница 134: ...Chapter 7 Specialized Cutting and Finishing Techniques 126 Creative Cutter MINI...
Страница 140: ...Chapter 8 Troubleshooting Guide 132 Creative Cutter MINI...


