Chapter 7
Specialized Cutting and Finishing Techniques
120
Creative Cutter MINI
Figure 163
Scoring Paper
If you want to
score
part of the project and
cut
another, as you would for an envelope, use the
following guidelines:
•
Complete the process in two separate steps.
•
Be sure to change the color of the scored part of the project. (See “Change Color Line Tool” on
page 100.)
Scoring and Then Cutting an Image
IMPORTANT:
Do not move the mat between steps.
1
Select the color for scoring.
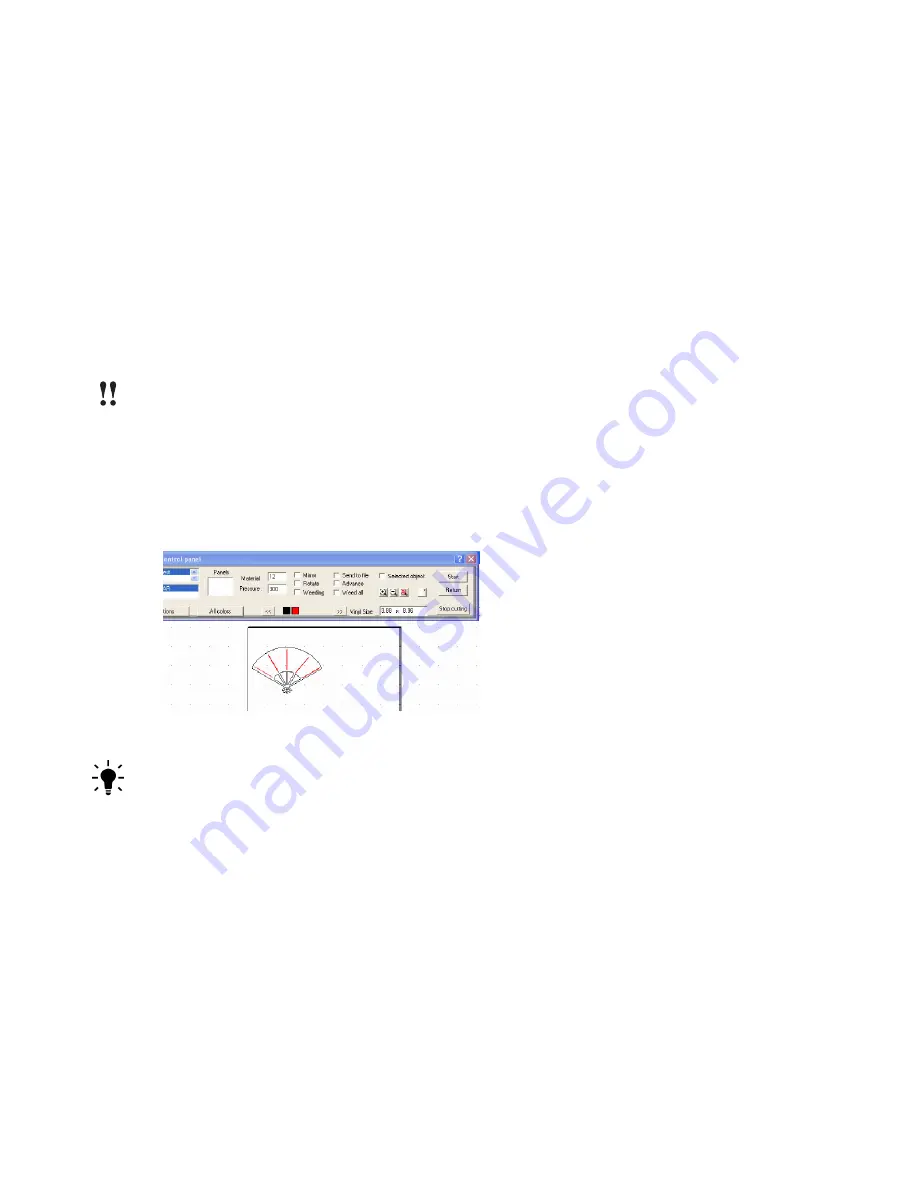
2
Reduce the pressure setting to a light pressure. See figure 164.
3
Click
Start
.
4
Select the color for cutting and increase the pressure.
5
Click
Start
.
Figure 164
TIP:
You can also use the KissCut function to create scoring. See “Converting Lines to Stitch
Marks” on page 122.
Содержание Mini Creative Cutter
Страница 1: ...Pazzles Creative Cutter Mini User Guide www pazzles com...
Страница 11: ...Chapter 1 Introduction Creative Cutter MINI 3 If the problem is with cutting check the blade and the mat...
Страница 24: ...Chapter 2 Installation and Setup 16 Creative Cutter MINI Blade Positioning Guide Figure 15...
Страница 38: ...Chapter 3 Basic Procedures for Using the Mini Creative Cutter 30 Creative Cutter MINI...
Страница 88: ...Chapter 4 Creative Cutter Tutorials 80 Creative Cutter MINI...
Страница 111: ...Chapter 5 Manipulating Letters and Shapes Creative Cutter MINI 103 Figure 149...
Страница 112: ...Chapter 5 Manipulating Letters and Shapes 104 Creative Cutter MINI...
Страница 124: ...Chapter 6 Working With Graphics 116 Creative Cutter MINI...
Страница 133: ...Chapter 7 Specialized Cutting and Finishing Techniques Creative Cutter MINI 125...
Страница 134: ...Chapter 7 Specialized Cutting and Finishing Techniques 126 Creative Cutter MINI...
Страница 140: ...Chapter 8 Troubleshooting Guide 132 Creative Cutter MINI...


