more information about this setup, in which the AP must function in AP mode,
seeConnect the AP to a routing device and log in for the first time on page 24.
-
Connect to an Ethernet wall outlet with Internet service: Connect the WAN
port directly to your Ethernet wall outlet. If you want to set up a WiFi 6 hotspot
on an existing network, see Connect the AP to a routing device and log in for the
first time on page 24. If you want to set up a private WiFi 6 network, see Connect
the AP to a modem and log in for the first time on page 28.
•
LAN ports 1 through 4: Four Gigabit Ethernet RJ-45 LAN ports numbered LAN 1
through LAN 4 to connect the AP to Ethernet devices such as a computer and a
switch.
•
Reset button: Press the Reset button to reset the AP to factory default settings. For
more information, see Use the Reset button to return to factory defaults on page 143.
•
DC power connector: Connect the power adapter that came in the product package
to the DC power connector.
Position the antennas for best WiFi
performance
You can swivel the three AP antennas in any direction. For best WiFi performance, we
recommend that you experiment with various antenna positions. For example, you could
position the center antenna vertically and aim the other two antennas outward at
45-degree angles.
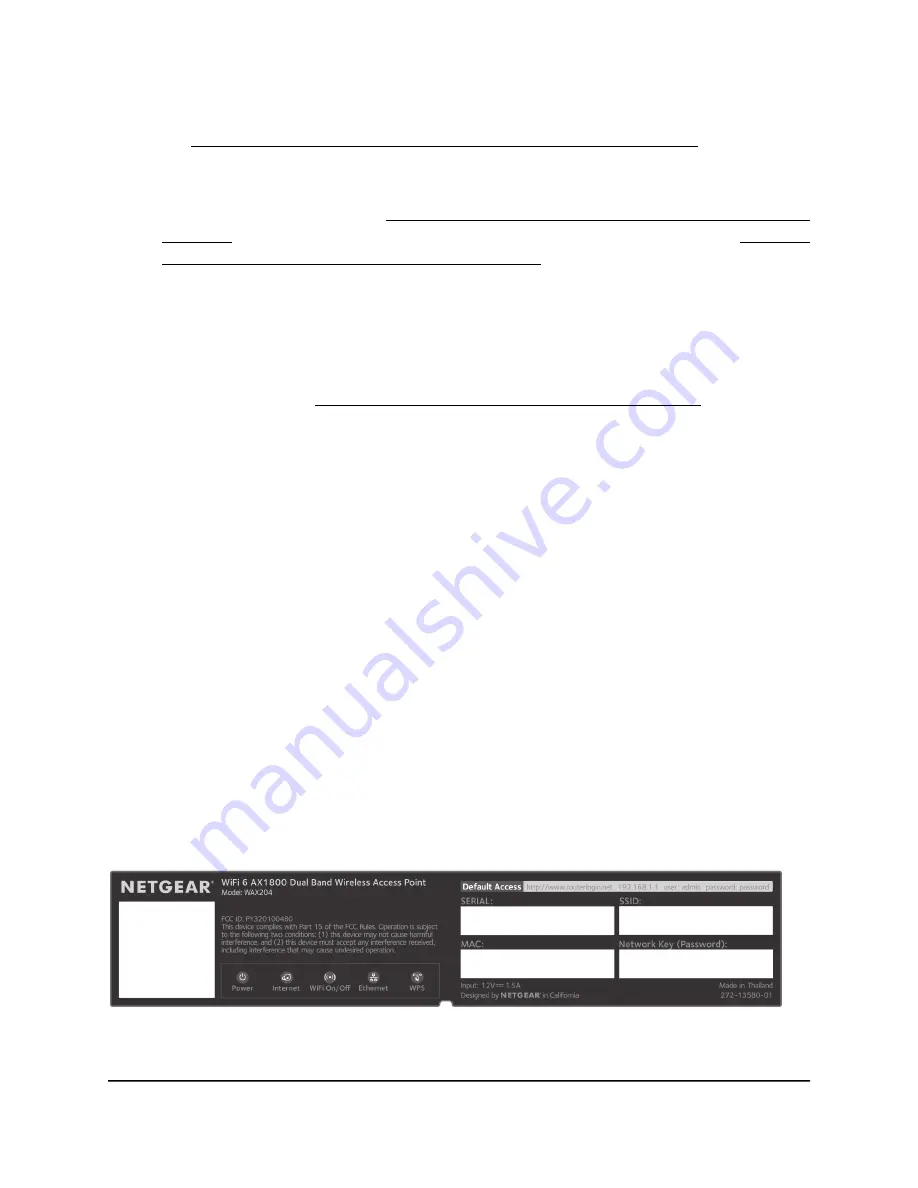
Access point label
The AP label on the bottom panel of the AP shows the default login information, default
WiFi network name (SSID), default WiFi passphrase, serial number and MAC address
of the AP, and other information.
Figure 3. Access point label
User Manual
20
Hardware Overview
WiFi 6 AX1800 Dual Band Wireless Access Point WAX204


