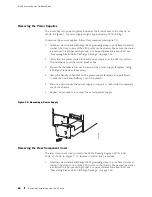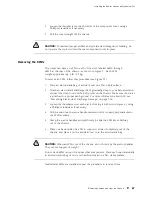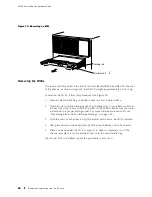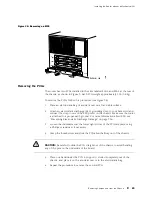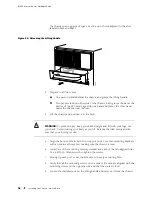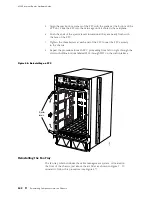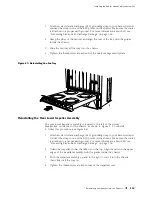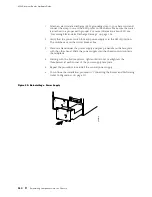
Installing the Router without a Mechanical Lift
10.
Proceed to the instructions in Reinstalling Components into the Chassis on
page 99.
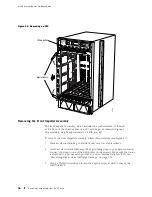
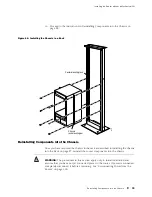
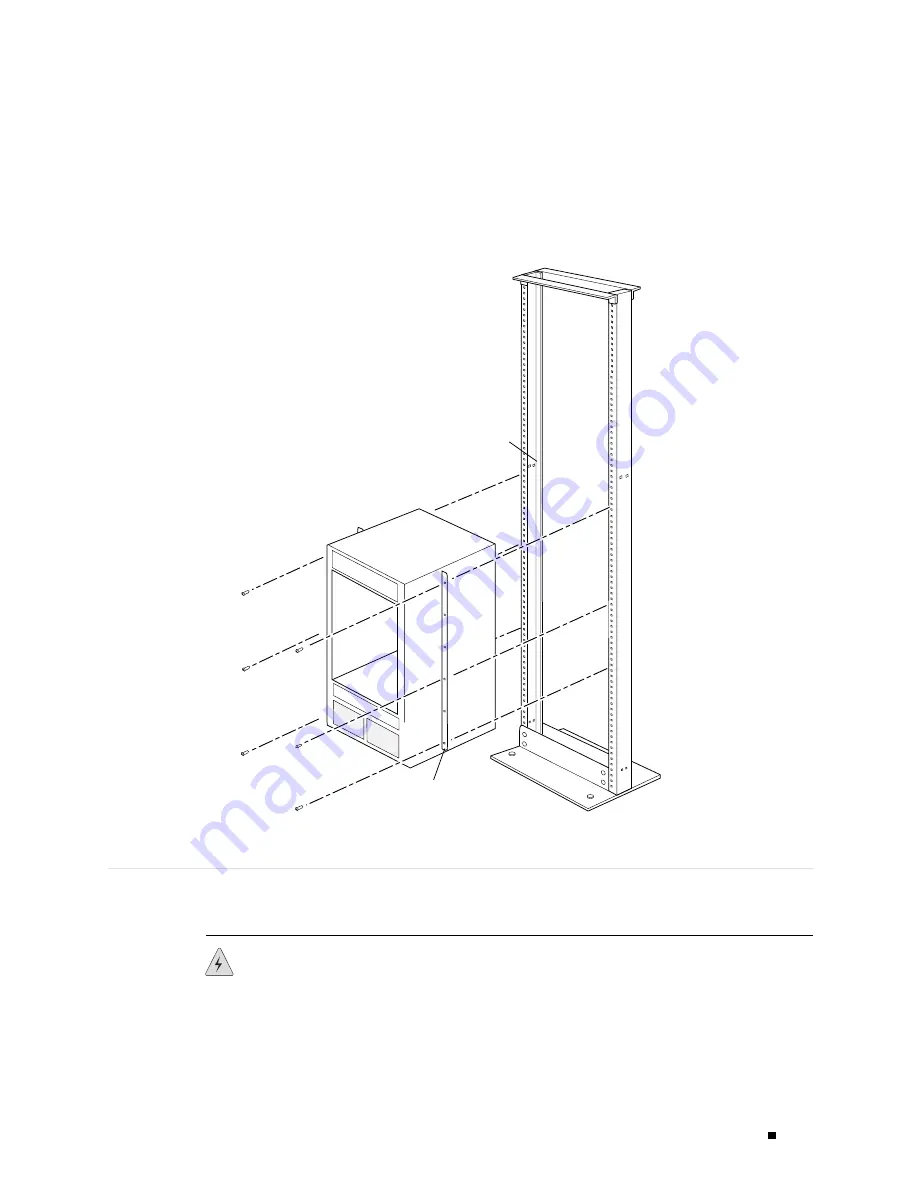
Figure 44: Installing the Chassis in a Rack
1172
Center-mounting rack
Chassis
rack-mounting ear
Reinstalling Components into the Chassis
After you have mounted the chassis in the rack as described in Installing the Chassis
into the Rack on page 97, reinstall the router components into the chassis.
WARNING:
The procedures in this section apply only to initial installation and
assume that you have not yet connected power to the router. If power is connected,
completely disconnect it before continuing. See “Disconnecting Power from the
Router” on page 200.
Reinstalling Components into the Chassis
99
Содержание Internet Router M160
Страница 12: ...M160 Internet Router Hardware Guide xii Table of Contents ...
Страница 16: ...M160 Internet Router Hardware Guide xvi List of Figures ...
Страница 18: ...M160 Internet Router Hardware Guide xviii List of Tables ...
Страница 24: ...M160 Internet Router Hardware Guide xxiv Requesting Support ...
Страница 26: ...2 Product Overview ...
Страница 30: ...M160 Internet Router Hardware Guide 6 Safety Requirements Warnings and Guidelines ...
Страница 66: ...M160 Internet Router Hardware Guide 42 Cable Management System ...
Страница 80: ...M160 Internet Router Hardware Guide 56 Routing Engine Architecture ...
Страница 82: ...58 Initial Installation ...
Страница 104: ...M160 Internet Router Hardware Guide 80 Unpacking the Router ...
Страница 148: ...M160 Internet Router Hardware Guide 124 Configuring the JUNOS Internet Software ...
Страница 150: ...126 Hardware Maintenance Replacement and Troubleshooting Procedures ...
Страница 242: ...M160 Internet Router Hardware Guide 218 Troubleshooting the Power System ...
Страница 244: ...220 Appendixes ...
Страница 292: ...M160 Internet Router Hardware Guide 268 Packing Components for Shipment ...
Страница 301: ...Part 5 Index Index 277 ...
Страница 302: ...278 Index ...


