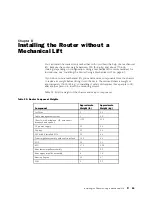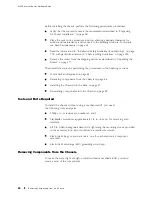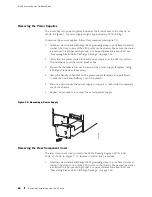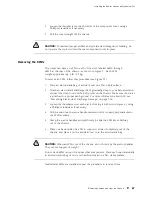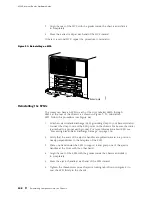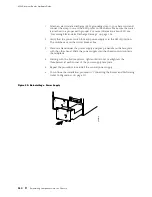
Installing the Router without a Mechanical Lift
4.
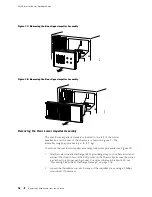
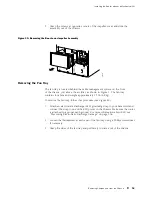
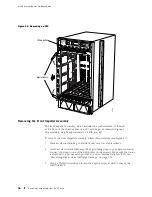
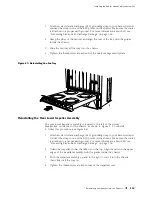
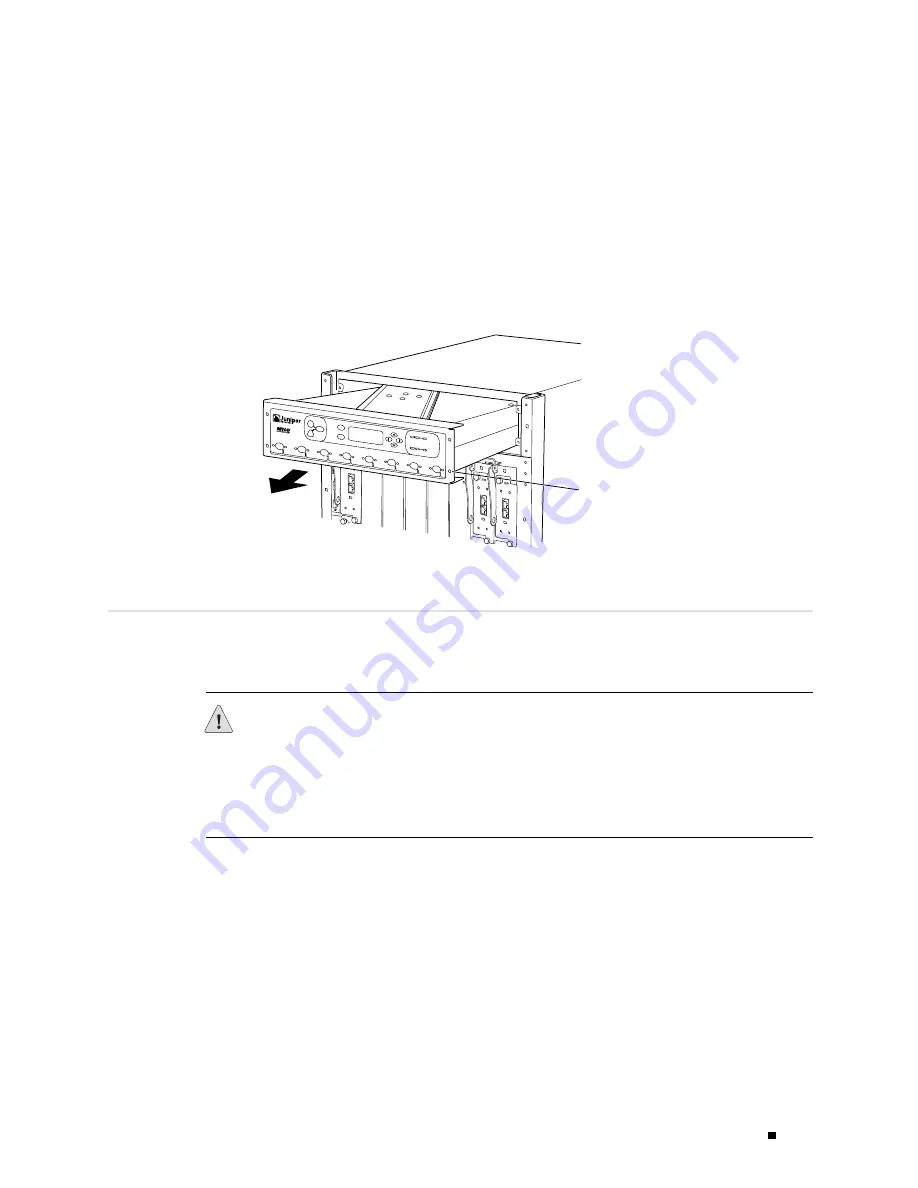
Insert a flat-blade screwdriver into the gap around the craft interface and
gently pry the impeller assembly forward until you can grasp the sides of the
assembly and slide it halfway out of the chassis.
5.
Place one hand under the assembly to support it, slide it completely out of the
chassis, and place it on the antistatic mat or in the electrostatic bag.
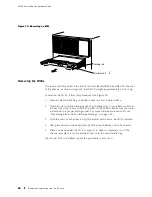
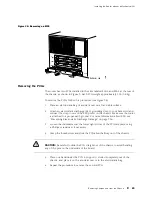
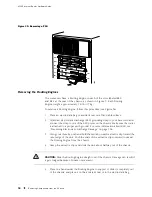
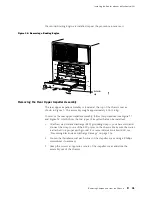
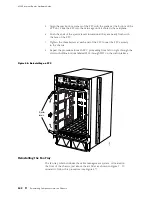
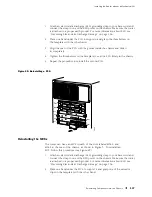
Figure 42: Removing the Front Impeller Assembly
1215
R
Captive screw
Installing the Chassis into the Rack
After you have removed components as described in Removing
Components from the Chassis on page 84, the chassis is light enough
for a team of installers to lift into the rack.
CAUTION:
The reduced weight of the chassis is approximately 115 lb (52 kg).
Installing it into the rack still requires three people to lift and an additional person to
secure the mounting screws.
If you are installing multiple routers in a rack, install the lowest one first and
proceed upward.
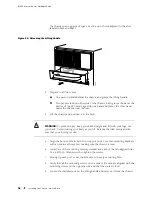
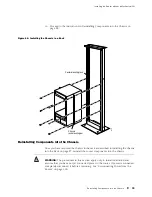
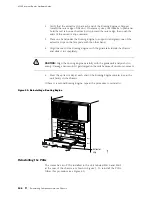
Perform the following procedures (see Figure 44):
1.
If you are front-mounting the router, remove the center-mounting ear from
each side of the chassis. (Also, we recommend installing a shelf or other
support for the rear of the chassis.)
2.
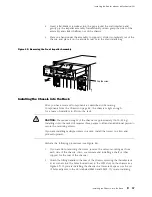
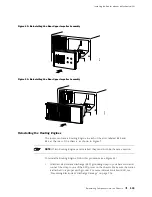
Attach the lifting handle to the rear of the chassis, screwing the thumbscrews
at its corners into the holes located next to the SFM slots on the chassis (see
Figure 43). If you are installing the chassis in a lower rack space, use the set
of holes adjacent to the slots labeled
SFM 0
and
SFM 1
. If you are installing
Installing the Chassis into the Rack
97
Содержание Internet Router M160
Страница 12: ...M160 Internet Router Hardware Guide xii Table of Contents ...
Страница 16: ...M160 Internet Router Hardware Guide xvi List of Figures ...
Страница 18: ...M160 Internet Router Hardware Guide xviii List of Tables ...
Страница 24: ...M160 Internet Router Hardware Guide xxiv Requesting Support ...
Страница 26: ...2 Product Overview ...
Страница 30: ...M160 Internet Router Hardware Guide 6 Safety Requirements Warnings and Guidelines ...
Страница 66: ...M160 Internet Router Hardware Guide 42 Cable Management System ...
Страница 80: ...M160 Internet Router Hardware Guide 56 Routing Engine Architecture ...
Страница 82: ...58 Initial Installation ...
Страница 104: ...M160 Internet Router Hardware Guide 80 Unpacking the Router ...
Страница 148: ...M160 Internet Router Hardware Guide 124 Configuring the JUNOS Internet Software ...
Страница 150: ...126 Hardware Maintenance Replacement and Troubleshooting Procedures ...
Страница 242: ...M160 Internet Router Hardware Guide 218 Troubleshooting the Power System ...
Страница 244: ...220 Appendixes ...
Страница 292: ...M160 Internet Router Hardware Guide 268 Packing Components for Shipment ...
Страница 301: ...Part 5 Index Index 277 ...
Страница 302: ...278 Index ...

