CHAP
. 9
GE Healthcare
Senographe 2000 D Acquisition System
REV 1
OM 5179217–1–100
99
2-4
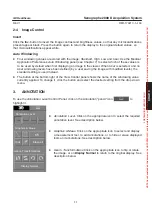
Image Control
Invert
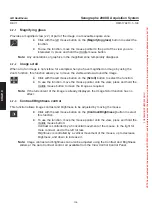
Click the
Inv.
button to invert the image contrast and brightness values, so that any microcalcifications
present appear black. Press the button again to return the display to the original default values, so
that microcalcifications appear white.
Auto Windowing
D
Four windowing values are stored with the image:
Standard
,
High
,
Low
and
User
. Use the Medical
Application Preferences
Auto Windowing
panel (see Chapter 7) to select which of these values is
to be used by default when first displaying an image in the viewer. When
User
is selected, and no
User
windowing levels have been defined (by a user saving the image with modified levels), the
standard setting is used instead.
D
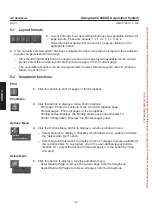
The button at the bottom right of the View Control panel shows the name of the windowing value
currently applied. To change it, click the button and select the desired setting from the drop-down
menu.
3.
ANNOTATION
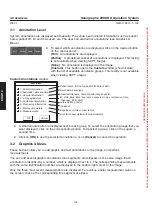
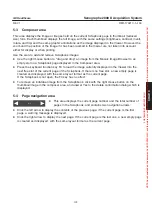
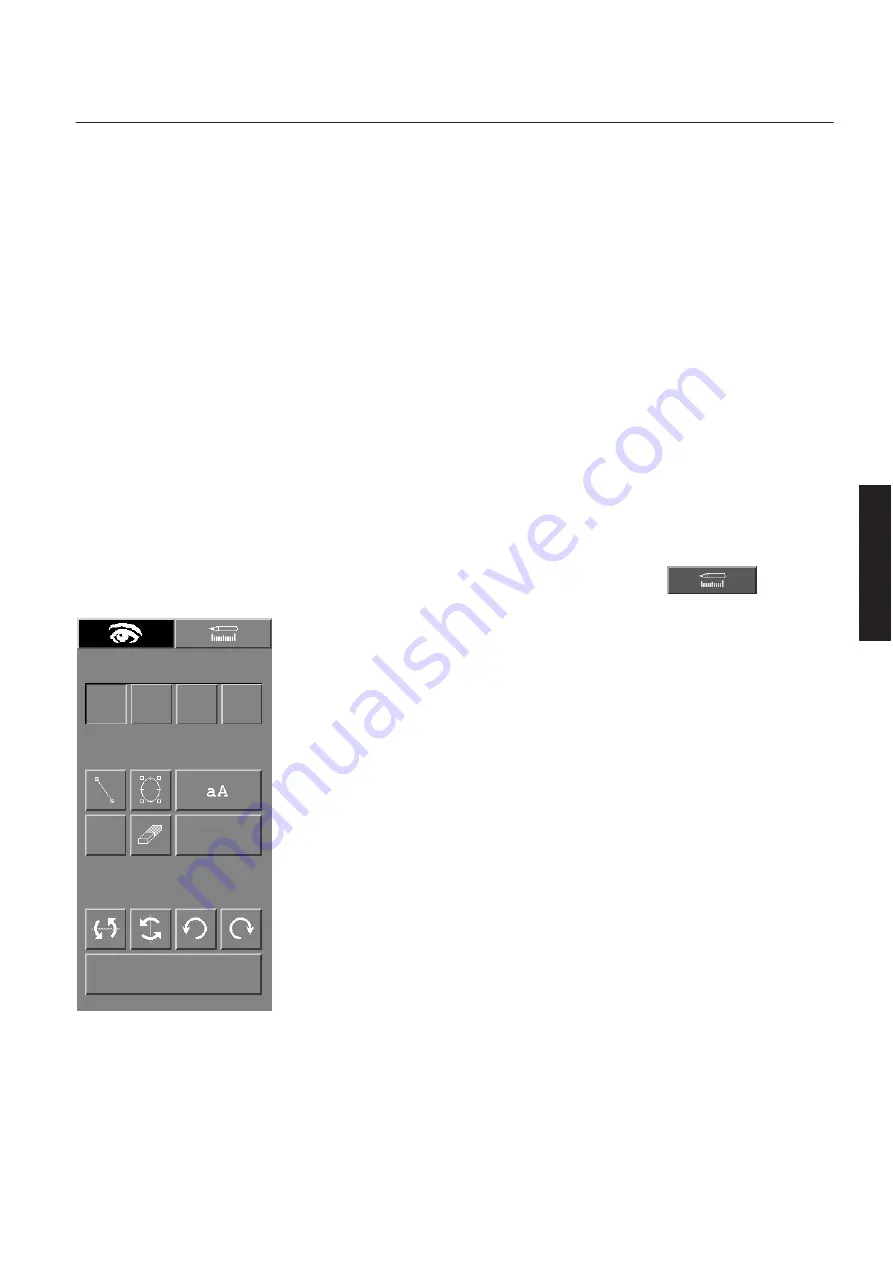
To use the
Annotation Level
Control Panel, click on the Annotation “pencil” icon
to
highlight it.
D
Annotation Level.
Click on the appropriate icon to select the required
annotation level. See description below.
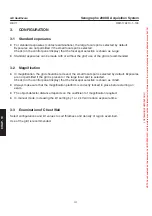
D
Graphics & Meas.
Click on the appropriate icon to select and display
a measurement tool, to add annotations, or to hide or erase displayed
tools and annotations. See description below.
D
Geom. Transformations
Click on the appropriate icon to flip or rotate
the image, or on
Display Normal
to return to the original display. See
description below.
Full
Partial
None
Custom
Graphics & Meas.
Geom. Transformations
Display Normal
Hide
Erase all
Annotation Level
FOR
TRAINING
PURPOSES
ONLY!
NOTE:
Once
downloaded,
this
document
is
UNCONTROLLED,
and
therefore
may
not
be
the
latest
revision.
Always
confirm
revision
status
against
a
validated
source
(ie
CDL).


