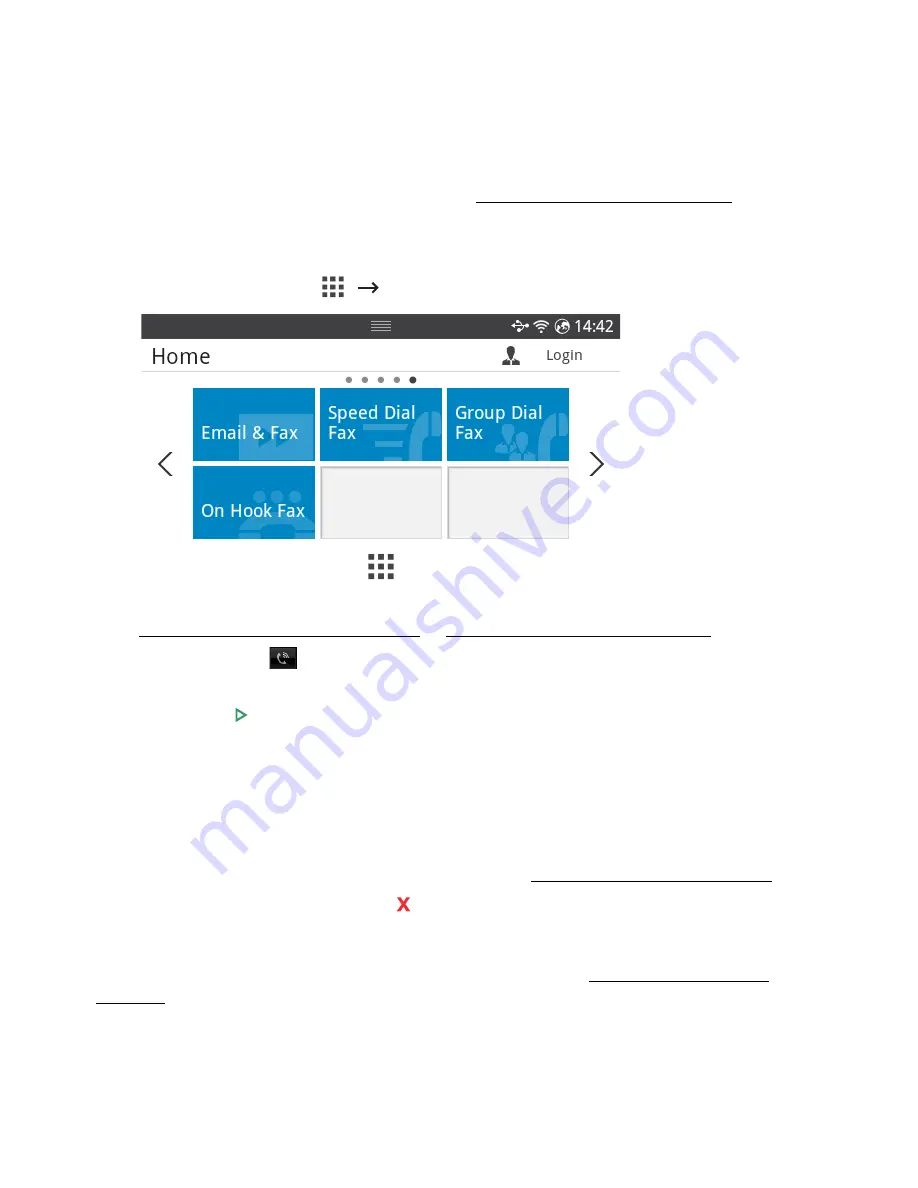
On Hook Fax
1
Load the document(s) face up with top edge in first into the DADF.
OR
Place a single document face down on the document glass.
For details about loading a document, see "Loading an Original Document".
2
Press
On Hook Fax
from the home screen.
OR
Press
All Applicatons
(
)
On Hook Fax
from the home screen.
3
If necessary, adjust the document darkness and resolution to suit your fax needs. See
"Adjusting the Document Darkness" or "Adjusting the Document Quality"
4
Press
On Hook
(
) from the screen.
5
Enter the remote fax machine’s fax number using the popup keyboard.
6
Press
Start
( ) from the screen.
Confirming Transmissions
When the last page of your document has been sent successfully, the printer beeps and
returns to Standby mode.
If something goes wrong while sending your fax, an error message appears on the display.
For a listing of error messages and their meanings, see "Clearing LCD Error Messages".
If you receive an error message, press to clear the message and try to send the document
again.
You can set your printer to print a confirmation report automatically after each fax
transmission. For further details, see the
MSG Confirm
item in "Available Fax Defaults
Options".
- 253
Содержание B2375dfw
Страница 1: ...Dell B2375dfw Mono MFP Dell B2375dnf Mono MFP User s Guide ...
Страница 179: ...3 Click the Advanced tab and click Edit in the Overlay section 4 In the Edit Overlays window click Create 178 ...
Страница 215: ...3 Select Setup in New Printer area 4 Select Ethernet 214 ...
Страница 225: ...4 Click New Printer 5 Choose Wireless 224 ...
Страница 226: ...6 The software searches for printers 7 Set your printer name and click Next 225 ...
Страница 229: ...4 Select New Printer 5 Choose Wireless 228 ...
Страница 268: ...Mac Installing Software for Mac Printing Scanning Wireless network setup 267 ...
Страница 348: ...Installing Accessories Installing Printer Accessories Installing an Optional Tray 2 347 ...
Страница 350: ...3 Grasp the control board cover and open it 4 Connect the cable as below 349 ...
Страница 351: ...5 Close the control board cover 6 Combine machine and optional tray 2 as below 350 ...
Страница 353: ...Specifications General Specifications Dell technical support policy Contacting Dell Warranty and return policy 352 ...
Страница 359: ...USB memory managing 51 W watermarks printing 175 358 ...


