CAUTION:
The fuser area inside of the rear door of your printer becomes very hot
when in use. Take care when you access this area.
Loading Print Media in the Paper Tray
You can load approximately 250 sheets of plain paper in the tray 1 or the optional tray 2. If
you purchased the optional tray 2, see "Installing an Optional Tray 2" for installing
instructions. For faxing, you can use A4, letter or legal paper only. For copying or printing,
you can use many different types and sizes of paper; see "Identifying Print Media Sources
and Specifications".
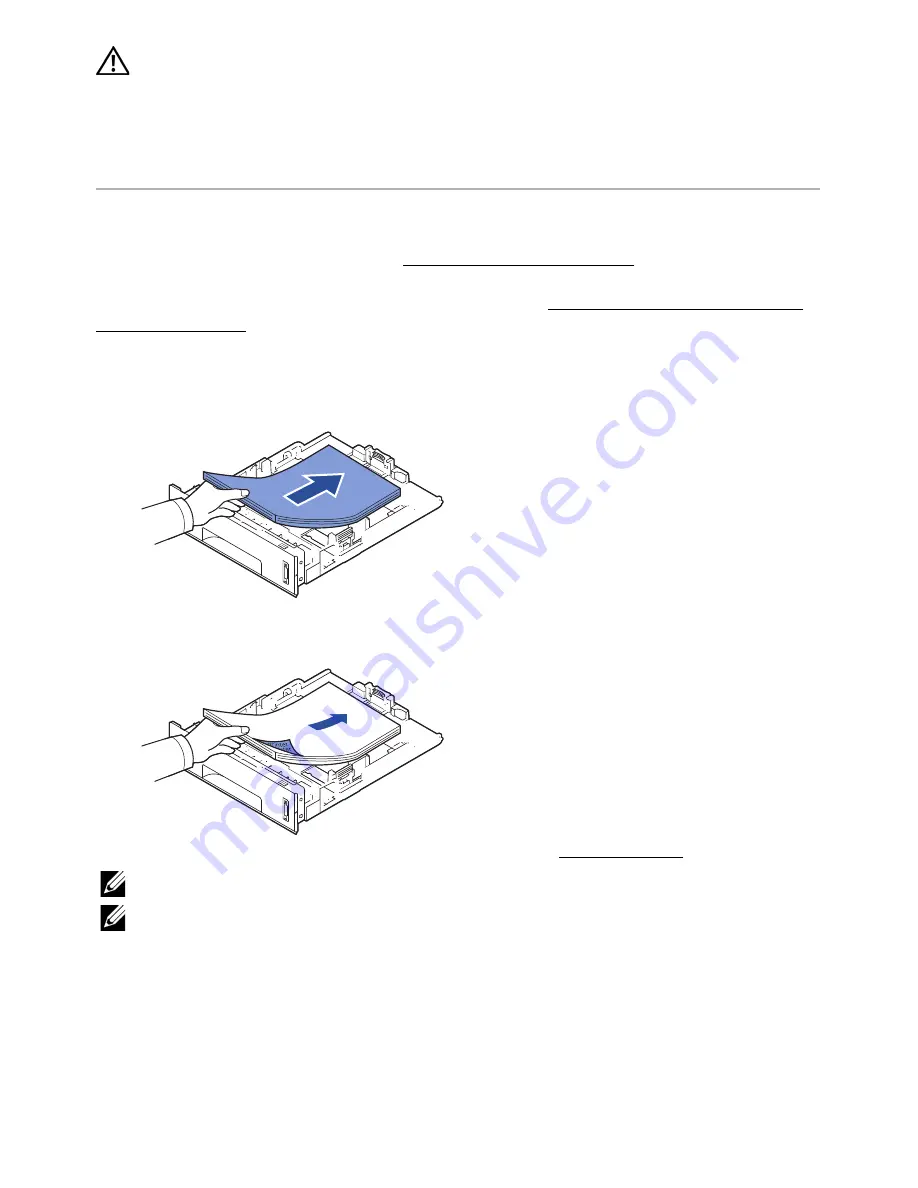
Follow these instructions to load print media into the tray 1 or optional tray 2. These trays
are loaded the same way.
1
Pull open the paper tray and load paper with the print side face down.
You can load letterhead paper with the design side face down. The top edge of the
sheet with the logo should be placed at the front side of the tray.
For details about loading paper in the paper tray, see "Loading Paper".
NOTE:
If you experience problems with paper feed, place the paper in the MPF.
NOTE:
You can load previously printed paper. The printed side should be facing up
with an uncurled edge at the front. If you experience problems with paper feed,
turn the paper around. Note that the print quality is not guaranteed.
- 144
Содержание B2375dfw
Страница 1: ...Dell B2375dfw Mono MFP Dell B2375dnf Mono MFP User s Guide ...
Страница 179: ...3 Click the Advanced tab and click Edit in the Overlay section 4 In the Edit Overlays window click Create 178 ...
Страница 215: ...3 Select Setup in New Printer area 4 Select Ethernet 214 ...
Страница 225: ...4 Click New Printer 5 Choose Wireless 224 ...
Страница 226: ...6 The software searches for printers 7 Set your printer name and click Next 225 ...
Страница 229: ...4 Select New Printer 5 Choose Wireless 228 ...
Страница 268: ...Mac Installing Software for Mac Printing Scanning Wireless network setup 267 ...
Страница 348: ...Installing Accessories Installing Printer Accessories Installing an Optional Tray 2 347 ...
Страница 350: ...3 Grasp the control board cover and open it 4 Connect the cable as below 349 ...
Страница 351: ...5 Close the control board cover 6 Combine machine and optional tray 2 as below 350 ...
Страница 353: ...Specifications General Specifications Dell technical support policy Contacting Dell Warranty and return policy 352 ...
Страница 359: ...USB memory managing 51 W watermarks printing 175 358 ...


