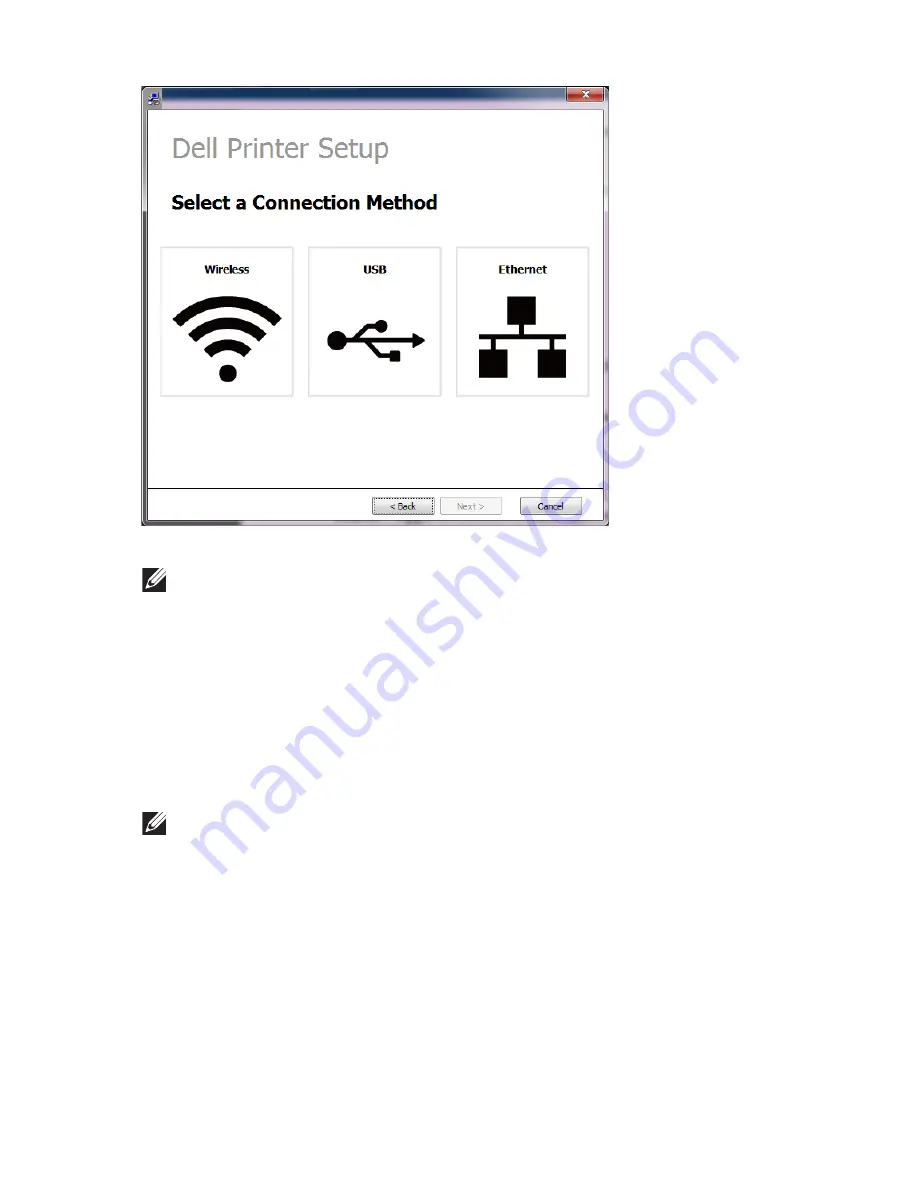
5
Select
Wireless
.
6
The software searches the wireless network.
NOTE:
If the software has failed to search the network, check if the USB cable
is connected properly between the computer and machine, and follow the
instruction in the window.
7
After searching the wireless networks, a list of wireless networks your machine has
searched appears.
If you want to use the Dell default ad hoc setting, select the last wireless network on
the list,
Network Name(SSID)
is
Dell_device
and
Dell_Signal
is
Printer Self Network
.
Then, click
Next
.
If you want to use other ad hoc settings, select another wireless network from the list.
NOTE:
If you want to change ad hoc settings click the
Advanced Setting
button.
–
Enter the wireless Network Name
: Enter the SSID of access point you want (SSID
is case-sensitive).
–
Operation Mode
: Select ad hoc.
–
Channel
: Select the channel. (
Auto Setting
or 2412 MHz to 2467 MHz).
–
Authentication
: Select an authentication type.
Open System
: Authentication is not used, and encryption may or may not be
used, depending on the need for data security.
Shared Key
: Authentication is used. A device that has a proper WEP key can
access the network.
- 233
Содержание B2375dfw
Страница 1: ...Dell B2375dfw Mono MFP Dell B2375dnf Mono MFP User s Guide ...
Страница 179: ...3 Click the Advanced tab and click Edit in the Overlay section 4 In the Edit Overlays window click Create 178 ...
Страница 215: ...3 Select Setup in New Printer area 4 Select Ethernet 214 ...
Страница 225: ...4 Click New Printer 5 Choose Wireless 224 ...
Страница 226: ...6 The software searches for printers 7 Set your printer name and click Next 225 ...
Страница 229: ...4 Select New Printer 5 Choose Wireless 228 ...
Страница 268: ...Mac Installing Software for Mac Printing Scanning Wireless network setup 267 ...
Страница 348: ...Installing Accessories Installing Printer Accessories Installing an Optional Tray 2 347 ...
Страница 350: ...3 Grasp the control board cover and open it 4 Connect the cable as below 349 ...
Страница 351: ...5 Close the control board cover 6 Combine machine and optional tray 2 as below 350 ...
Страница 353: ...Specifications General Specifications Dell technical support policy Contacting Dell Warranty and return policy 352 ...
Страница 359: ...USB memory managing 51 W watermarks printing 175 358 ...


