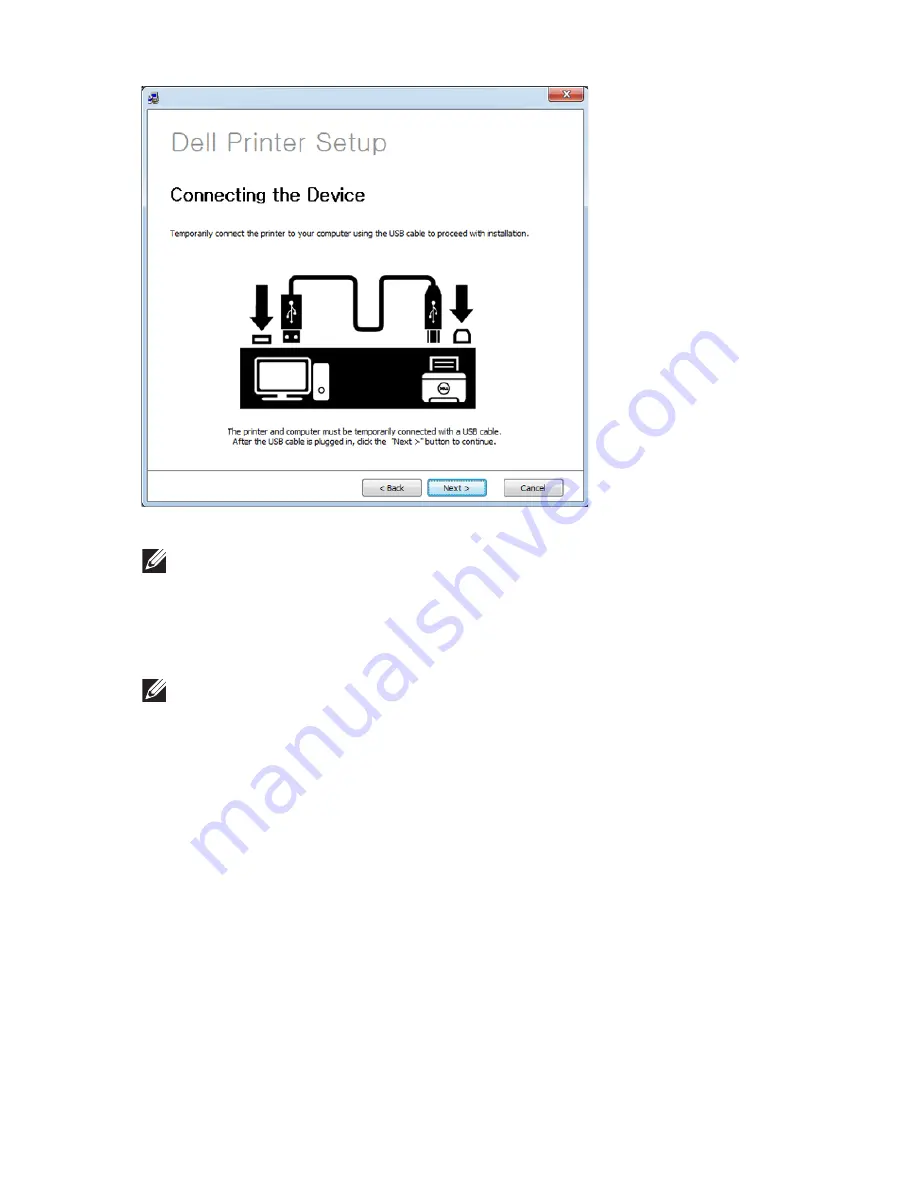
6
Click
Next
.
7
The software searches the wireless network.
NOTE:
If the search has failed, you may check if the USB cable is properly
connected between the computer and machine, and follow the instructions
on the window.
8
After searching, the window shows the wireless network devices. Select the name
(SSID) of the access point you are using and click
Next
.
NOTE:
If you cannot find the network name you want to choose, or if you
want to set the wireless configuration manually, click
Advanced Setting
.
–
Enter the wireless Network Name
: Enter the SSID of access point you want (SSID
is case-sensitive).
–
Operation Mode
: Select
Infrastructure
.
–
Authentication
: Select an authentication type.
Open System
: Authentication is not used, and encryption may or may not be
used, depending on the need for data security.
Shared Key
: Authentication is used. A device that has a proper WEP key can
access the network.
WPA Personal or WPA2 Personal
: Select this option to authenticate the print
server based on WPA Pre-Shared Key. This uses a shared secret key (generally
called Pre- Shared Key pass phrase) which is manually configured on the access
point and each of its clients.
–
Encryption
: Select the encryption (None, WEP64, WEP128, TKIP, AES, TKIP AES).
–
Network Key
: Enter the encryption network key value.
- 229
Содержание B2375dfw
Страница 1: ...Dell B2375dfw Mono MFP Dell B2375dnf Mono MFP User s Guide ...
Страница 179: ...3 Click the Advanced tab and click Edit in the Overlay section 4 In the Edit Overlays window click Create 178 ...
Страница 215: ...3 Select Setup in New Printer area 4 Select Ethernet 214 ...
Страница 225: ...4 Click New Printer 5 Choose Wireless 224 ...
Страница 226: ...6 The software searches for printers 7 Set your printer name and click Next 225 ...
Страница 229: ...4 Select New Printer 5 Choose Wireless 228 ...
Страница 268: ...Mac Installing Software for Mac Printing Scanning Wireless network setup 267 ...
Страница 348: ...Installing Accessories Installing Printer Accessories Installing an Optional Tray 2 347 ...
Страница 350: ...3 Grasp the control board cover and open it 4 Connect the cable as below 349 ...
Страница 351: ...5 Close the control board cover 6 Combine machine and optional tray 2 as below 350 ...
Страница 353: ...Specifications General Specifications Dell technical support policy Contacting Dell Warranty and return policy 352 ...
Страница 359: ...USB memory managing 51 W watermarks printing 175 358 ...


