90/164
In the toolbar, click the icon for one of the eight commands in the above table for
drawing the desired shape of outline.
When the pointer is moved into the design area, its shape changes to the one corresponding to the
selected command.
NOTE: For details on drawing the desired shape of outline, refer to “
3-2-2 Selecting commands
for drawing the desired outlines.
”
2. In the design area, click to specify the start point of the outline.
3. Press any of the numeric keys on the keyboard.
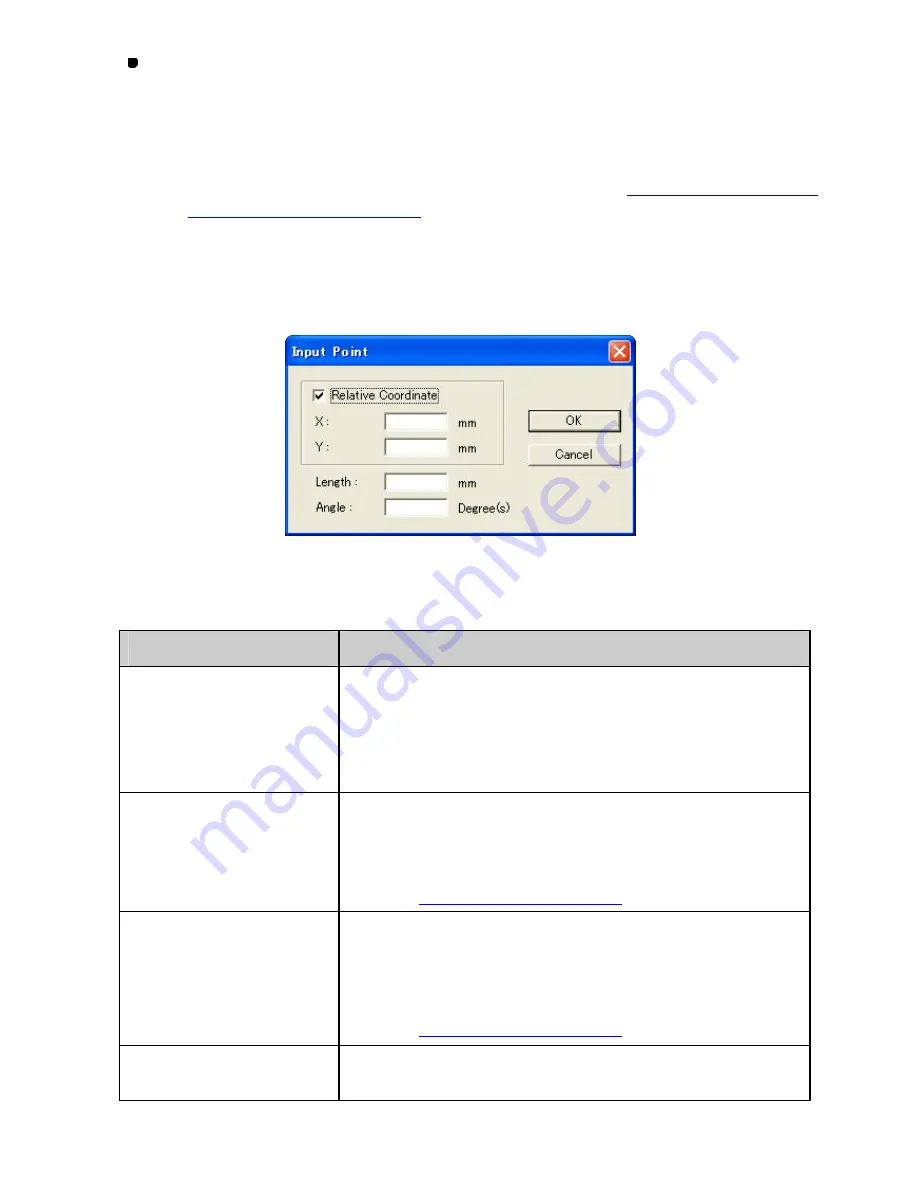
The Input Point dialog box appears.
4. Input values in the
Input Point
dialog box to specify the next point.
When you have completed this dialog box, click the
OK
but ton.
Item
Description
Relative Coordinate
When the
Relative Coordinate
check box is checked, values
you input will be the relative distance from the previous point.
When the check box is cleared, the absolute coordinate is
applied and values you input will be the distance from the
origin (0) of X-Y coordinates.
X(mm)/Y(mm)
Input values of the next point.
X(mm):
The horizontal distance
Y(mm):
The vertical distance
Refer to “
Example of inputting values
”.
Angle (Degree(s))
/Length(mm)
Available when the
Relative Coordinate
check box is
checked.
You can specify the next point by inputting the angle and/or
length of the path of outline.
Refer to “
Example of inputting values
”.
OK
Click this button to apply the values you have inputted in this
dialog box and close the dialog box.
Содержание PS-300B
Страница 2: ...2 164 1 Design area Create designs for sewing data in this area ...
Страница 33: ...33 164 A symmetrical copy of the data is created on the basis of the mirror axis ...
Страница 55: ...55 164 A symmetrical copy of the data is created on the basis of the mirror axis ...
Страница 164: ...164 164 ...


