Status
Status and error messages display as appropriate.
8.8.4 Using the Locate Tool
Follow these steps for an example Locate
inspection
to adjust for a target that moves in the
field
of view, allowing for the precise
placement of the vision tools that follow the Locate tool.
This procedure uses a Locate tool to determine the
position
of the vial. Using the vial
position
information,
three Edge tools and two
Measure tools determine the
position
of the stopper. The Locate tool is used to ensure that the Edge02 and Edge03 tools are placed
correctly alongside (but not on top of) the vial, even if the vial targets move from side to side in the
field
of view from
inspection
to
inspection.
See
Using the Edge and Measure Tools
on page 94 for details on how to set up an Edge tool and a Measure tool.
Note: This procedure is an example only.
1. Add a Locate tool to the
inspection.
2. Adjust the ROI
position,
length, and width.
a)
Position
the ROI horizontally across the side of the vial.
b) Leave the ROI Width at the default (13 px).
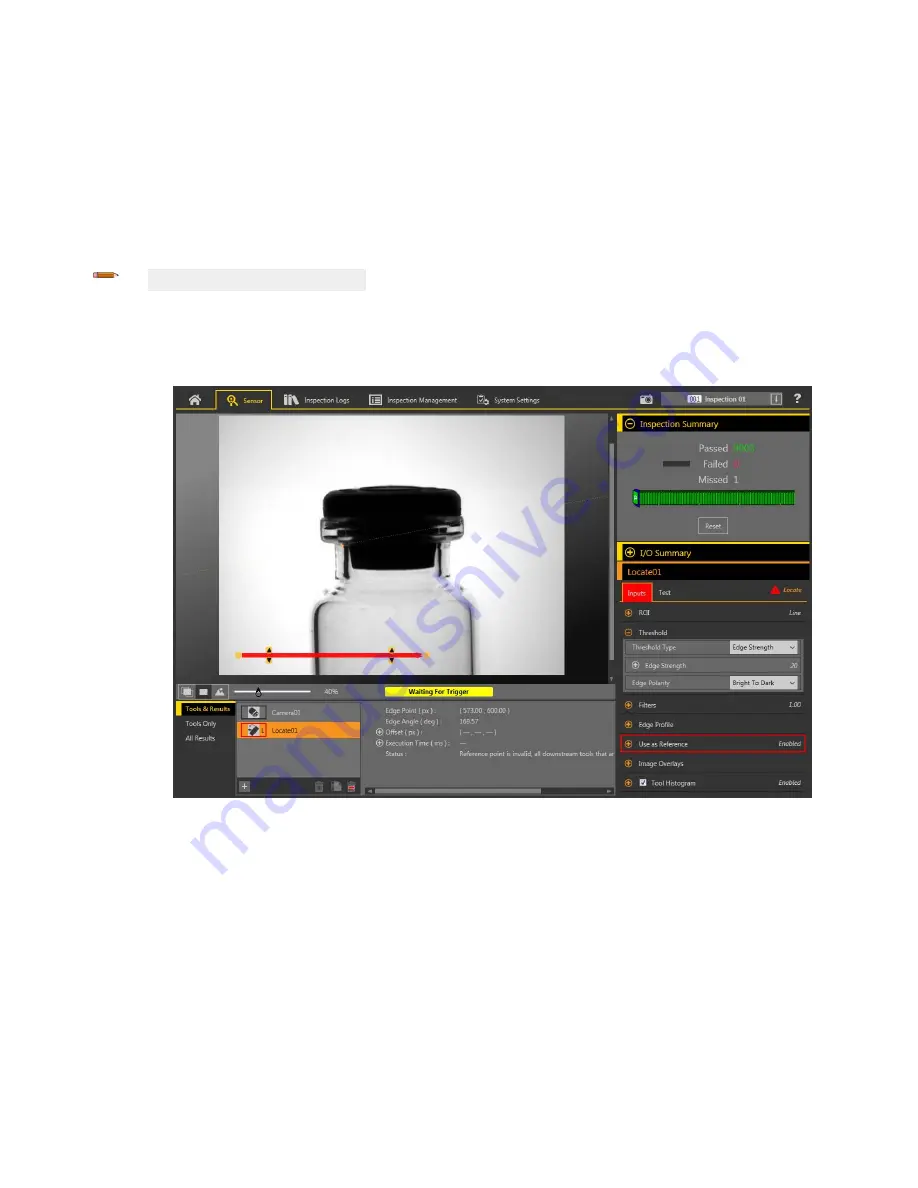
Figure 198. Locate ROI
3. Find the edge that you want the tool to locate.
a) Expand the Edge
Profile
parameters. Use the graph as a guide for the remaining steps.
To make sure that you
find
the edge you want, observe how the Edge
Profile
graph changes as the Inputs change. Point to a
location
on the graph—the corresponding
location
is the yellow line on the tool ROI displayed on the image. The horizontal
gray line is the Threshold percent.
b) Expand the Threshold parameters.
c) Select Edge Strength from the Threshold Type list.
d) Select Bright to Dark from the Edge Polarity list.
e) Adjust the Edge Strength
until
only the desired edge is found. In this example it is 20.
4. Expand Filters and set Smoothing to Smooth3 to
filter
out sharp changes in the edge
profile.
VE Series Smart Camera
108
www.bannerengineering.com - Tel: 763.544.3164


