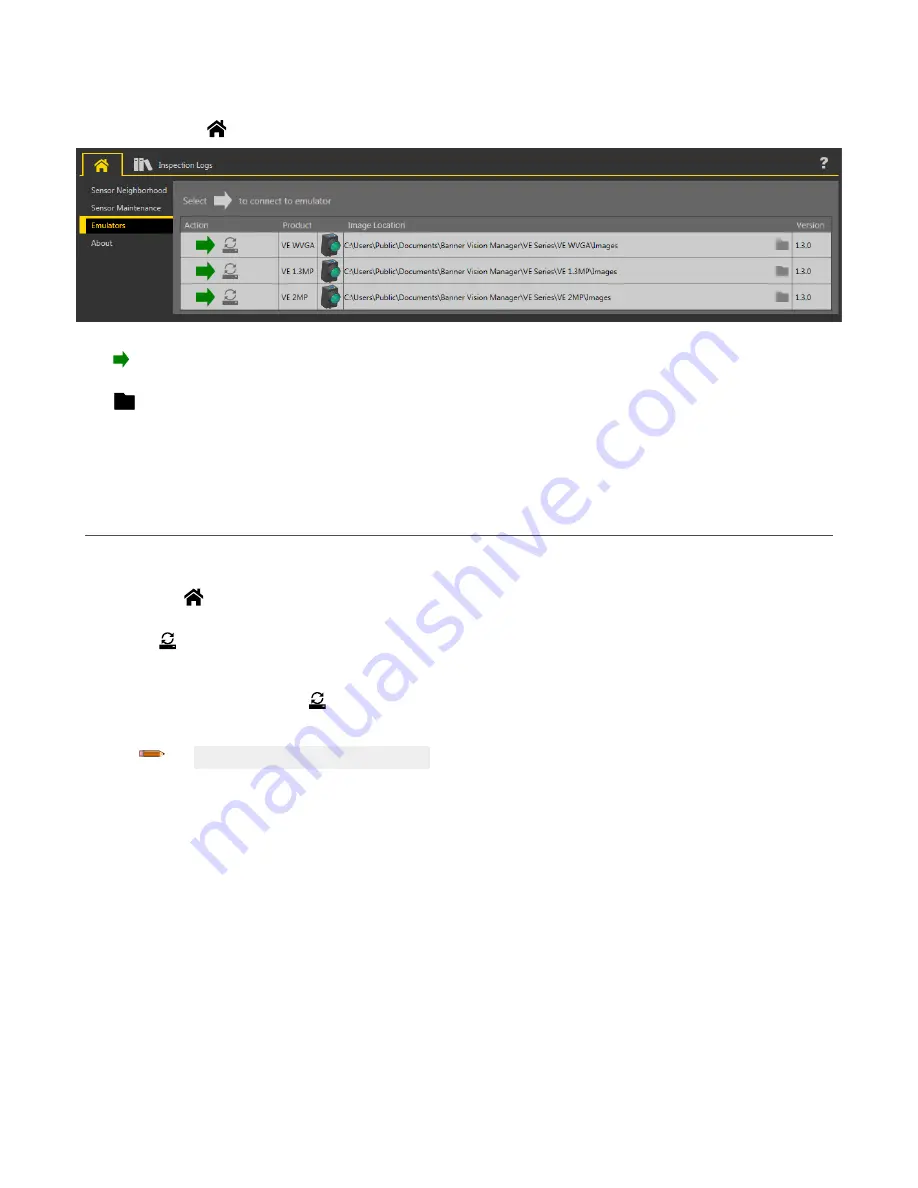
10 Emulators
Use Emulators on the
Home screen to connect to the emulator.
Figure 286. Emulators
Click to connect to the desired emulator. This tab also displays the Image
location
on the computer, as well as the emulator version
information.
Click
under Image
Location
to change the directory for the reference images. The default directory for images is C:\Users\Public
\Documents\Banner Vision Manager\VE Series\VE xMP\Images. Both 8-bit monochrome bitmap (BMP) images and
inspection
logs are
supported. Bitmap images should be the same
resolution
as the VE camera. If
inspection
logs are placed in the Images directory, the
emulator
automatically
extracts the image out of the
inspection
log and uses it to run the currently loaded
inspection.
The Emulators tab includes all available features and all tools
function
the same as they do when running on a sensor. On the emulator,
execution
time
is not calculated.
10.1 Backup or Restore the Emulator
Emulator
settings
and
inspections
can be backed up and restored.
Save the backup
file
to the
location
of your choice.
1. From the Home screen, click Emulators.
2. Make sure that no sensors or emulators are connected to the Vision Manager
software.
3. Click , then click Backup.
4. Follow the prompts to save a backup
file.
A message displays saying that the backup was successful.
5. To restore the sensor data, click , then click Restore.
6. Follow the prompts to restore the sensor data. A sensor backup
file
can be used to restore the emulator.
Note: This process can take several minutes.
A message displays saying that the restore was successful.
VE Series Smart Camera
www.bannerengineering.com - Tel: 763.544.3164
141


