


Duplexing
72
Duplexing
Select paper with high opacity for duplex (2-sided) printing. Opacity refers to
how effectively paper blocks out what is written on the opposite side of the
page. If the paper has low opacity (high translucency), then the printed data
from one side of the page will show through to the other side. Check your
application for margin information. For best results, print a small quantity to
make sure the opacity is acceptable.
Duplex (2-sided) printing can be done manually or can be done automatically
with the duplex unit installed and enabled.
Note:
Only plain paper, 75–90 g/m
2
(20–24 lb bond) can be autoduplexed.
See “Media Specifications” on page 45. Duplexing envelopes, labels,
transparencies, or glossy is not supported.
How do I autoduplex?
You should verify that the duplex unit is physically installed on the printer and
enabled in the printer driver to successfully duplex the job.
Check your application to determine how to set your margins for
duplex printing.
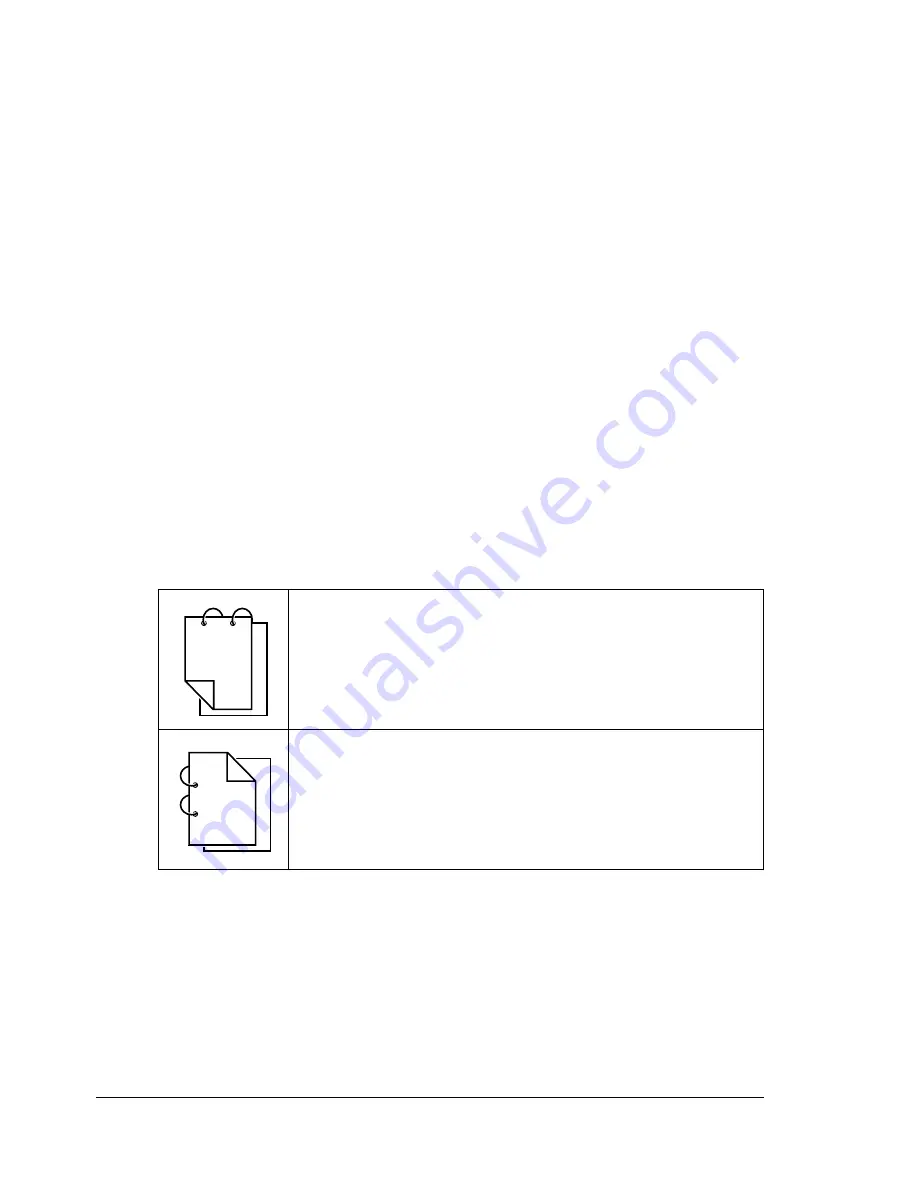
The following Binding Position settings are available:
In addition, if "Pages/Sheet" has been set to "Booklet", autoduplex printing is
performed.
If "Short Edge" is selected, the pages will be laid out to flip
at the top.
If "Long Edge" is selected, the pages will be laid out to flip
at the sides.
1
3
1
2
1
1
1
1
1
2
3
Summary of Contents for Phaser 6120
Page 8: ...Introduction...
Page 12: ...Network Printing...
Page 20: ...About the Software...
Page 31: ...Printer Control Panel and Configuration Menu...
Page 51: ...Using Media...
Page 70: ...Loading Media 63 8 Raise both green fuser separator levers 9 Carefully close the top cover...
Page 72: ...Loading Media 65 b Lower both green fuser separator levers c Close the top cover...
Page 78: ...Loading Media 71 7 Reinsert Tray 2 into the printer...
Page 82: ...Replacing Supplies...
Page 95: ...Maintaining the Printer...
Page 102: ...Cleaning the Printer 95 6 Carefully close the top cover...
Page 104: ...Cleaning the Printer 97 4 Carefully close the duplex cover...
Page 108: ...Troubleshooting...
Page 117: ...Clearing Paper Jams 110 5 Carefully close the top cover...
Page 120: ...Clearing Paper Jams 113 6 Load the media in Tray 2 and attach the lid 7 Reinsert Tray 2...
Page 142: ...Installing Options...
Page 157: ...Appendix...
Page 169: ...Appendix...


