


About the Control Panel
28
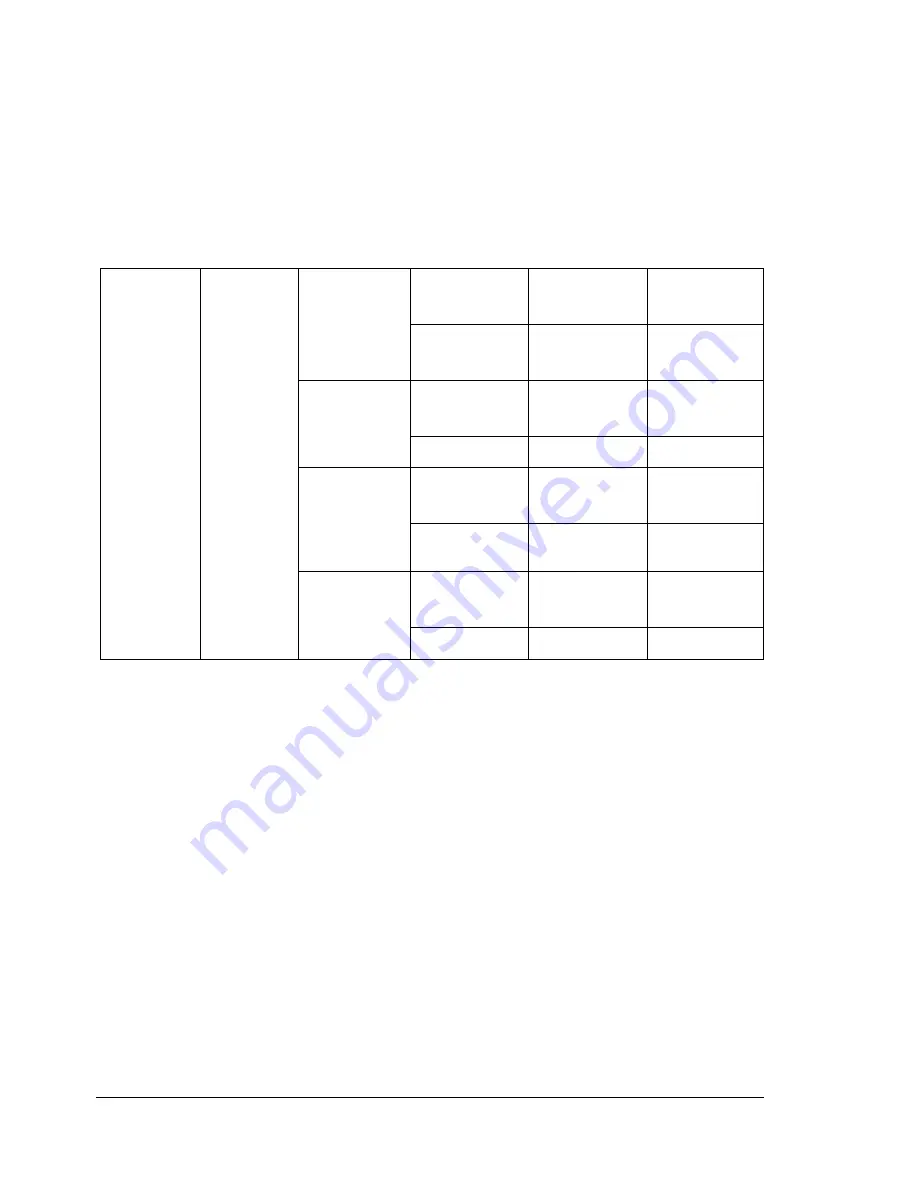
PROOF/PRINT MENU
"
This menu item appears only if an optional hard disk is installed.
With this menu item, print jobs that are saved on the hard disk by using
Walk-Up Features on the Basic tab of the printer driver can be printed
or deleted.
"
All factory default values are shown in bold.
"
* If no jobs have been stored on the hard disk,
NO SAVED JOBS
appears.
** In order to print or delete a secure job, enter the four-digit password
specified from the printer driver. For details on entering the password,
refer to “Entering the Password” on page 29.
MENU
PROOF/
MENU
"User
name"
SECURE
"Job
name"
PIN
XXXX**
PRINTS
1
DELETE
PIN
XXXX**
PROOF
"Job
name"
PRINTS
1
DELETE
PRINT/
HOLD
"Job
name"
PRINTS
1
DELETE
SAVED
"Job
name"
PRINTS
1
DELETE
Summary of Contents for Phaser 6120
Page 8: ...Introduction...
Page 12: ...Network Printing...
Page 20: ...About the Software...
Page 31: ...Printer Control Panel and Configuration Menu...
Page 51: ...Using Media...
Page 70: ...Loading Media 63 8 Raise both green fuser separator levers 9 Carefully close the top cover...
Page 72: ...Loading Media 65 b Lower both green fuser separator levers c Close the top cover...
Page 78: ...Loading Media 71 7 Reinsert Tray 2 into the printer...
Page 82: ...Replacing Supplies...
Page 95: ...Maintaining the Printer...
Page 102: ...Cleaning the Printer 95 6 Carefully close the top cover...
Page 104: ...Cleaning the Printer 97 4 Carefully close the duplex cover...
Page 108: ...Troubleshooting...
Page 117: ...Clearing Paper Jams 110 5 Carefully close the top cover...
Page 120: ...Clearing Paper Jams 113 6 Load the media in Tray 2 and attach the lid 7 Reinsert Tray 2...
Page 142: ...Installing Options...
Page 157: ...Appendix...
Page 169: ...Appendix...


