


About the Control Panel
32
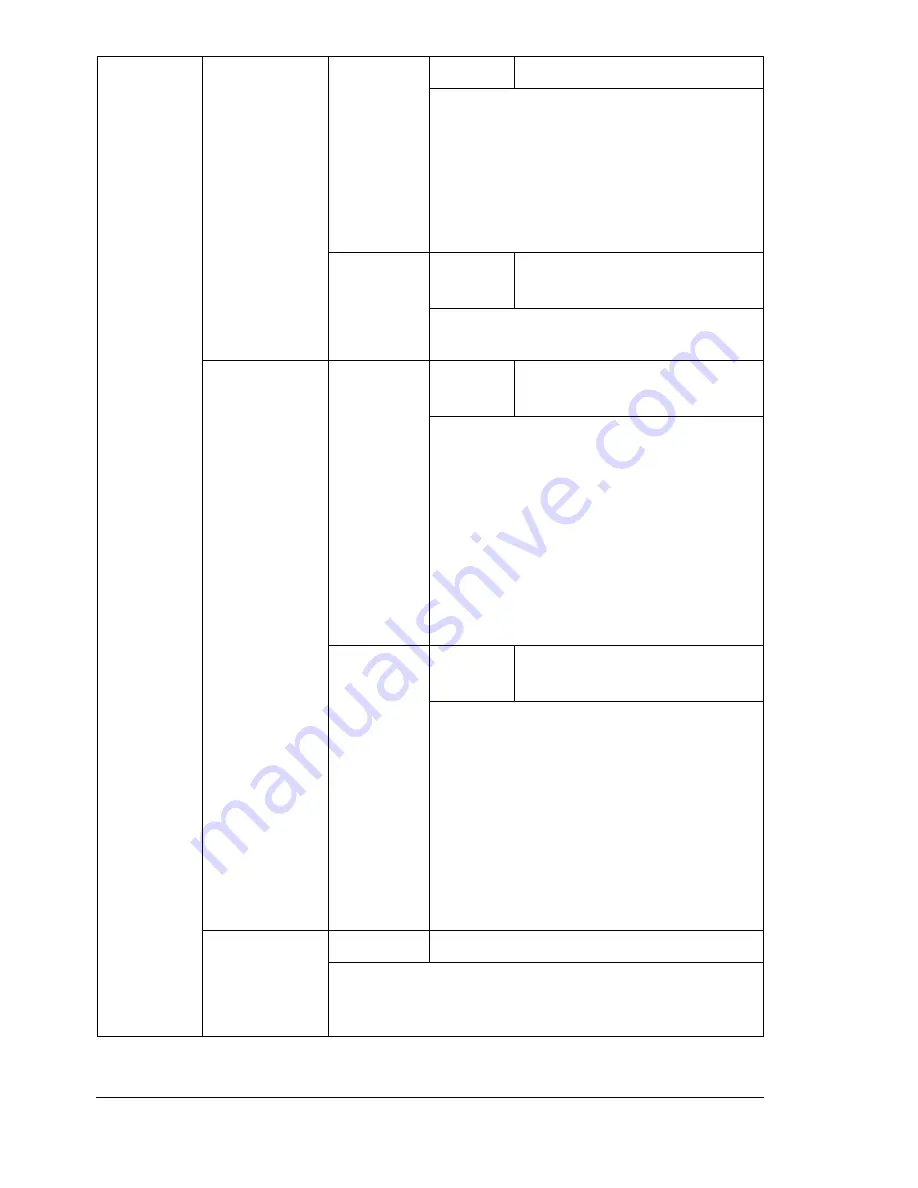
TRAY 2**
MEDIA
SIZE
Settings
LETTER
/
A4
Select the setting for the size of paper
loaded into Tray 2.
"
The default setting for 110 volt
printers is
LETTER
. The default
setting for all 220 volt printers is
A4
.
MEDIA
TYPE
Settings
PLAIN PAPER
/
LETTERHEAD
Select the setting for the type of paper
loaded into Tray 2.
CUSTOM
SIZE
WIDTH
(xx)
Settings
92
-216 mm
(
3.63
-8.50 in.)
Specify the width of the custom-sized
paper loaded into Tray 1.
"
On the 110 volt printers, the
settings appear in inches and the
menu item appears as
WIDTH(IN)
. On the 220 volt
printers, the settings appear in
millimeters and the menu item
appears as
WIDTH(MM)
.
LENGTH
(xx)
Settings
148
-356 mm
(
5.83
-14.01 in.)
Specify the length of the custom-sized
paper loaded into Tray 1.
"
On the 110 volt printers, the
settings appear in inches and the
menu item appears as
LENGTH(IN)
. On the 220 volt
printers, the settings appear in
millimeters and the menu item
appears as
LENGTH(MM)
.
AUTO
CONTINUE
Settings
OFF
/ON
Select whether or not printing continues if the size or
type of paper in the selected paper tray is different
from the size or type of paper for the print job.
Summary of Contents for Phaser 6120
Page 8: ...Introduction...
Page 12: ...Network Printing...
Page 20: ...About the Software...
Page 31: ...Printer Control Panel and Configuration Menu...
Page 51: ...Using Media...
Page 70: ...Loading Media 63 8 Raise both green fuser separator levers 9 Carefully close the top cover...
Page 72: ...Loading Media 65 b Lower both green fuser separator levers c Close the top cover...
Page 78: ...Loading Media 71 7 Reinsert Tray 2 into the printer...
Page 82: ...Replacing Supplies...
Page 95: ...Maintaining the Printer...
Page 102: ...Cleaning the Printer 95 6 Carefully close the top cover...
Page 104: ...Cleaning the Printer 97 4 Carefully close the duplex cover...
Page 108: ...Troubleshooting...
Page 117: ...Clearing Paper Jams 110 5 Carefully close the top cover...
Page 120: ...Clearing Paper Jams 113 6 Load the media in Tray 2 and attach the lid 7 Reinsert Tray 2...
Page 142: ...Installing Options...
Page 157: ...Appendix...
Page 169: ...Appendix...


