CHAPTER 1: GETTING STARTED 37
To add title, color and silence clips from the Timeline to the Production Library,
drag them to the Production Library’s Media Library folder or to the Project Tray’s
Media Pool folder.
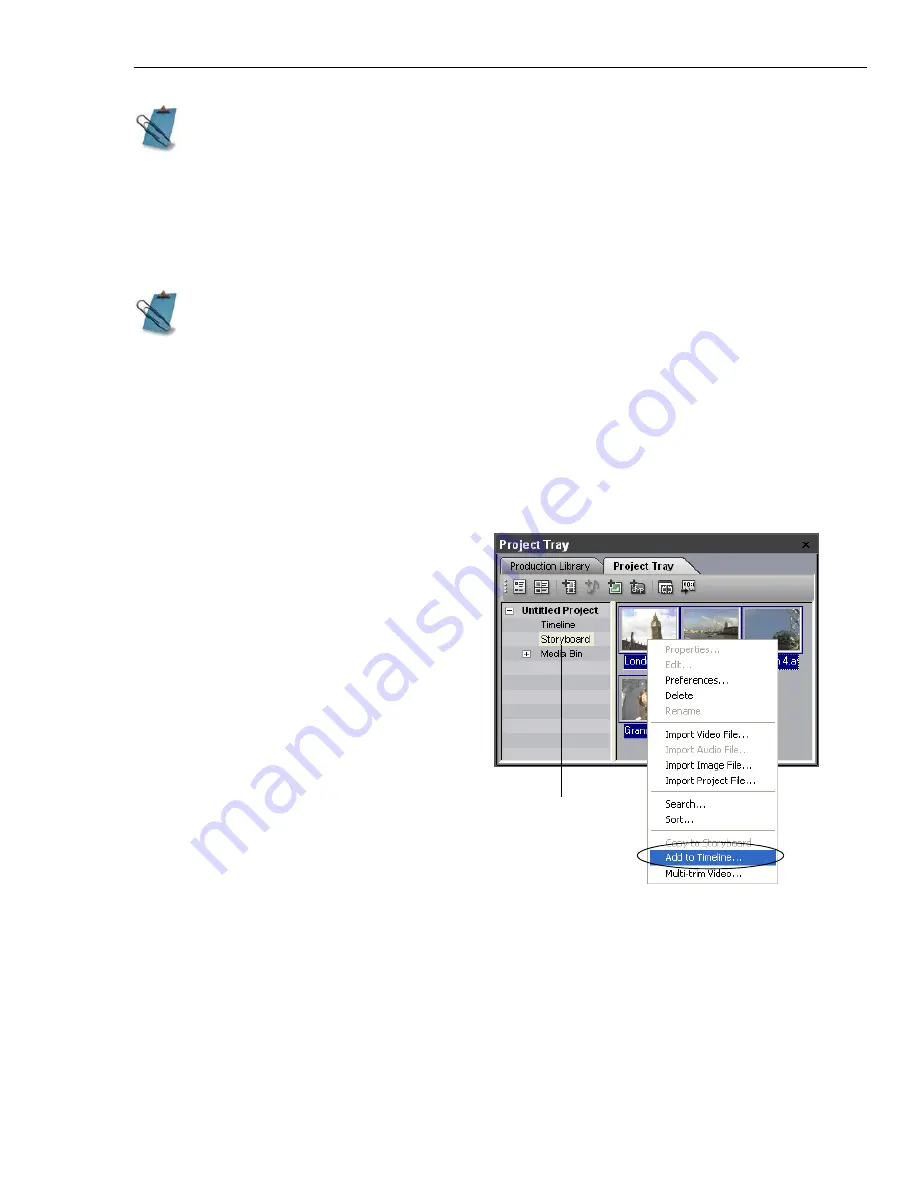
Using the Storyboard
The Project Tray’s
Storyboard
folder allows you to arrange your images or video
clips before inserting them into the Timeline.
To use the Storyboard function:
1. Click the
Project Tray
tab, then
open the
Storyboard
folder.
2. Import or copy images or video
files (from other folders inside the
Production Library) you want to
use into the Storyboard folder.
3. Arrange the sequence of the
images or video clips by dragging
them to the desired positions.
4. Select all the images or video files,
then right-click and select
Add to
Timeline
.
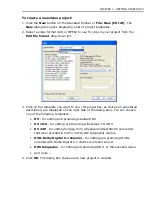
5. In the
Add to Timeline
dialog
box, determine the layout option
for your clips.
To be able to apply transitions
between clips, select
Overlap
.
6. If you have images, set their duration.
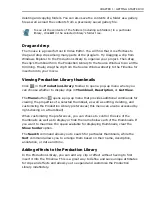
You can also add files to the Production Library when you click
File: Create
to
generate video or audio files. You can add effects or filters to the Production
Library while creating them.
If you want to create new folders, right-click on the Media Library or Media
Pool folder and select
Create
.
Storyboard
folder
Summary of Contents for MEDIASTUDIO PRO 8
Page 1: ...User Guide Ulead Systems Inc September 2005 P N C22 180 110 0A0001 ...
Page 17: ...PART I VIDEO EDITOR ...
Page 44: ...44 VIDEO EDITOR ...
Page 94: ...94 VIDEO EDITOR ...
Page 138: ...138 VIDEO EDITOR ...
Page 172: ...172 VIDEO EDITOR ...
Page 193: ...PART II VIDEO CAPTURE ...
Page 200: ...200 VIDEO CAPTURE DV mode MPEG 2 mode ...
Page 234: ...234 VIDEO CAPTURE ...
Page 235: ...PART III AUDIO EDITOR ...
Page 246: ...246 AUDIO EDITOR ...
Page 267: ...PART IV MORE PROGRAMS ...
Page 296: ...296 MORE PROGRAMS ...
Page 297: ...INDEX ...
Page 308: ...308 ULEAD MEDIASTUDIO PRO X X Axis unit 245 Z Zooming 240 Zooming in out 54 ...

